
Kali & LLM: macOS with Claude Desktop & Anthropic Sonnet LLM
Table of Contents
This post will focus on an alternative method of using Kali Linux, moving beyond direct terminal command execution. Instead, we will leverage a Large Language Model (LLM) to translate “natural language” descriptions of desired actions into technical commands. Achieving this setup requires the integration of three distinct systems:
- UI: Apple’s macOS (Can also use Microsoft Windows, but not covered in this guide) - with Claude Desktop
- Attacking box: Kali Linux - using various tools
- LLM: In the cloud - Anthropic’s Sonnet 4.5
The LLM is only part of the story. When paired with Model Context Protocol (MCP)’s, it allows/enables the LLM to seamlessly connect with external sources (data, programs/tools etc). At a very high level:
- We can ask a LLM to-do a task via a “prompt”.
- “Can you please port scan
scanme.nmap.org, if you find a valid web server, check ifsecurity.txtexists”
- The LLM will understand what we asked it to-do.
- “First task, I need to use Nmap/Network Mapper to-do a port scan of scan
scanme.nmap.org”
- LLM will then request the MCP to-do any action(s).
- “Is Nmap installed? Can I access it?”
- MCP will run the request and return results
$ nmap scanme.nmap.org
- The LLM will process the results as well as showing it to us as end-users.
- “I found that
scanme.nmap.orgis up, and contains a web server on port 80/TCP & 443/TCP.”
- If needed, could be a loop, and re-run a command/action again back in the MCP until the prompt has been completed/full-filled.
- “Now I need see if
/.well-known/security.txtgivesHTTP 200response”
Just like the joys of text editors wars (vim vs emacs vs nano), this is not to say its the “best” way to-do it. This is a way.
This scenario may work for you, or it may not be acceptable to you (e.g. privacy). That is fine.
If you are wonder “Why this setup? Why are you using multiple OSes?”, there are various reasons why!
- You may want a graphical user interface (GUI), which Claude Desktop is.
- Its an official product from Anthropic, who is making the model we want to run. However Claude Desktop is not officially supported on Linux.
- There are workarounds (e.g. community packages or WINE, as well as other solutions, such as 5ire, AnythingLLM, Goose (Desktop) & Witsy
- It being “free”.
- At the time of writing, 2026-01
- Speed
- Having Kali running in “the cloud”, may have greater network connection , or be closer to your target - thus speeding things up!
SSH
We are going to want our macOS box, to be able to talk/interact/communicate to Kali. For this, we will use SSH.
Kali Setup
First up, Kali. If you are using Kali in the cloud, you likely already have SSH pre-setup. If SSH is not setup, let’s quickly install and run:
$ sudo apt update
[...]
$
$ sudo apt install -y openssh-server
[...]
$
$ sudo systemctl enable --now ssh
[...]
$
macOS
Switching over to our macOS machine, open up Terminal (or similar program), and either find out public SSH key or generate one:
user@Users-MacBook-Pro ~ % ls -lah .ssh
ls: .ssh: No such file or directory
user@Users-MacBook-Pro ~ %
This is a clean install, so we will be generating a new key.
Generating a new SSH key, is the same steps as doing it on Linux:
user@Users-MacBook-Pro ~ % ssh-keygen
Generating public/private ed25519 key pair.
Enter file in which to save the key (/Users/user/.ssh/id_ed25519):
Created directory '/Users/user/.ssh'.
Enter passphrase for "/Users/user/.ssh/id_ed25519" (empty for no passphrase):
Enter same passphrase again:
Your identification has been saved in /Users/user/.ssh/id_ed25519
Your public key has been saved in /Users/user/.ssh/id_ed25519.pub
The key fingerprint is:
SHA256:9JWMFmD6Jhq9gSLVrWSQaqR0hOOfGC5wd/HoMW1CoKU [email protected]
The key's randomart image is:
+--[ED25519 256]--+
|  +oo.  o..      |
| =.B .oo   + .   |
|=.E +.o=. o +    |
|+=.o.+*o+o .     |
|=.=.=o+=S .      |
|.+ + o.=         |
|.   . .          |
|                 |
|                 |
+----[SHA256]-----+
user@Users-MacBook-Pro ~ %
user@Users-MacBook-Pro ~ % cat ~/.ssh/id_ed25519.pub
ssh-ed25519 AAAAC3NzaC1lZDI1NTE5AAAAIFVZPT158E6mNNGrtOXTBQtK/7sXj09gRGZjkyMt82hs [email protected]
user@Users-MacBook-Pro ~ %
Password is not shown
Now, lets add that public SSH key from macOS to Kali, allowing for key authentication.
Our Kali is located at 192.168.1.30, change the IP to match your setup:
user@Users-MacBook-Pro ~ % ssh-copy-id [email protected]
/usr/bin/ssh-copy-id: INFO: Source of key(s) to be installed: "/Users/user/.ssh/id_ed25519.pub"
The authenticity of host '192.168.1.30 (192.168.1.30)' can't be established.
ED25519 key fingerprint is SHA256:s1EHXZomZxup5ybdUSgTJwnyjwrMBxFSmAgt4+ijhws.
This key is not known by any other names.
Are you sure you want to continue connecting (yes/no/[fingerprint])? yes
/usr/bin/ssh-copy-id: INFO: attempting to log in with the new key(s), to filter out any that are already installed
/usr/bin/ssh-copy-id: INFO: 1 key(s) remain to be installed -- if you are prompted now it is to install the new keys
[email protected]'s password:

Number of key(s) added:        1

Now try logging into the machine, with: "ssh '[email protected]'"
and check to make sure that only the key(s) you wanted were added.

user@Users-MacBook-Pro ~ %
Password is not shown
This hopefully will be the last time you need to type in your Kali password when connecting via SSH!
Testing
Finally, let’s test it out:
user@Users-MacBook-Pro ~ % ssh [email protected]
Linux kali 6.16.8+kali-amd64 #1 SMP PREEMPT_DYNAMIC Kali 6.16.8-1kali1 (2025-09-24) x86_64

The programs included with the Kali GNU/Linux system are free software;
the exact distribution terms for each program are described in the
individual files in /usr/share/doc/*/copyright.

Kali GNU/Linux comes with ABSOLUTELY NO WARRANTY, to the extent
permitted by applicable law.
Last login: Wed Jan 21 13:47:48 2026 from 192.168.30.153
┏━(Message from Kali developers)
┃
┃ This is a minimal installation of Kali Linux, you likely
┃ want to install supplementary tools. Learn how:
┃ ⇒ https://www.kali.org/docs/troubleshooting/common-minimum-setup/
┃
┗━(Run: “touch ~/.hushlogin” to hide this message)
┌──(kali㉿kali)-[~]
└─$
Please replace 192.168.1.30 with YOUR Kali IP address.
Boom!
MCP Server (MCP Kali Server)
Now that we have a console on Kali, let’s continue our MCP server setup. There are many of MCP server options out there already with more being created every day. We will be using mcp-kali-server:
$ sudo apt install -y mcp-kali-server
[...]
$
$ kali-server-mcp
2026-01-21 13:54:41,734 [INFO] Starting Kali Linux Tools API Server on 127.0.0.1:5000
 * Serving Flask app 'kali_server'
 * Debug mode: off
2026-01-21 13:54:41,748 [INFO] WARNING: This is a development server. Do not use it in a production deployment. Use a production WSGI server instead.
 * Running on http://127.0.0.1:5000
2026-01-21 13:54:41,748 [INFO] Press CTRL+C to quit
Long term, there are various different ways to have kali-server-mcp running in the background, such as using a tmux/screen session, or creating a systemd.unit, but that is out of scope for this post.
Testing
To test that everything so far is working, in another terminal run mcp-server (this is what our MCP client, Claude Desktop, will end up running):
$ mcp-server
2026-01-21 14:03:25,804 [INFO] Initialized Kali Tools Client connecting to http://localhost:5000
2026-01-21 14:03:25,812 [INFO] Successfully connected to Kali API server at http://localhost:5000
2026-01-21 14:03:25,812 [INFO] Server health status: healthy
2026-01-21 14:03:25,812 [WARNING] Not all essential tools are available on the Kali server
2026-01-21 14:03:25,812 [WARNING] Missing tools: dirb, gobuster, nikto, nmap
2026-01-21 14:03:25,828 [INFO] Starting Kali MCP server
Did you see anything wrong? Did you spot the warning?
Let’s install them now (as well other tools which mcp-kali-server can use), we can re-use the mcp-server terminal before closing it:
2026-01-21 14:03:25,828 [INFO] Starting Kali MCP server
^C
[...]
$
$ sudo apt install -y mcp-kali-server dirb gobuster nikto nmap enum4linux-ng hydra john metasploit-framework sqlmap wpscan wordlists
[...]
$
$ sudo gunzip -v /usr/share/wordlists/rockyou.txt.gz   # Alt: `$ wordlists`
/usr/share/wordlists/rockyou.txt.gz:   61.9% -- replaced with /usr/share/wordlists/rockyou.txt
$
$ exit
Our Kali installation was a minimal installation, without any tools pre-installed, which is why this happened.
Claude Desktop
Time to switch machines, and on macOS, download Claude Desktop. This will be our interface to the LLM, and it also is a MCP client, which will talk to our MCP server (mcp-kali-server), which will run commands on Kali.
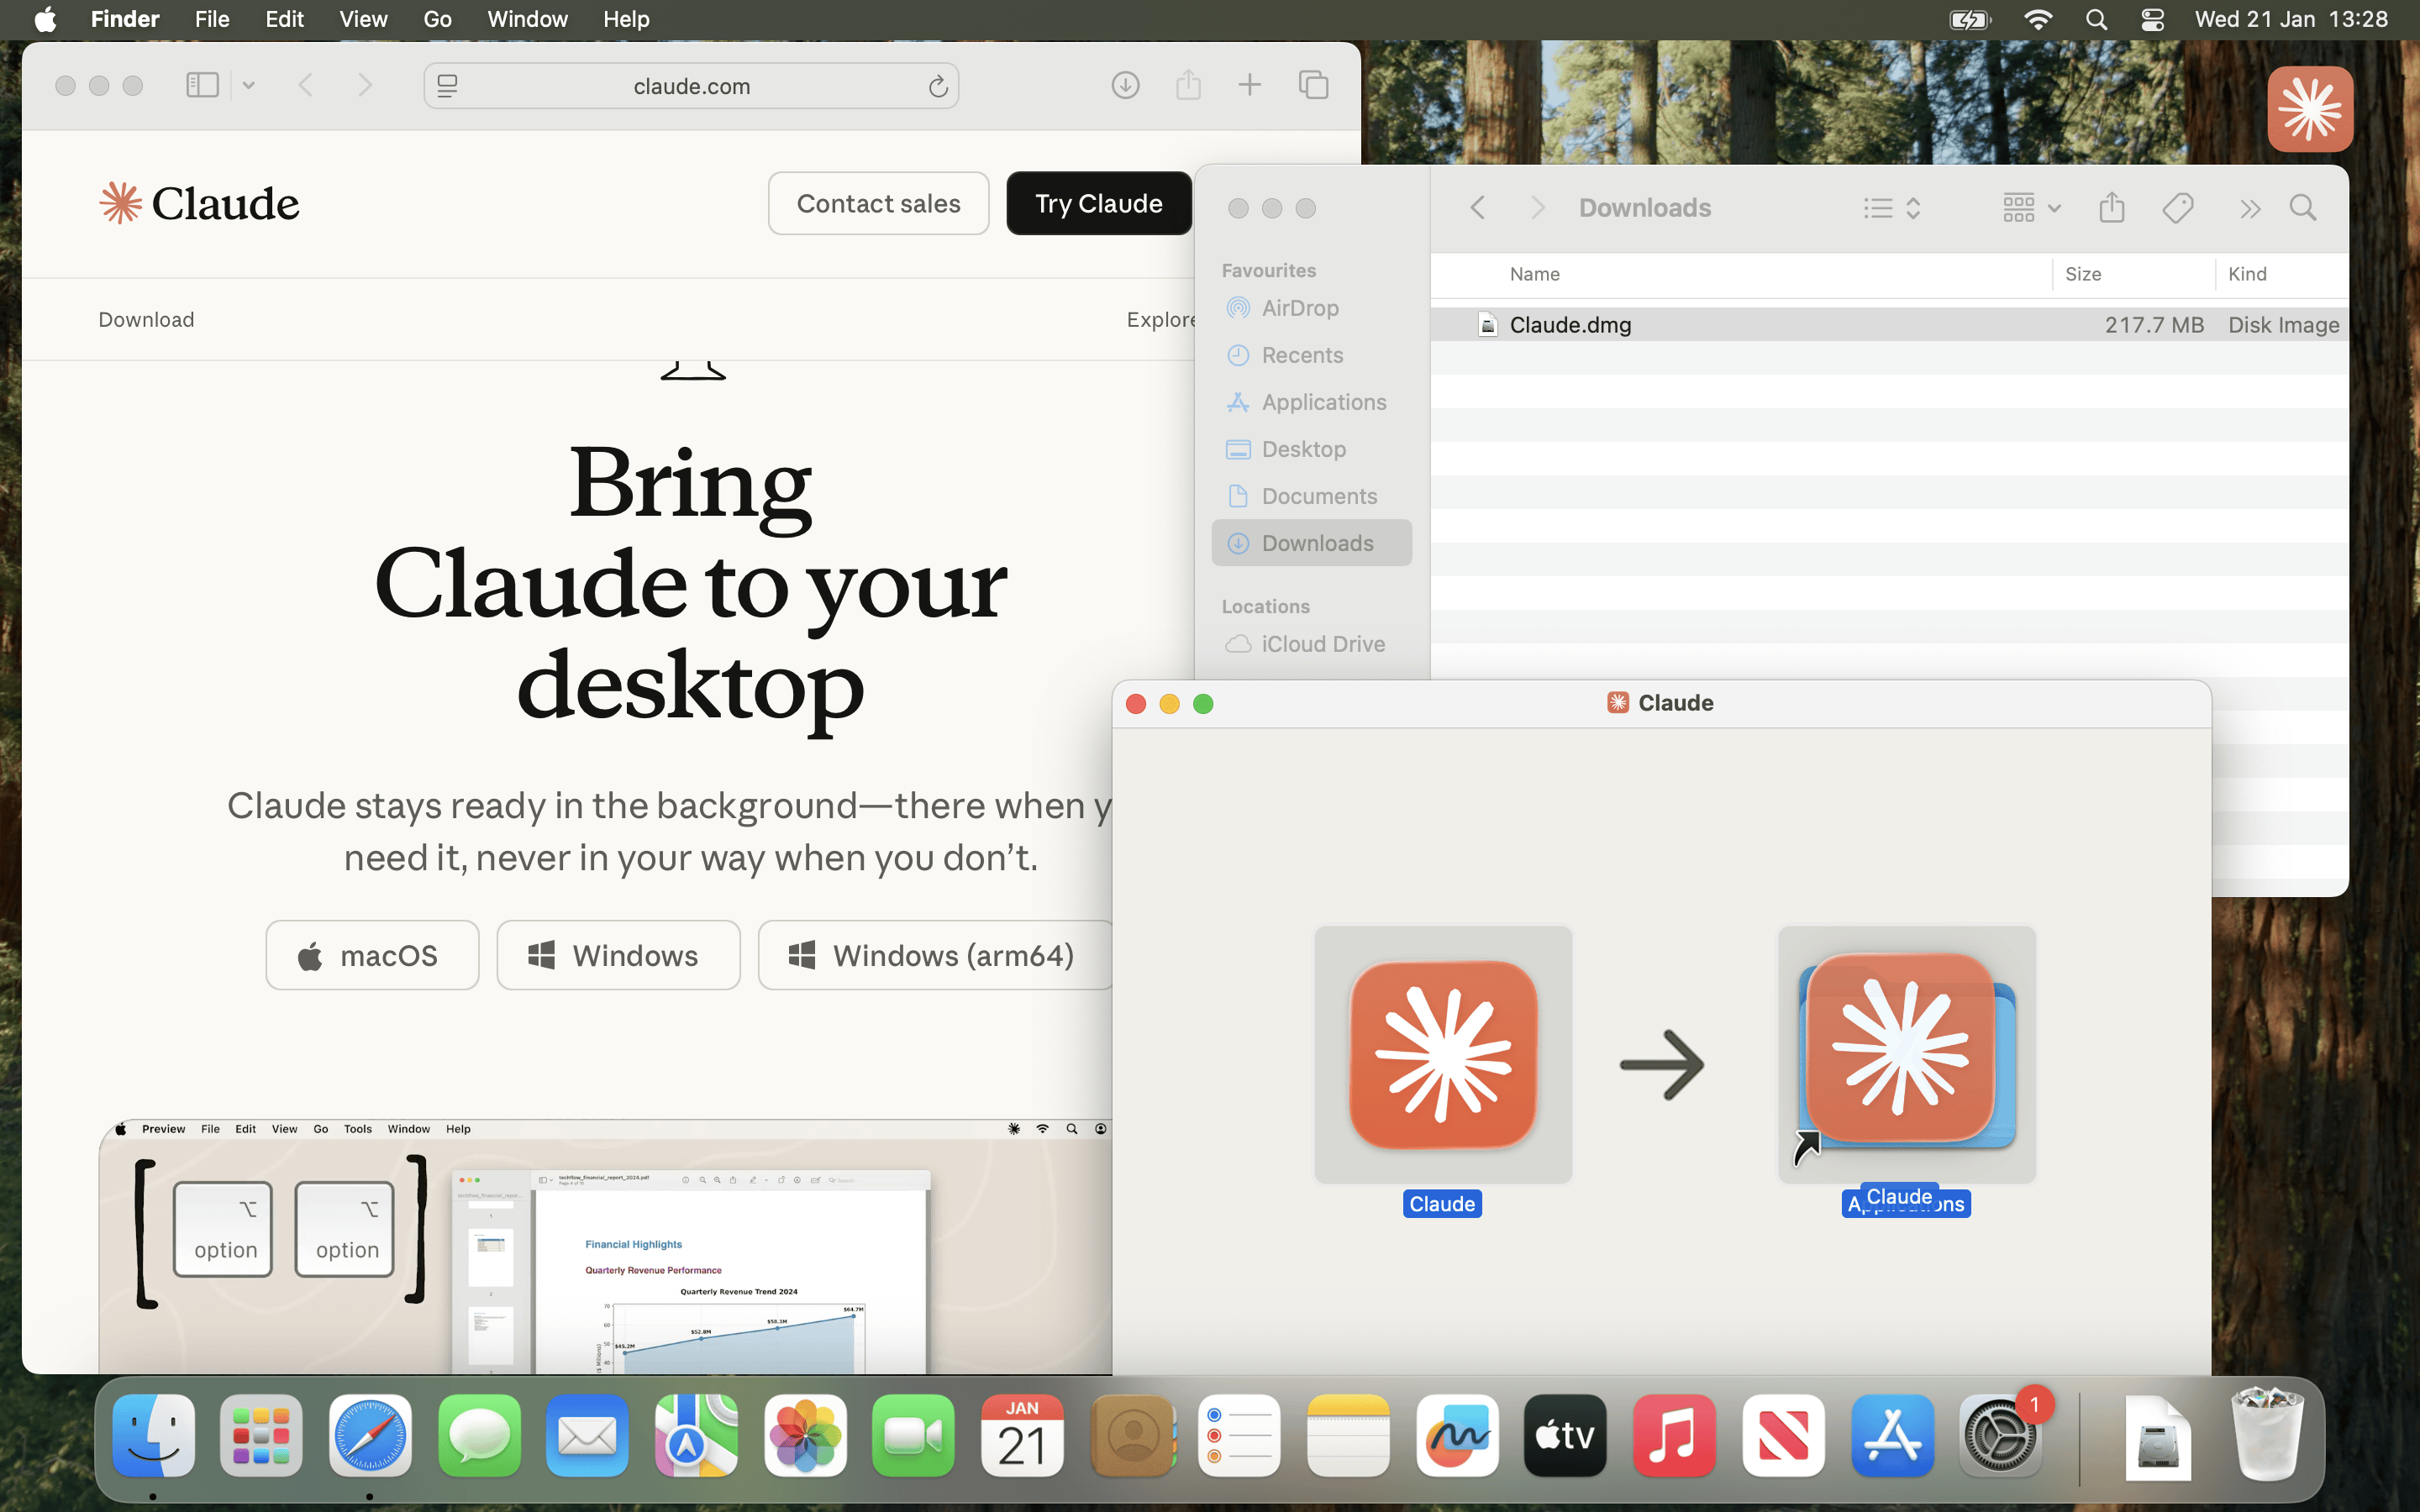
Download Claude.dmg (At the time of writing, 2026-01, latest version v1.1.381-c2a39e)
Afterwards, open Claude.dmg and copy Claude.app into Applications before running it.
If you are using Microsoft Windows, setup should be similar, but it is out of scope for this post.
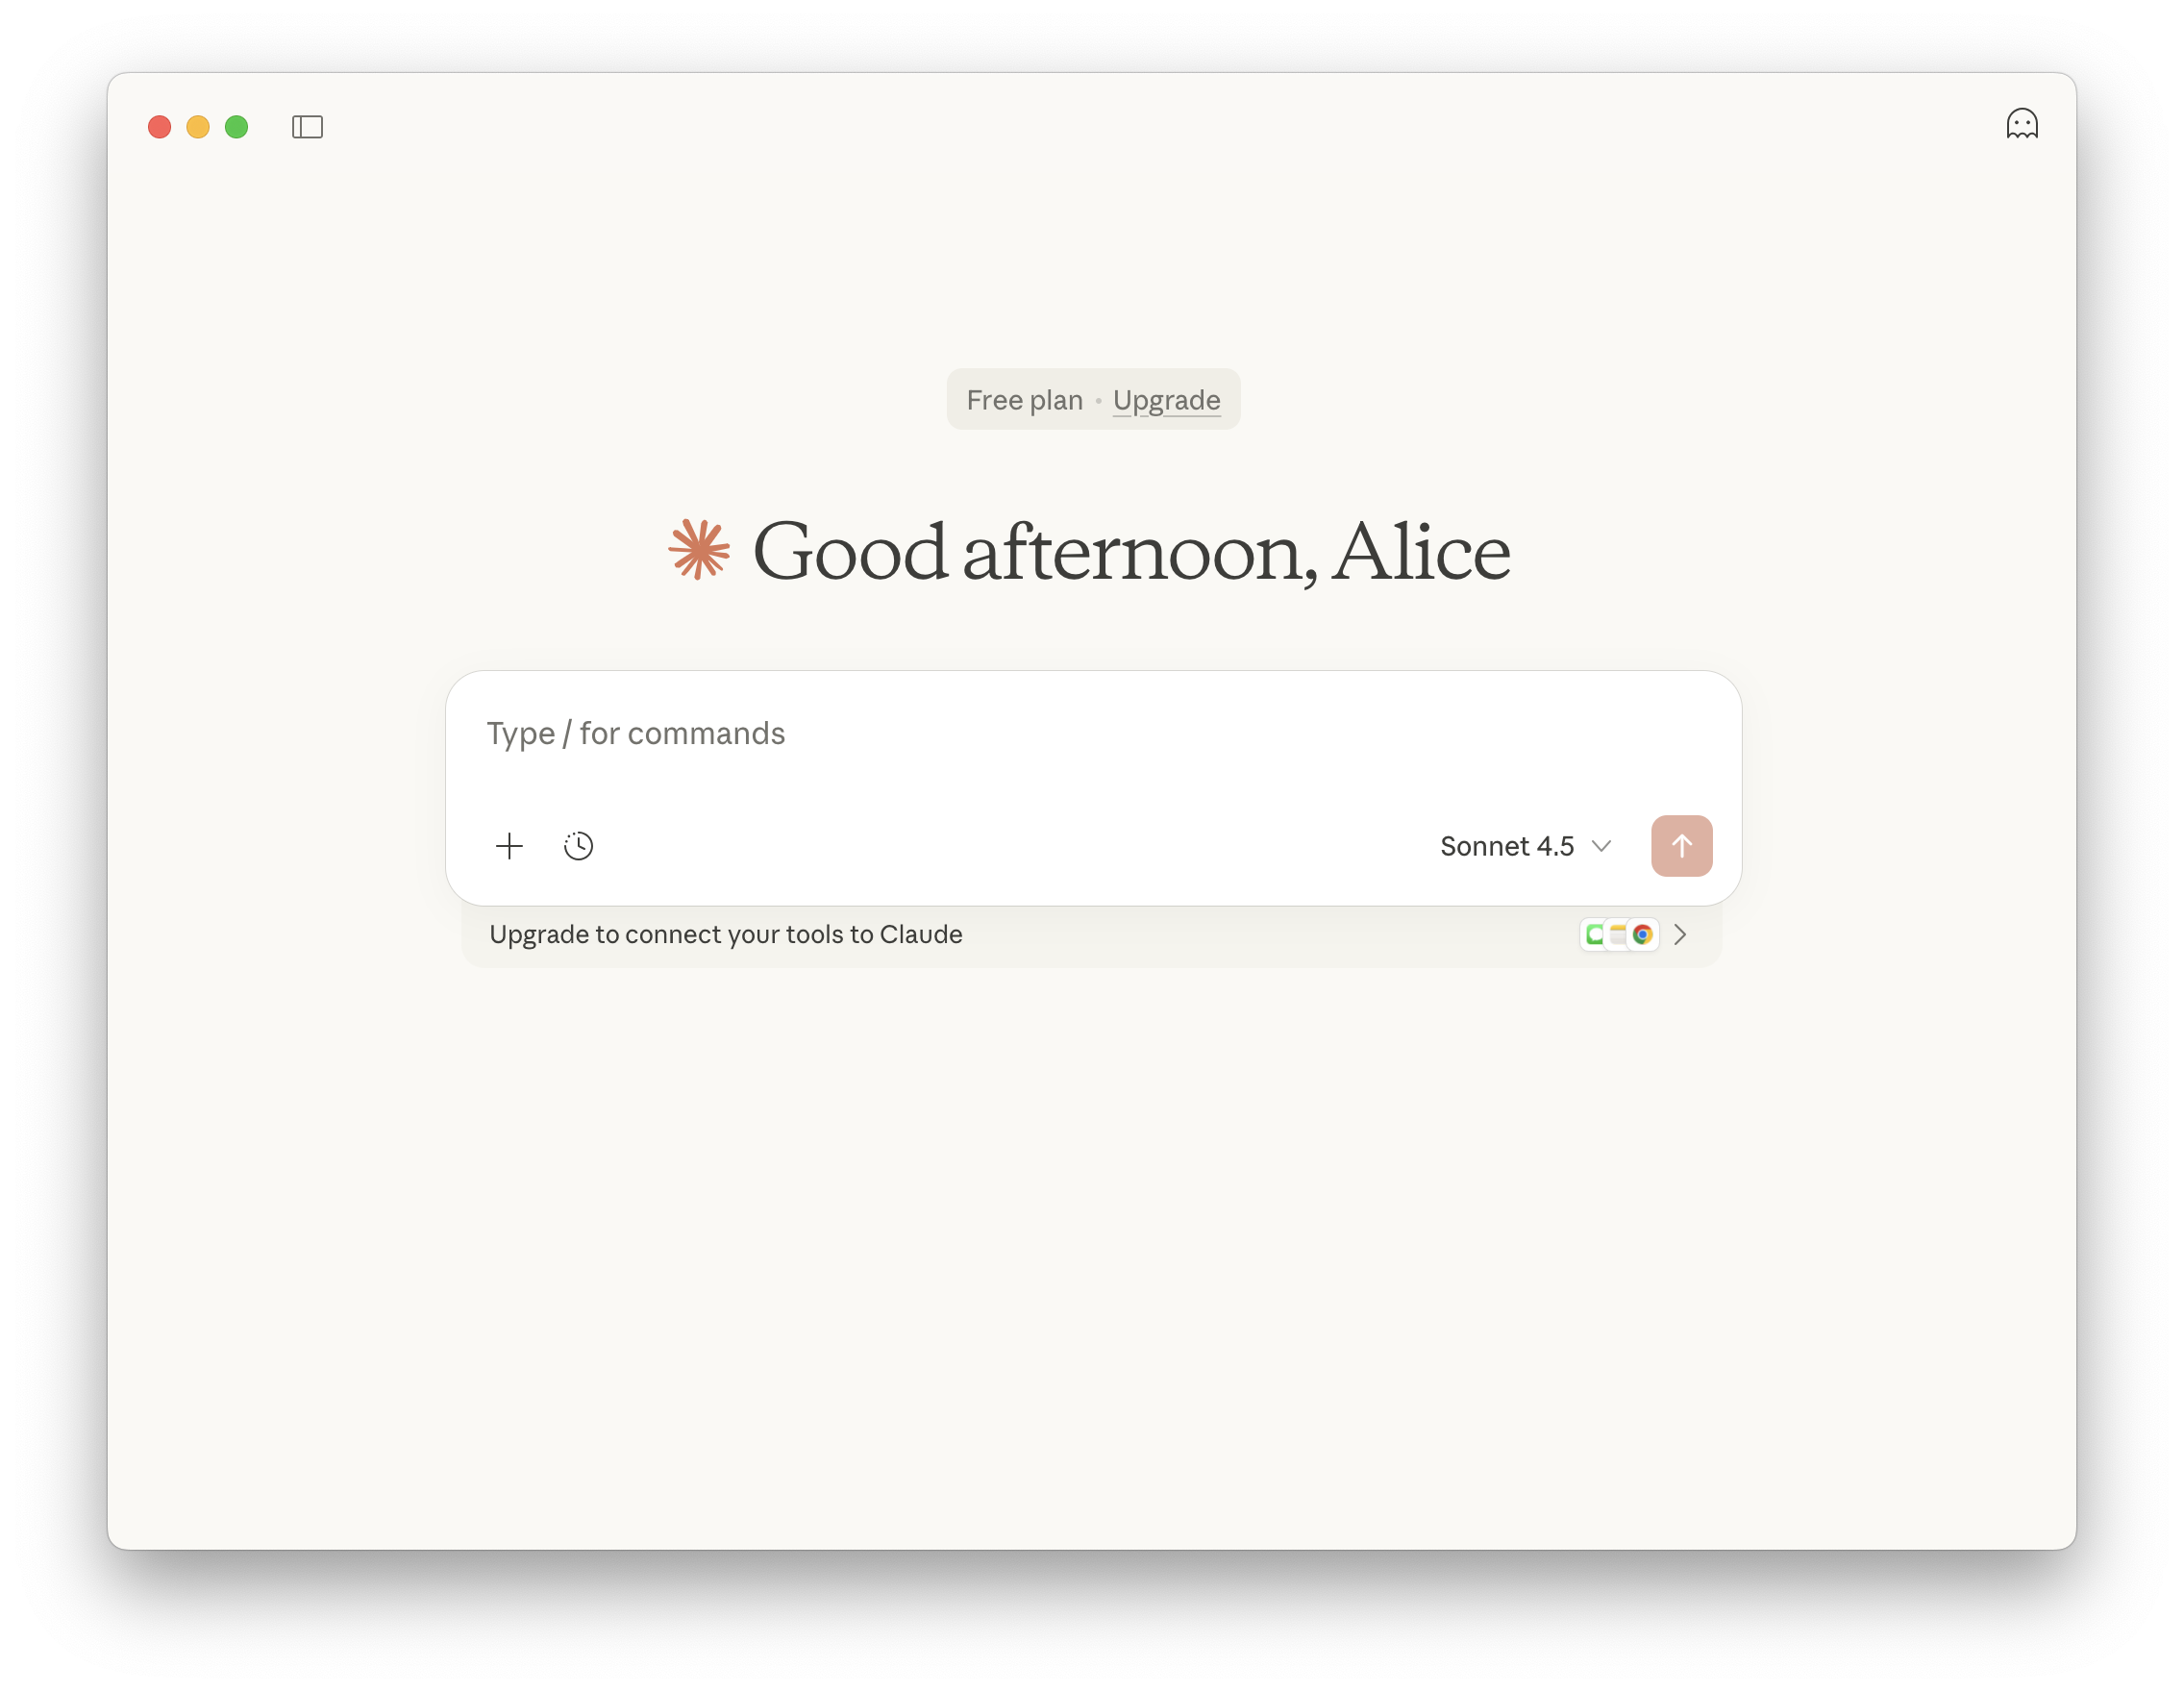
Now, we need to follow the complete the first time items, and follow the steps to to register/sign in
At the time of writing, 2026-01, Claude Desktop is on Apple macOS and Microsoft Windows. There is not an official Linux build.
Others have reported that using WINE is possible, as well as other unofficial Linux builds - You do you (and at your own risk!)
Using Claude Code, requires a API key, which at the time of writing, does not have a free-tier option.
MCP Client (Claude Desktop)
With all that out of the way, we need to setup Claude Desktop’s MCP client.
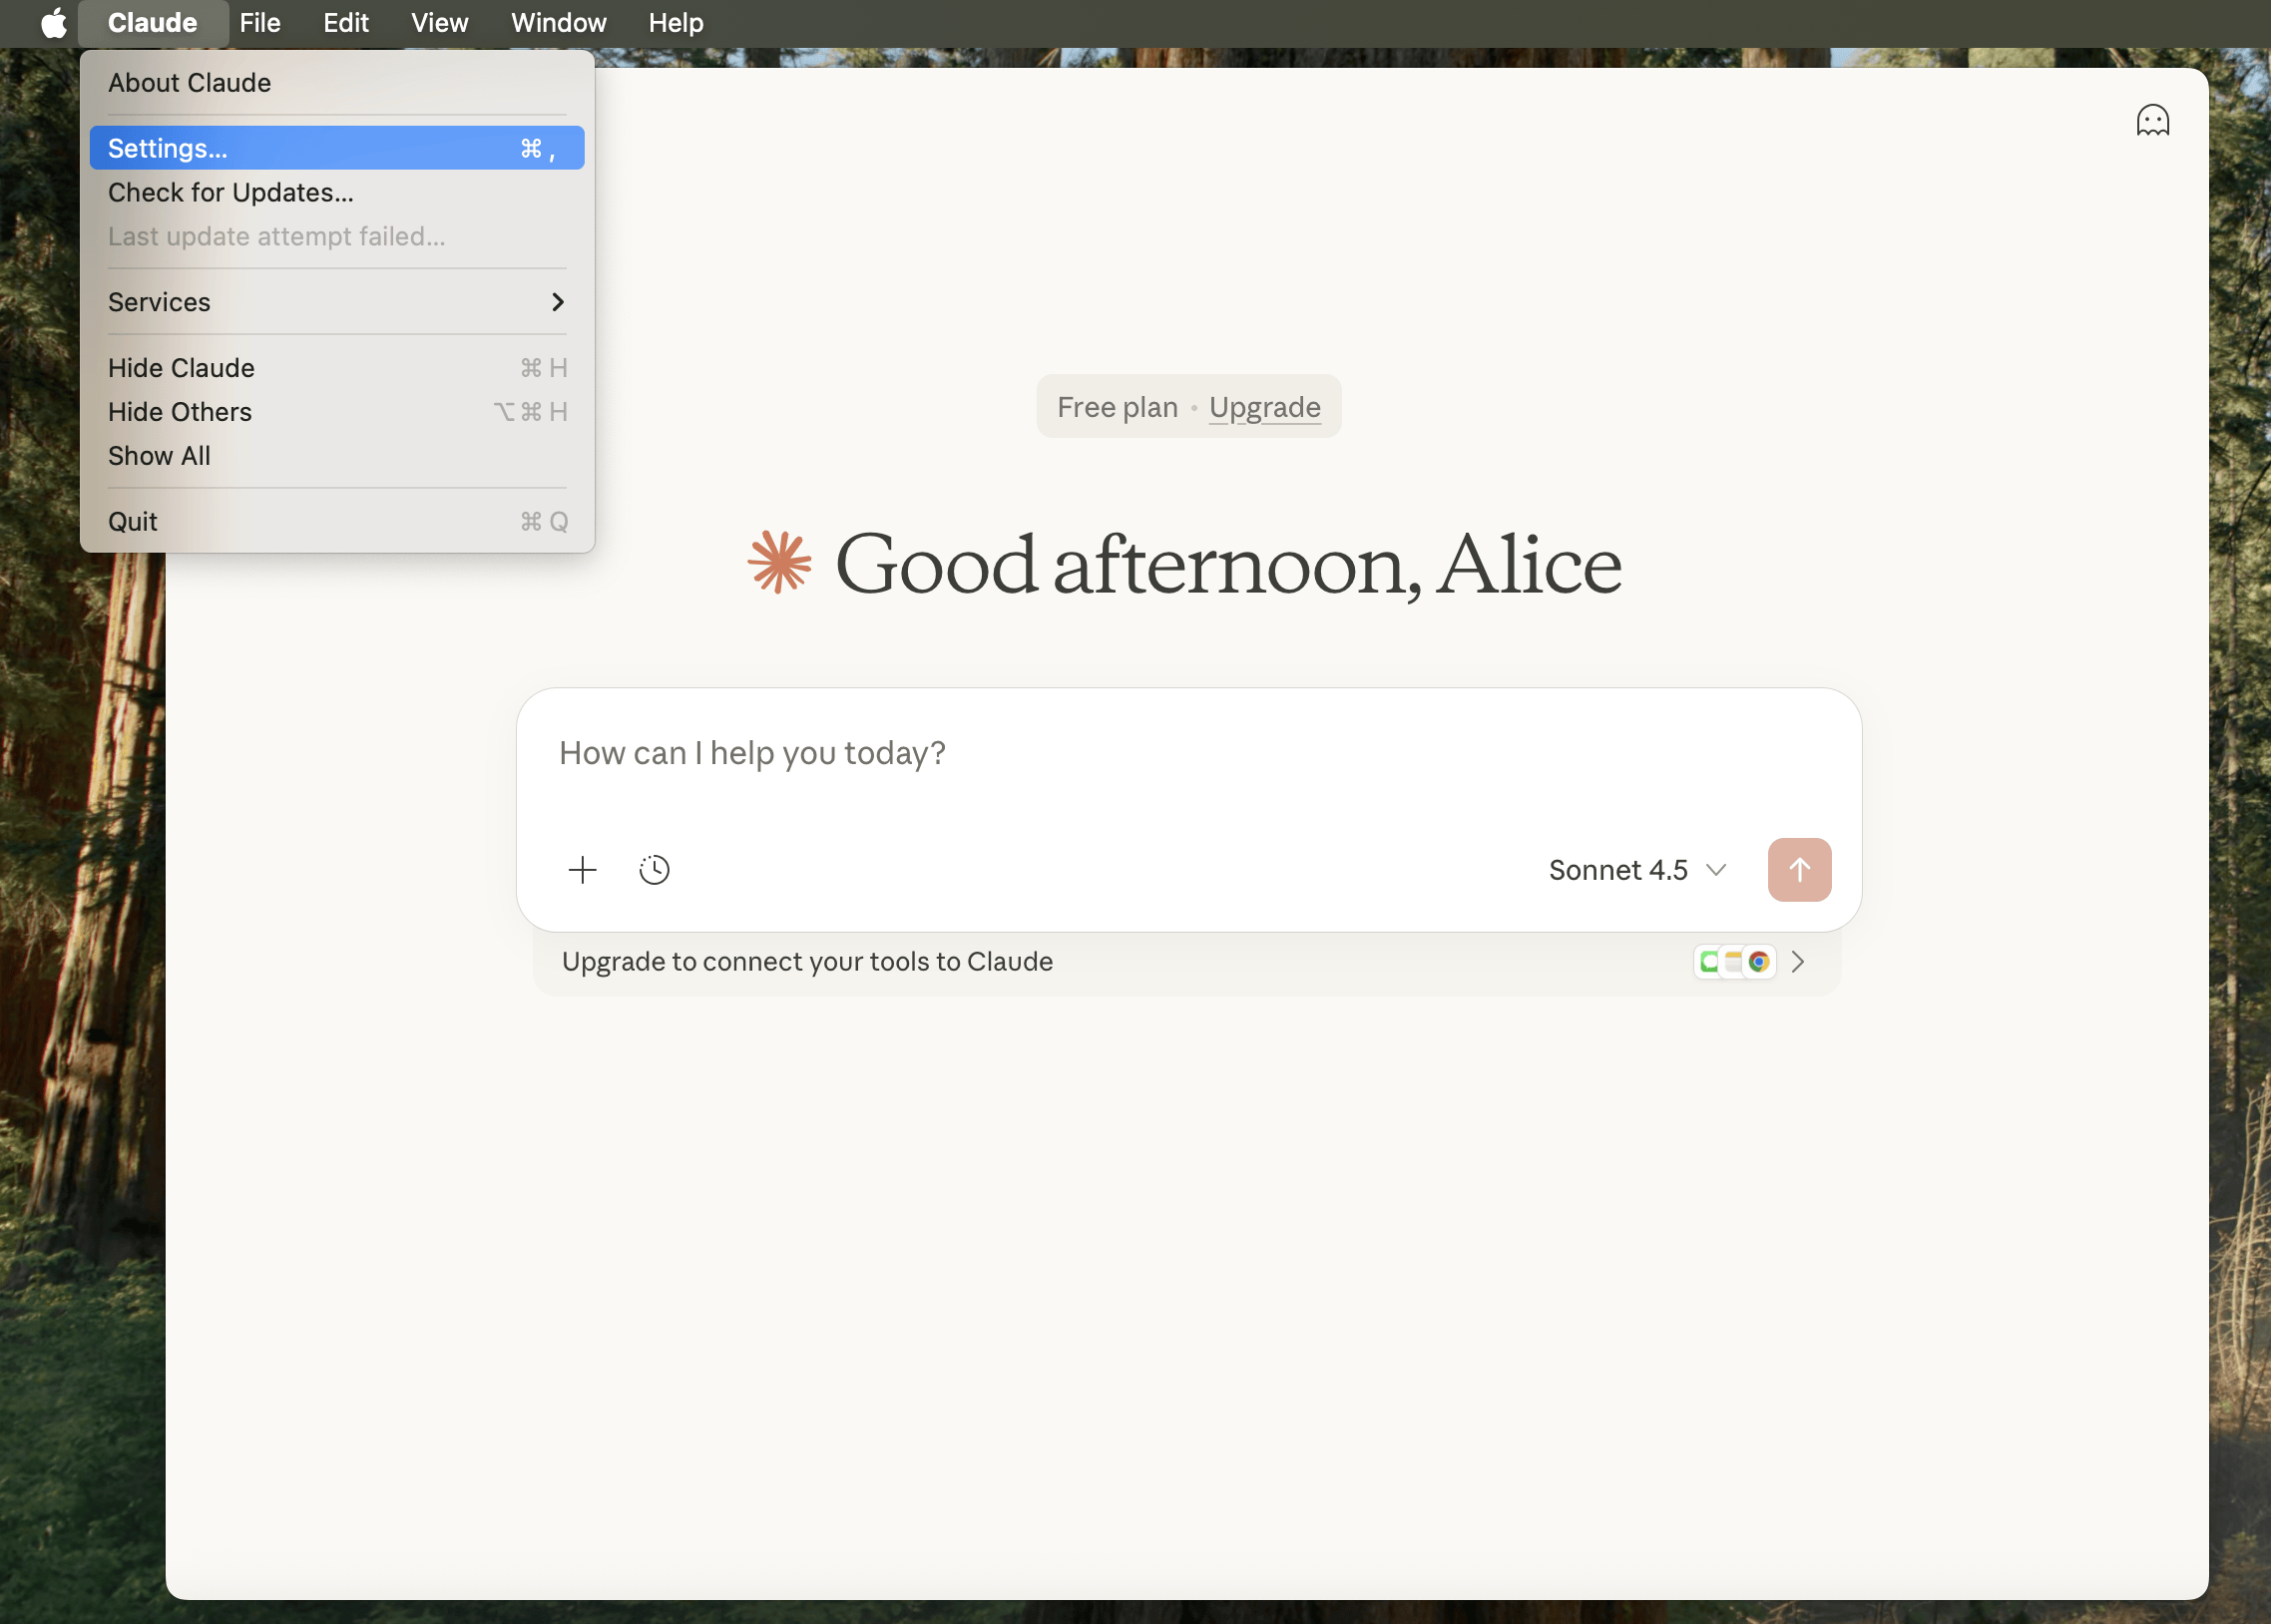
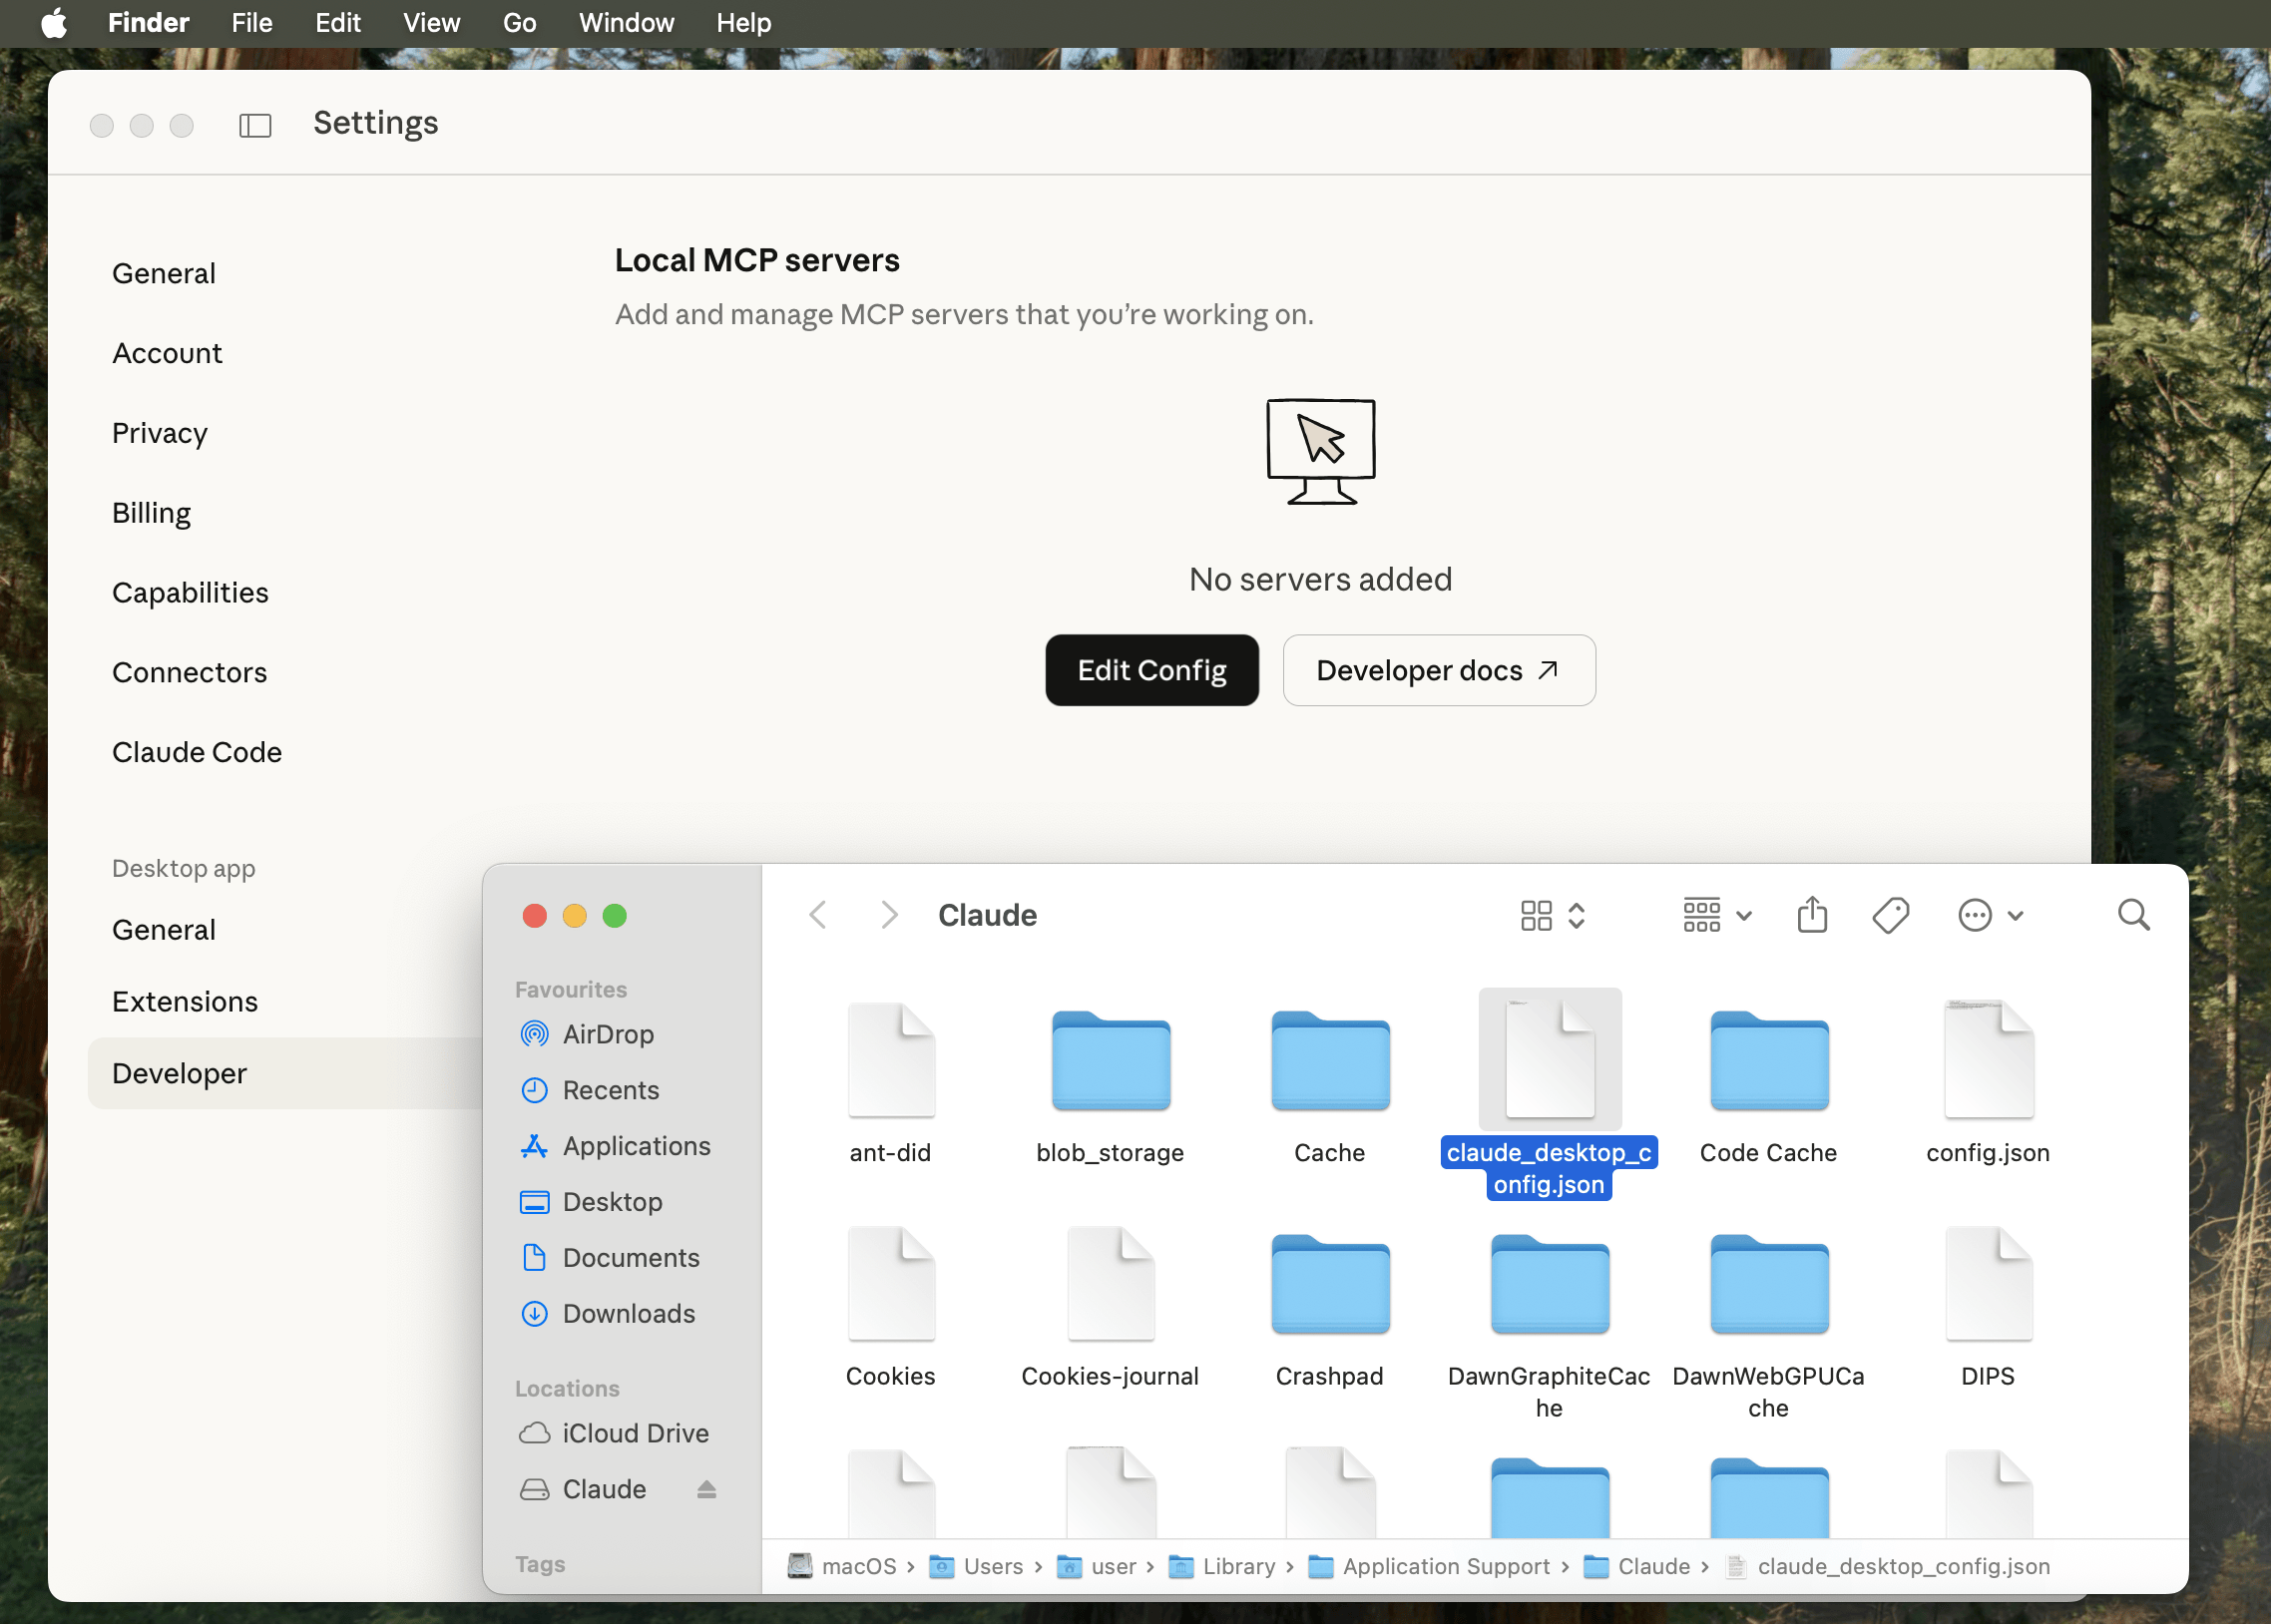
Open settings (Claude -> Settings), then find Deveploper (Under Desktop app), and click Edit Config.
Finder should open up with claude_desktop_config.json highlighted (otherwise: /Users/[USERNAME]/Library/Application Support/Claude/claude_desktop_config.json).
Open/edit the file using your text editor of choice, and paste in:
{
  "mcpServers": {
    "mcp-kali-server": {
      "command": "ssh",
       "args": [
         "[email protected]",
         "mcp-server"
       ],
       "transport": "stdio"
    }
  }
}
Please replace 192.168.1.30 with YOUR Kali IP address as before.
So for us, it looks like:
user@Users-MacBook-Pro ~ % cat /Users/user/Library/Application\ Support/Claude/claude_desktop_config.json  | jq
{
  "preferences": {
    "quickEntryShortcut": "off",
    "menuBarEnabled": false
  },
  "mcpServers": {
    "mcp-kali-server": {
      "command": "ssh",
      "args": [
        "-i",
        "/Users/user/.ssh/id_ed25519",
        "[email protected]",
        "mcp-server"
      ],
      "transport": "stdio"
    }
  }
}
user@Users-MacBook-Pro ~ %
Finally restart Claude Desktop by quitting and re-opening for our settings to take affect.

Testing
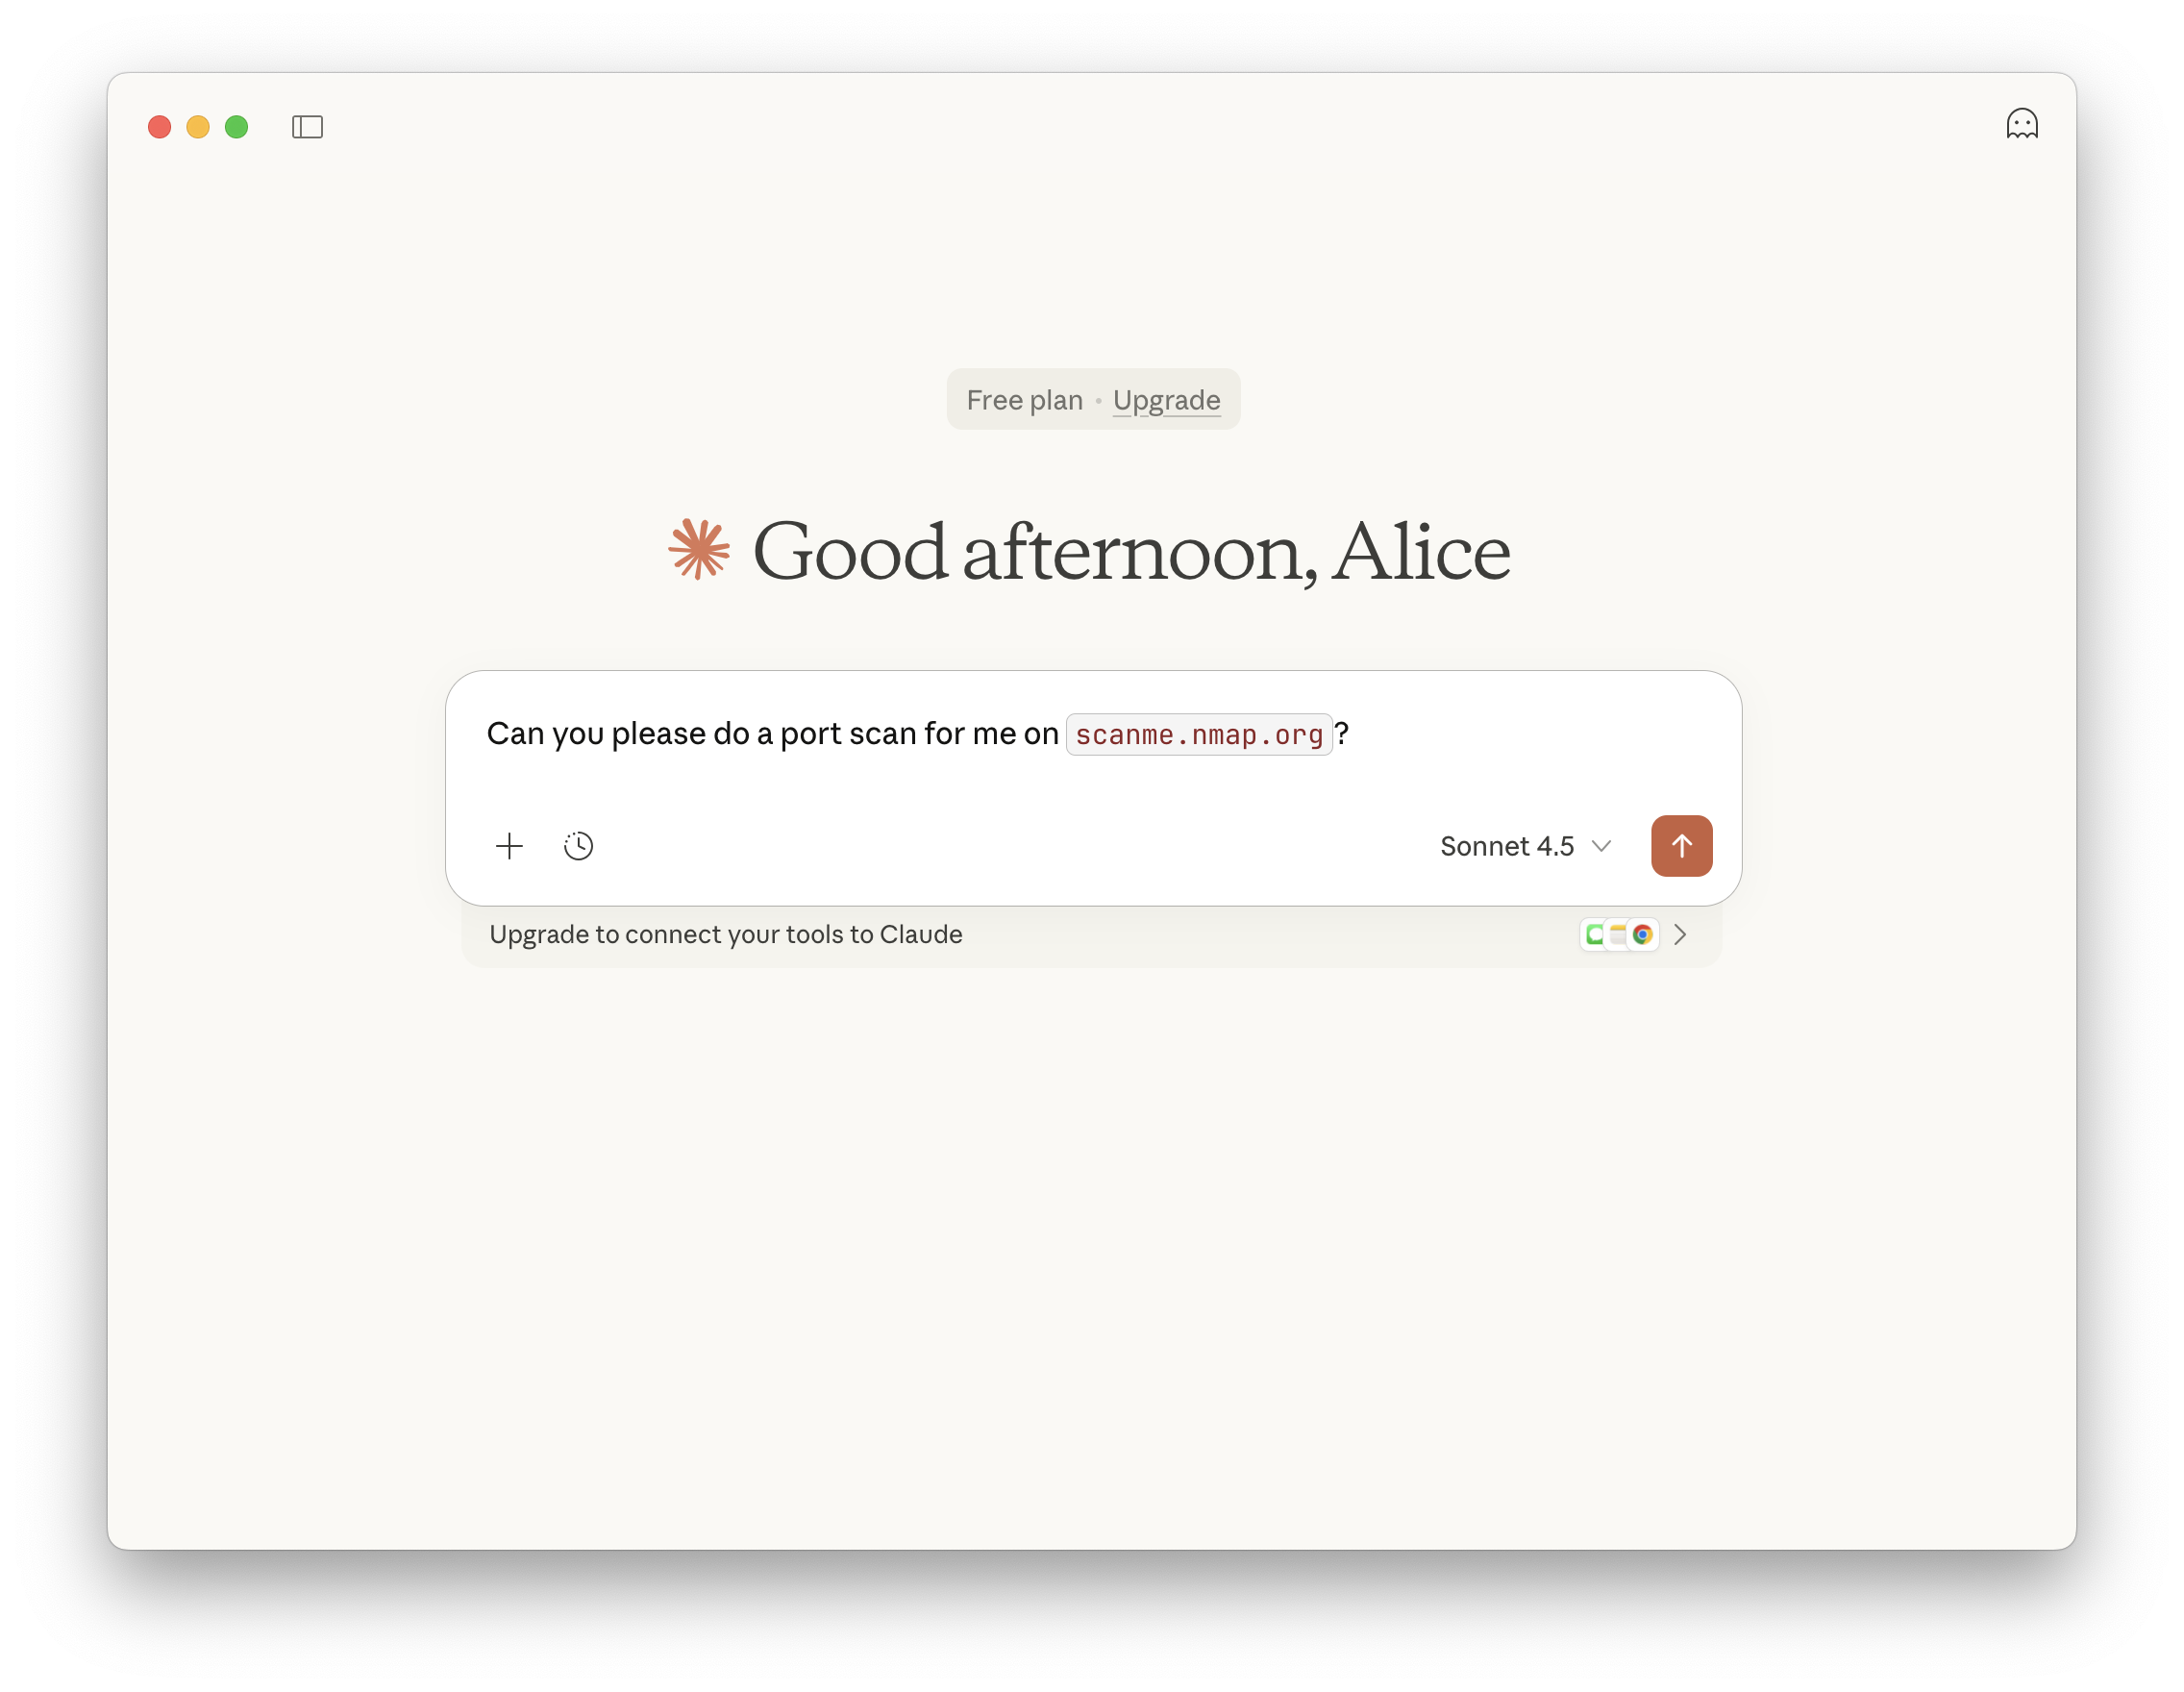
Let’s see what all the hype about and give it a quick spin:
Can you please do a port scan for me on
scanme.nmap.org?
Claude will check if we trust the MCP, and if we wish to run commands.
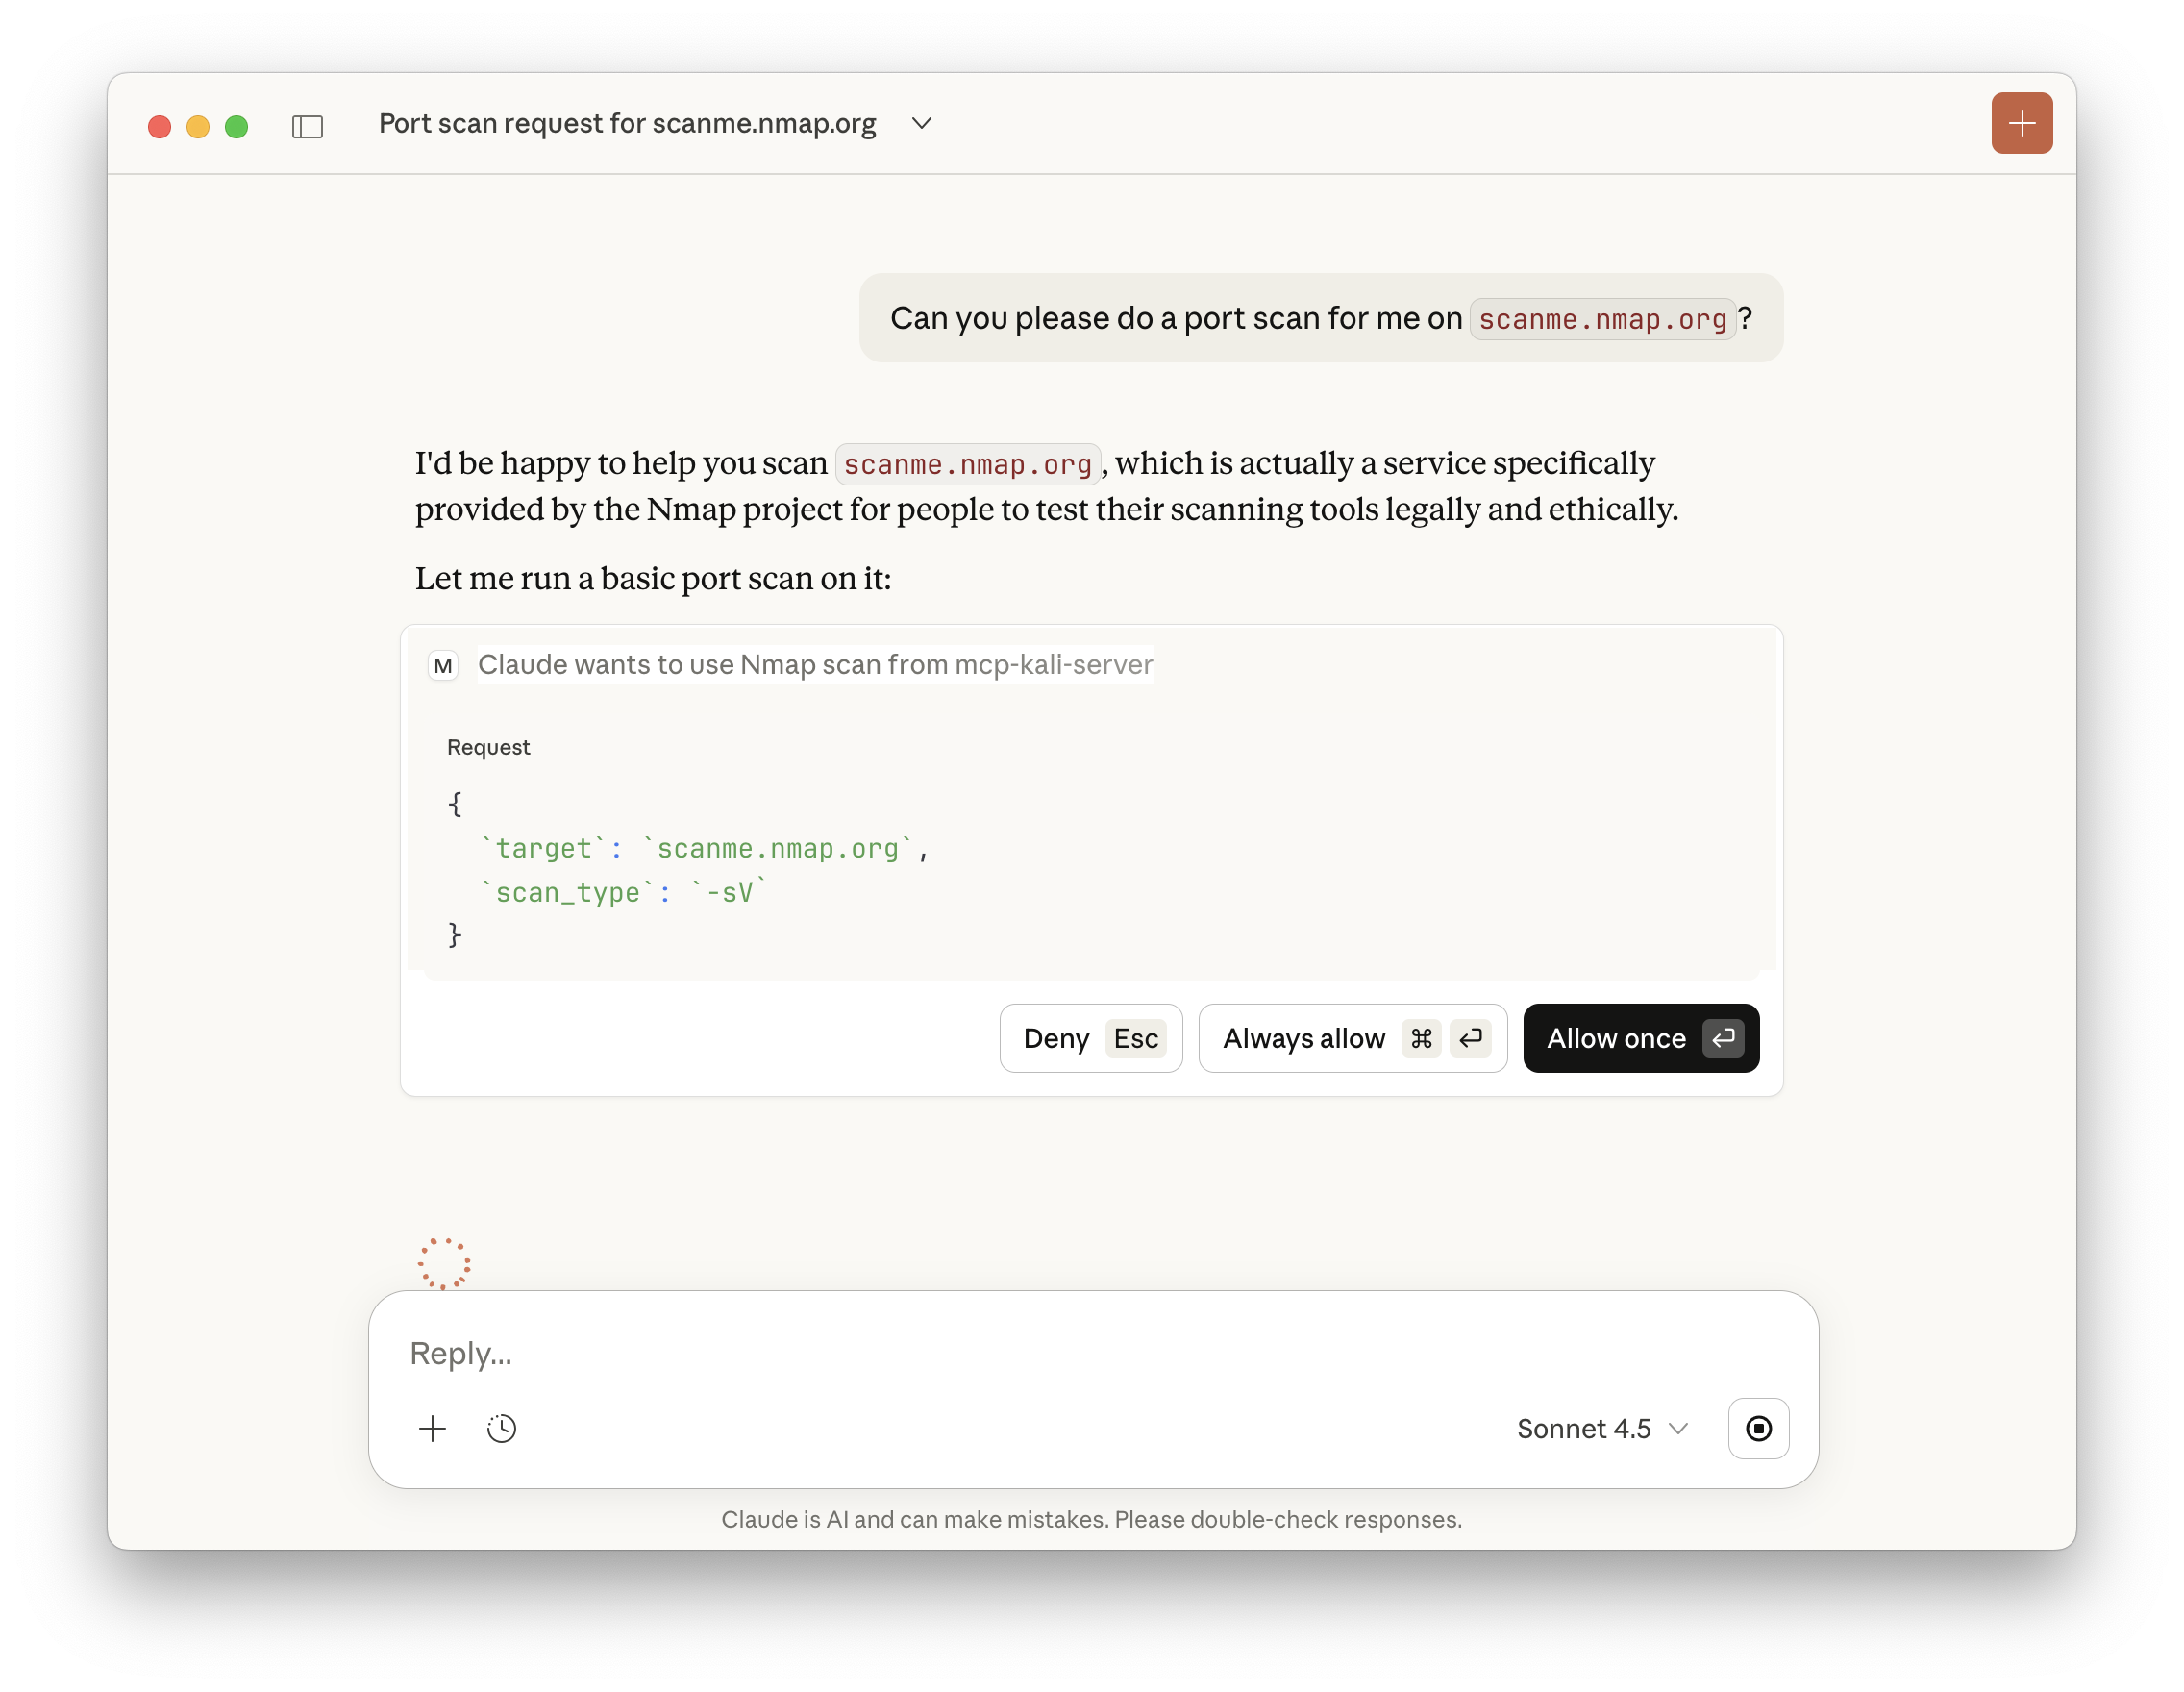
Afterwards, we just wait.

If you are impatient, you can peek behind the curtain a little bit by checking the logs!
In the terminal which we ran kali-server-mcp, we can then see:
2026-01-21 14:20:21,688 [INFO] Executing command: which nmap
2026-01-21 14:20:21,690 [INFO] Executing command: which gobuster
2026-01-21 14:20:21,692 [INFO] Executing command: which dirb
2026-01-21 14:20:21,693 [INFO] Executing command: which nikto
2026-01-21 14:20:21,695 [INFO] 127.0.0.1 - - [21/Jan/2026 14:20:21] "GET /health HTTP/1.1" 200 -
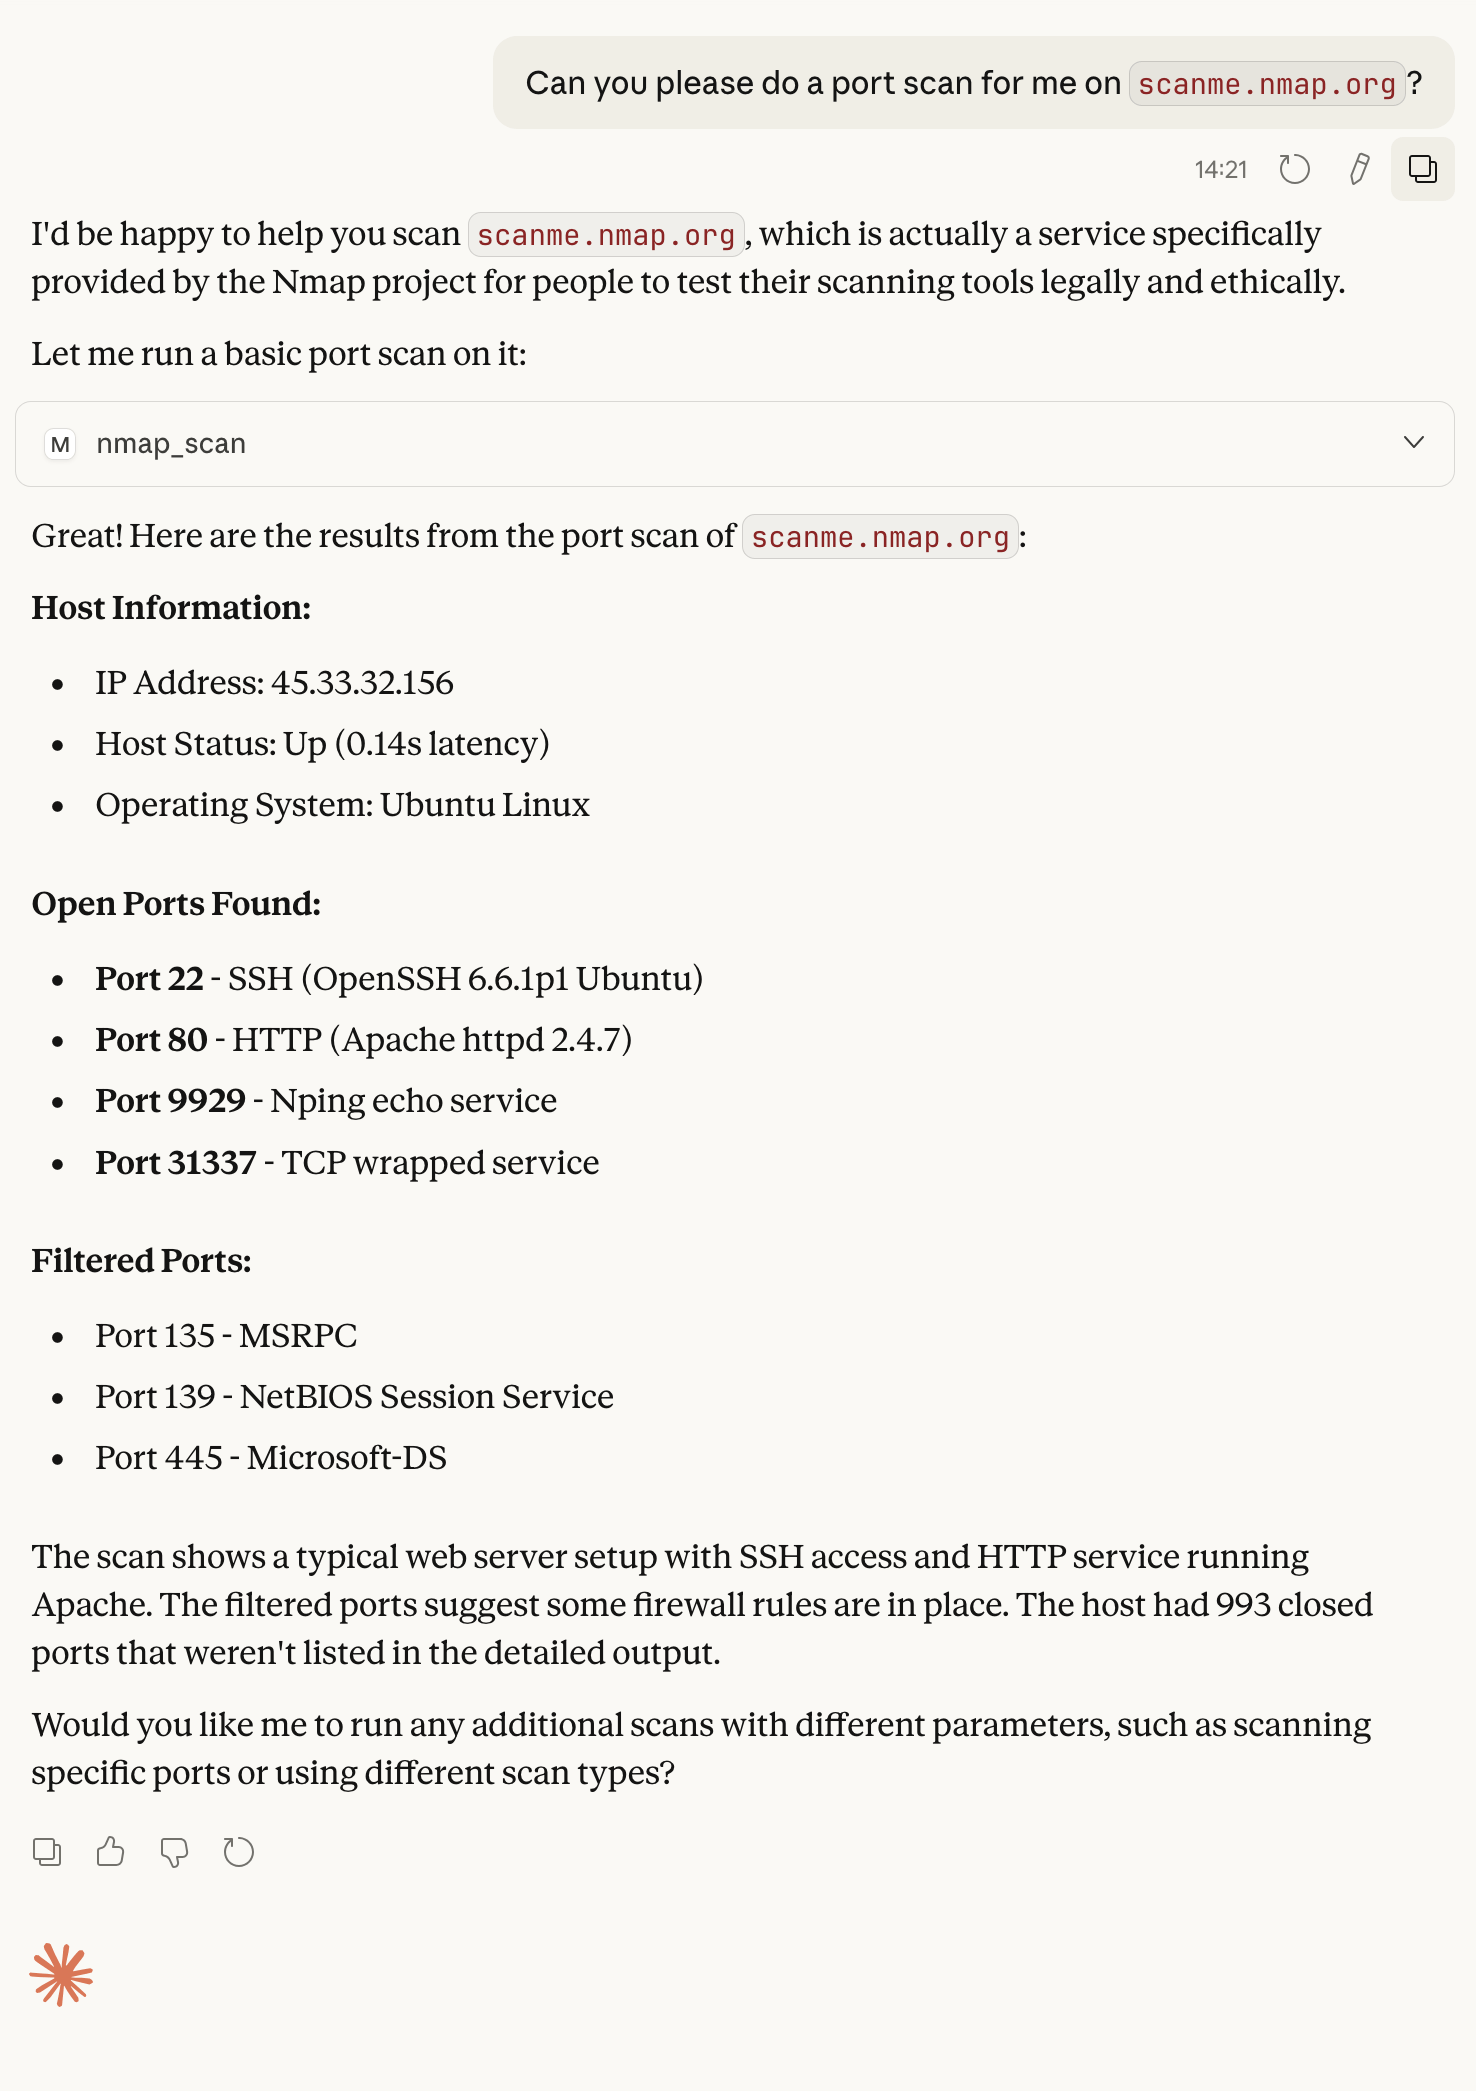
2026-01-21 14:21:25,385 [INFO] Executing command: nmap -sV scanme.nmap.org
2026-01-21 14:21:39,295 [INFO] 127.0.0.1 - - [21/Jan/2026 14:21:39] "POST /api/tools/nmap HTTP/1.1" 200 -
Recap
In review:
- We have a Kali instance running (could be on the same network, or in the Cloud).
- On Kali, we setup SSH service to allow for secure communication.
- On Kali, we ran
MCP-Kali-Serverfor our MCP server.- We also made sure Kali has the needed tools installed!
- On macOS, we setup Claude Desktop, and configured a MCP client.
- macOS can SSH into our Kali box, to run
MCP-Kali-Server’s client.
- macOS can SSH into our Kali box, to run
- We then used Anthropic’s
Sonnet 4.5LLM to-do anmapport scan ofscanme.nmap.org.
…and we did this for “free”!
We may be talking about AI, but AI was not used to write this!
Find out more about advanced red teaming for AI environments at OffSec.com.