Import Pre-Made Kali Hyper-V VM
Importing the Kali Hyper-V image is very easy.
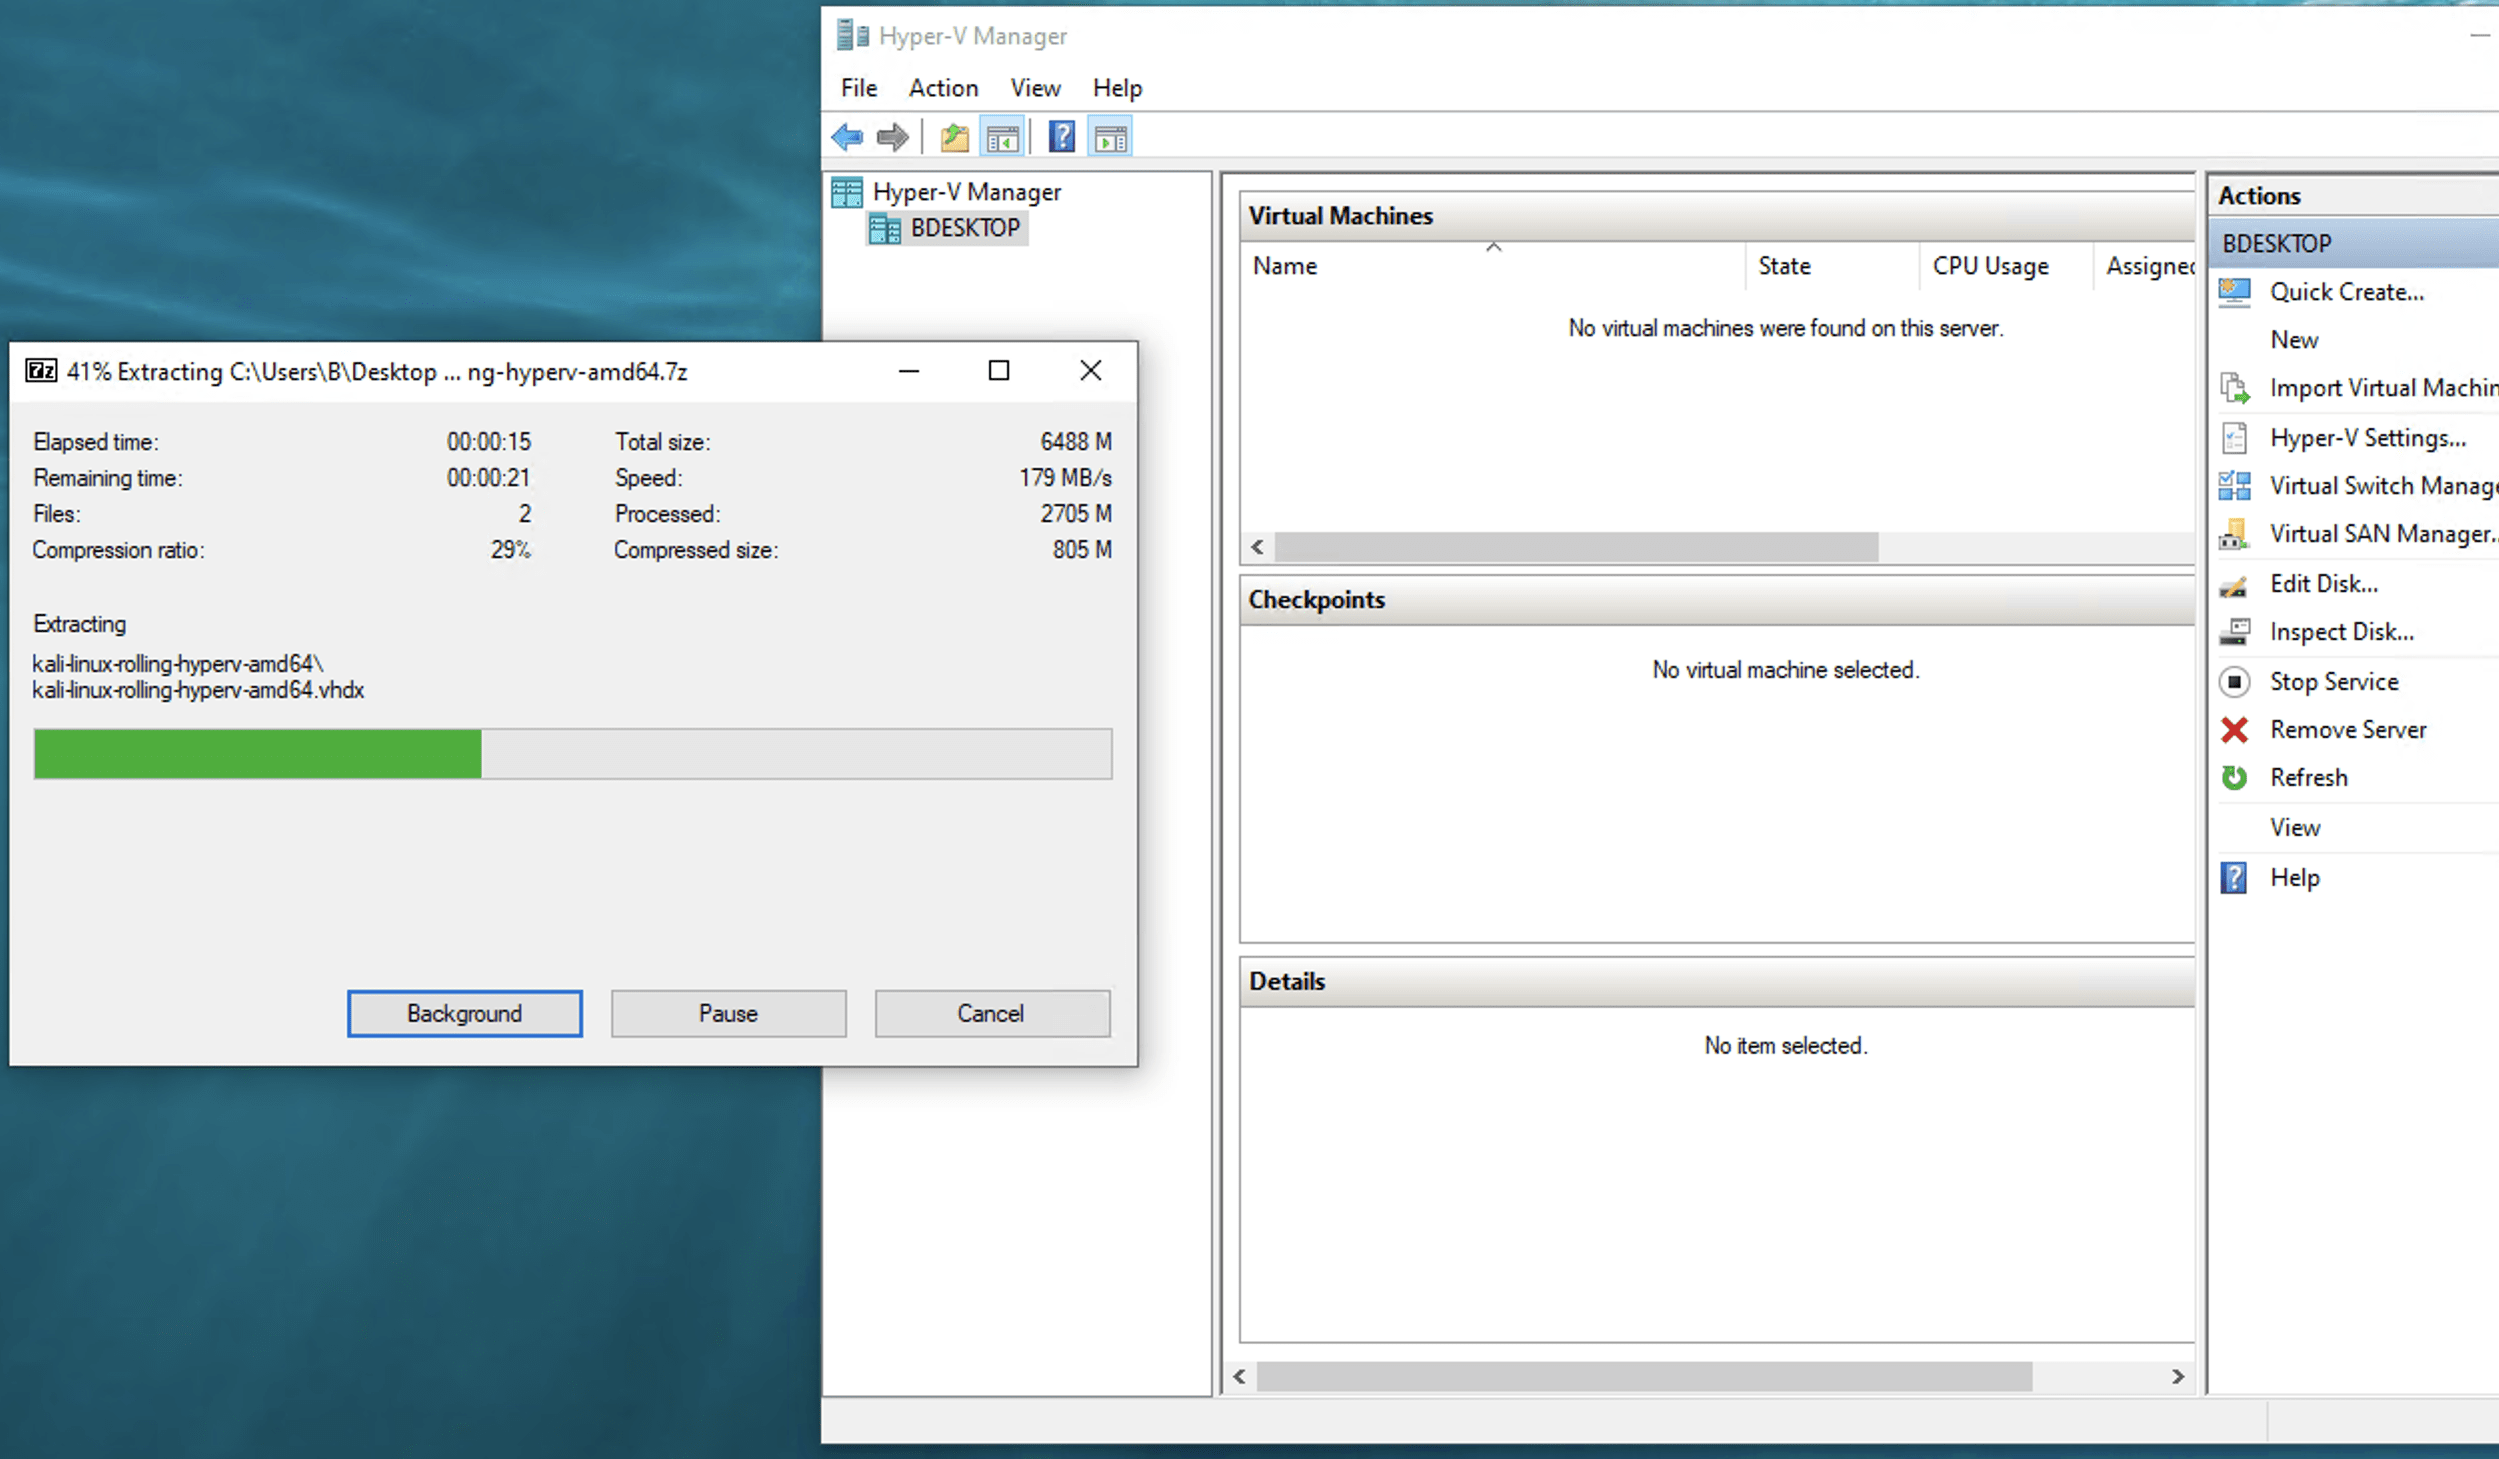
We first need to extract the Hyper-V image. For that we need to use the official 7z app. Note if we are on Windows 11 the option will be hidden behind the context menu “Show more options”.
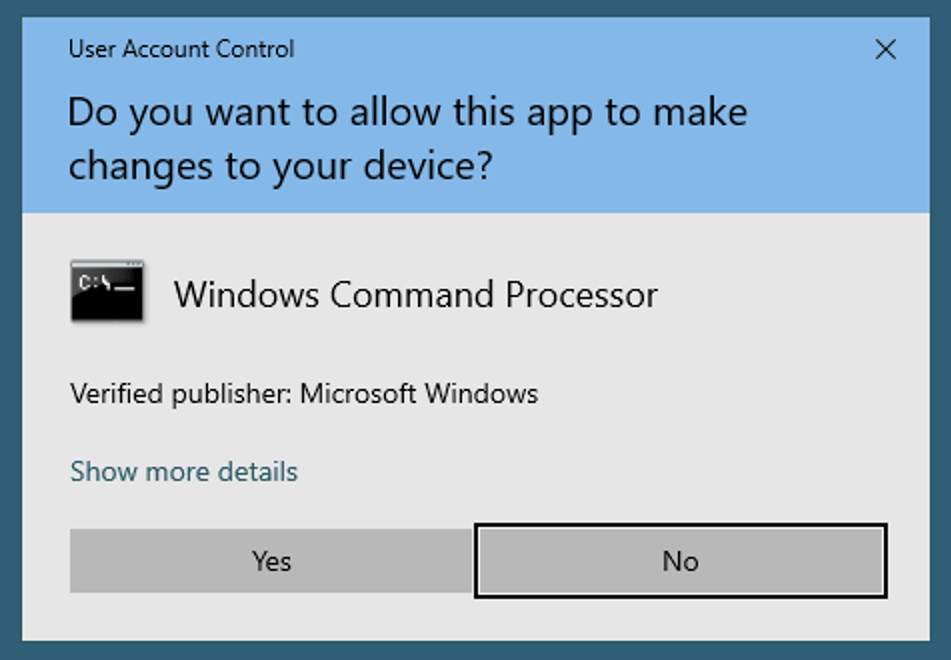
We just unzipped a directory named kali-linux-<VERSION>-hyperv-amd64. Then we double-click on the file install-vm.bat file. If we’re not administrator, we will get a popup window asking for approval, we click Yes:
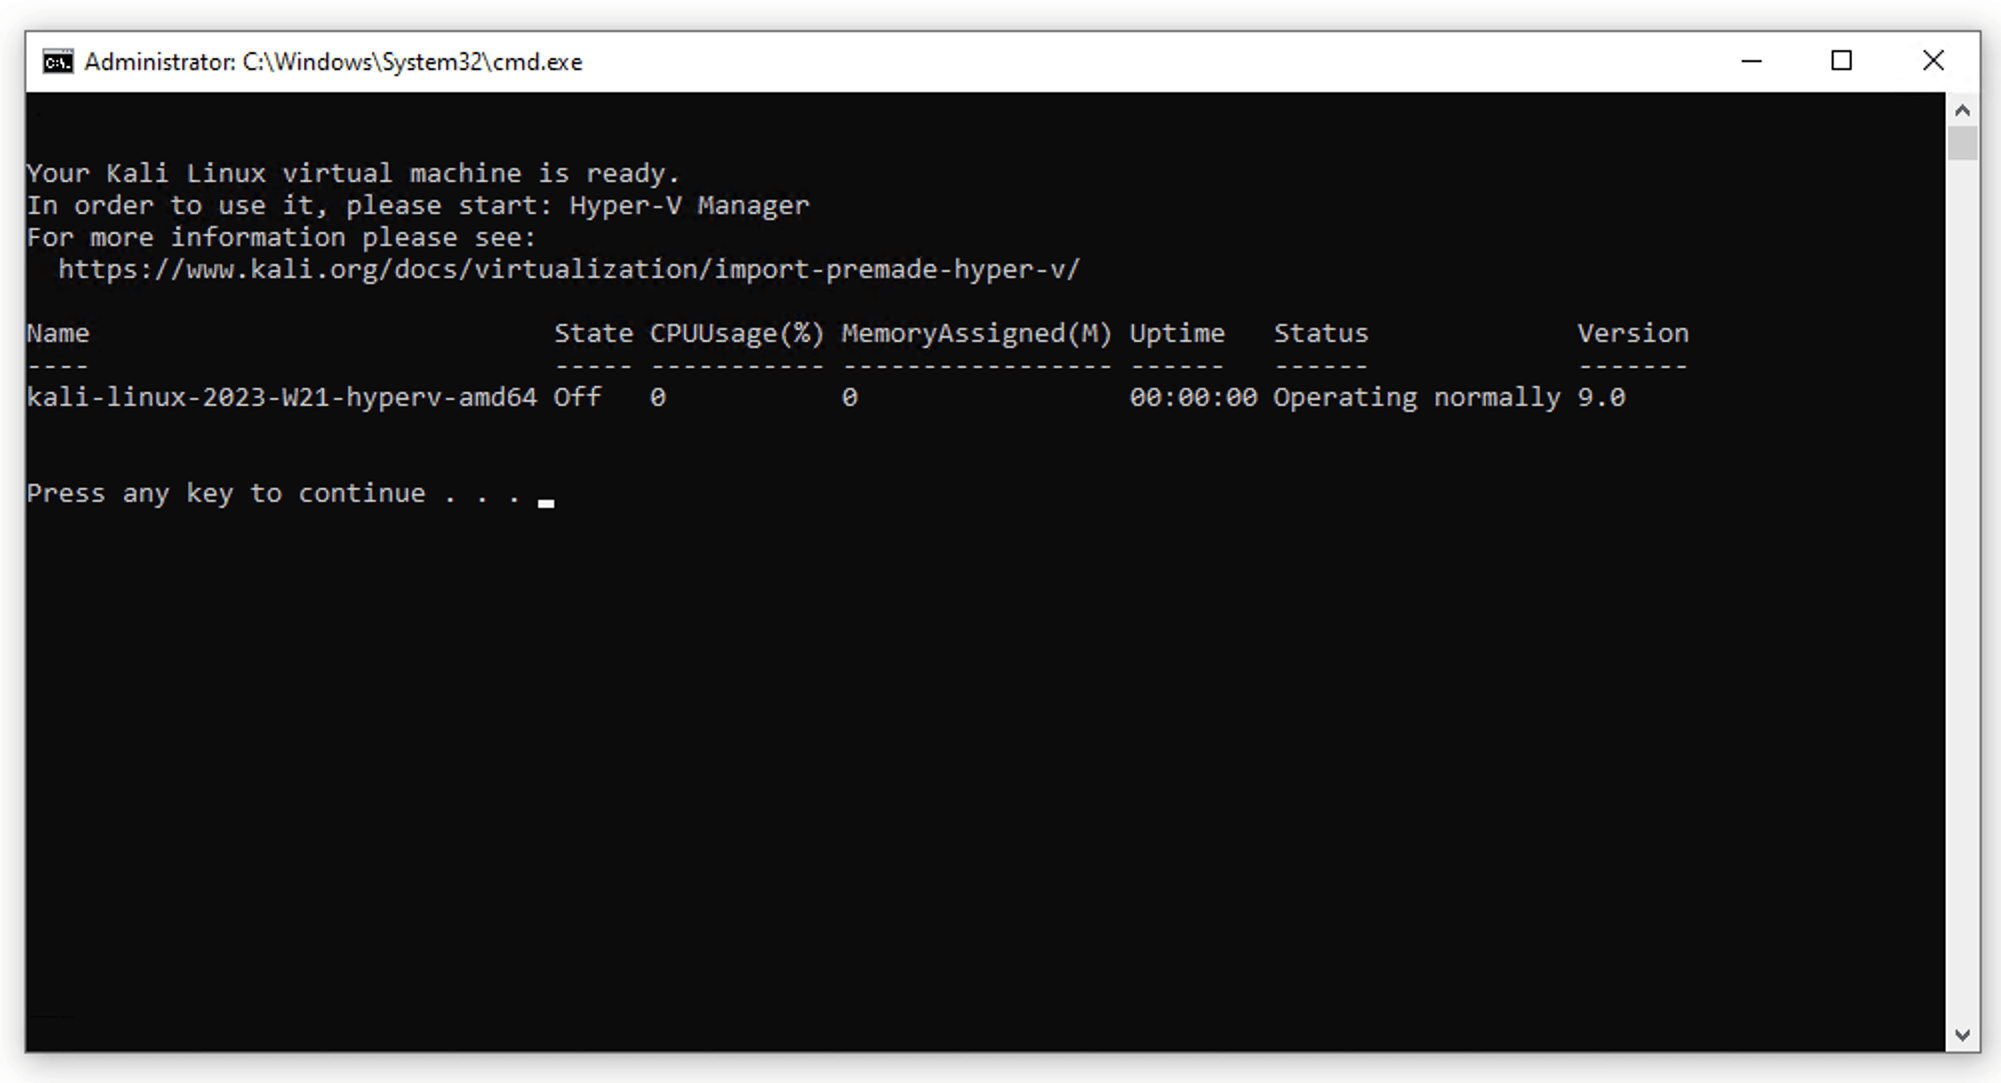
After approving the popup, a console appears, and the script run a series of steps in order to setup the Kali Linux Virtual Machine. If all goes well, we should see the following screen:
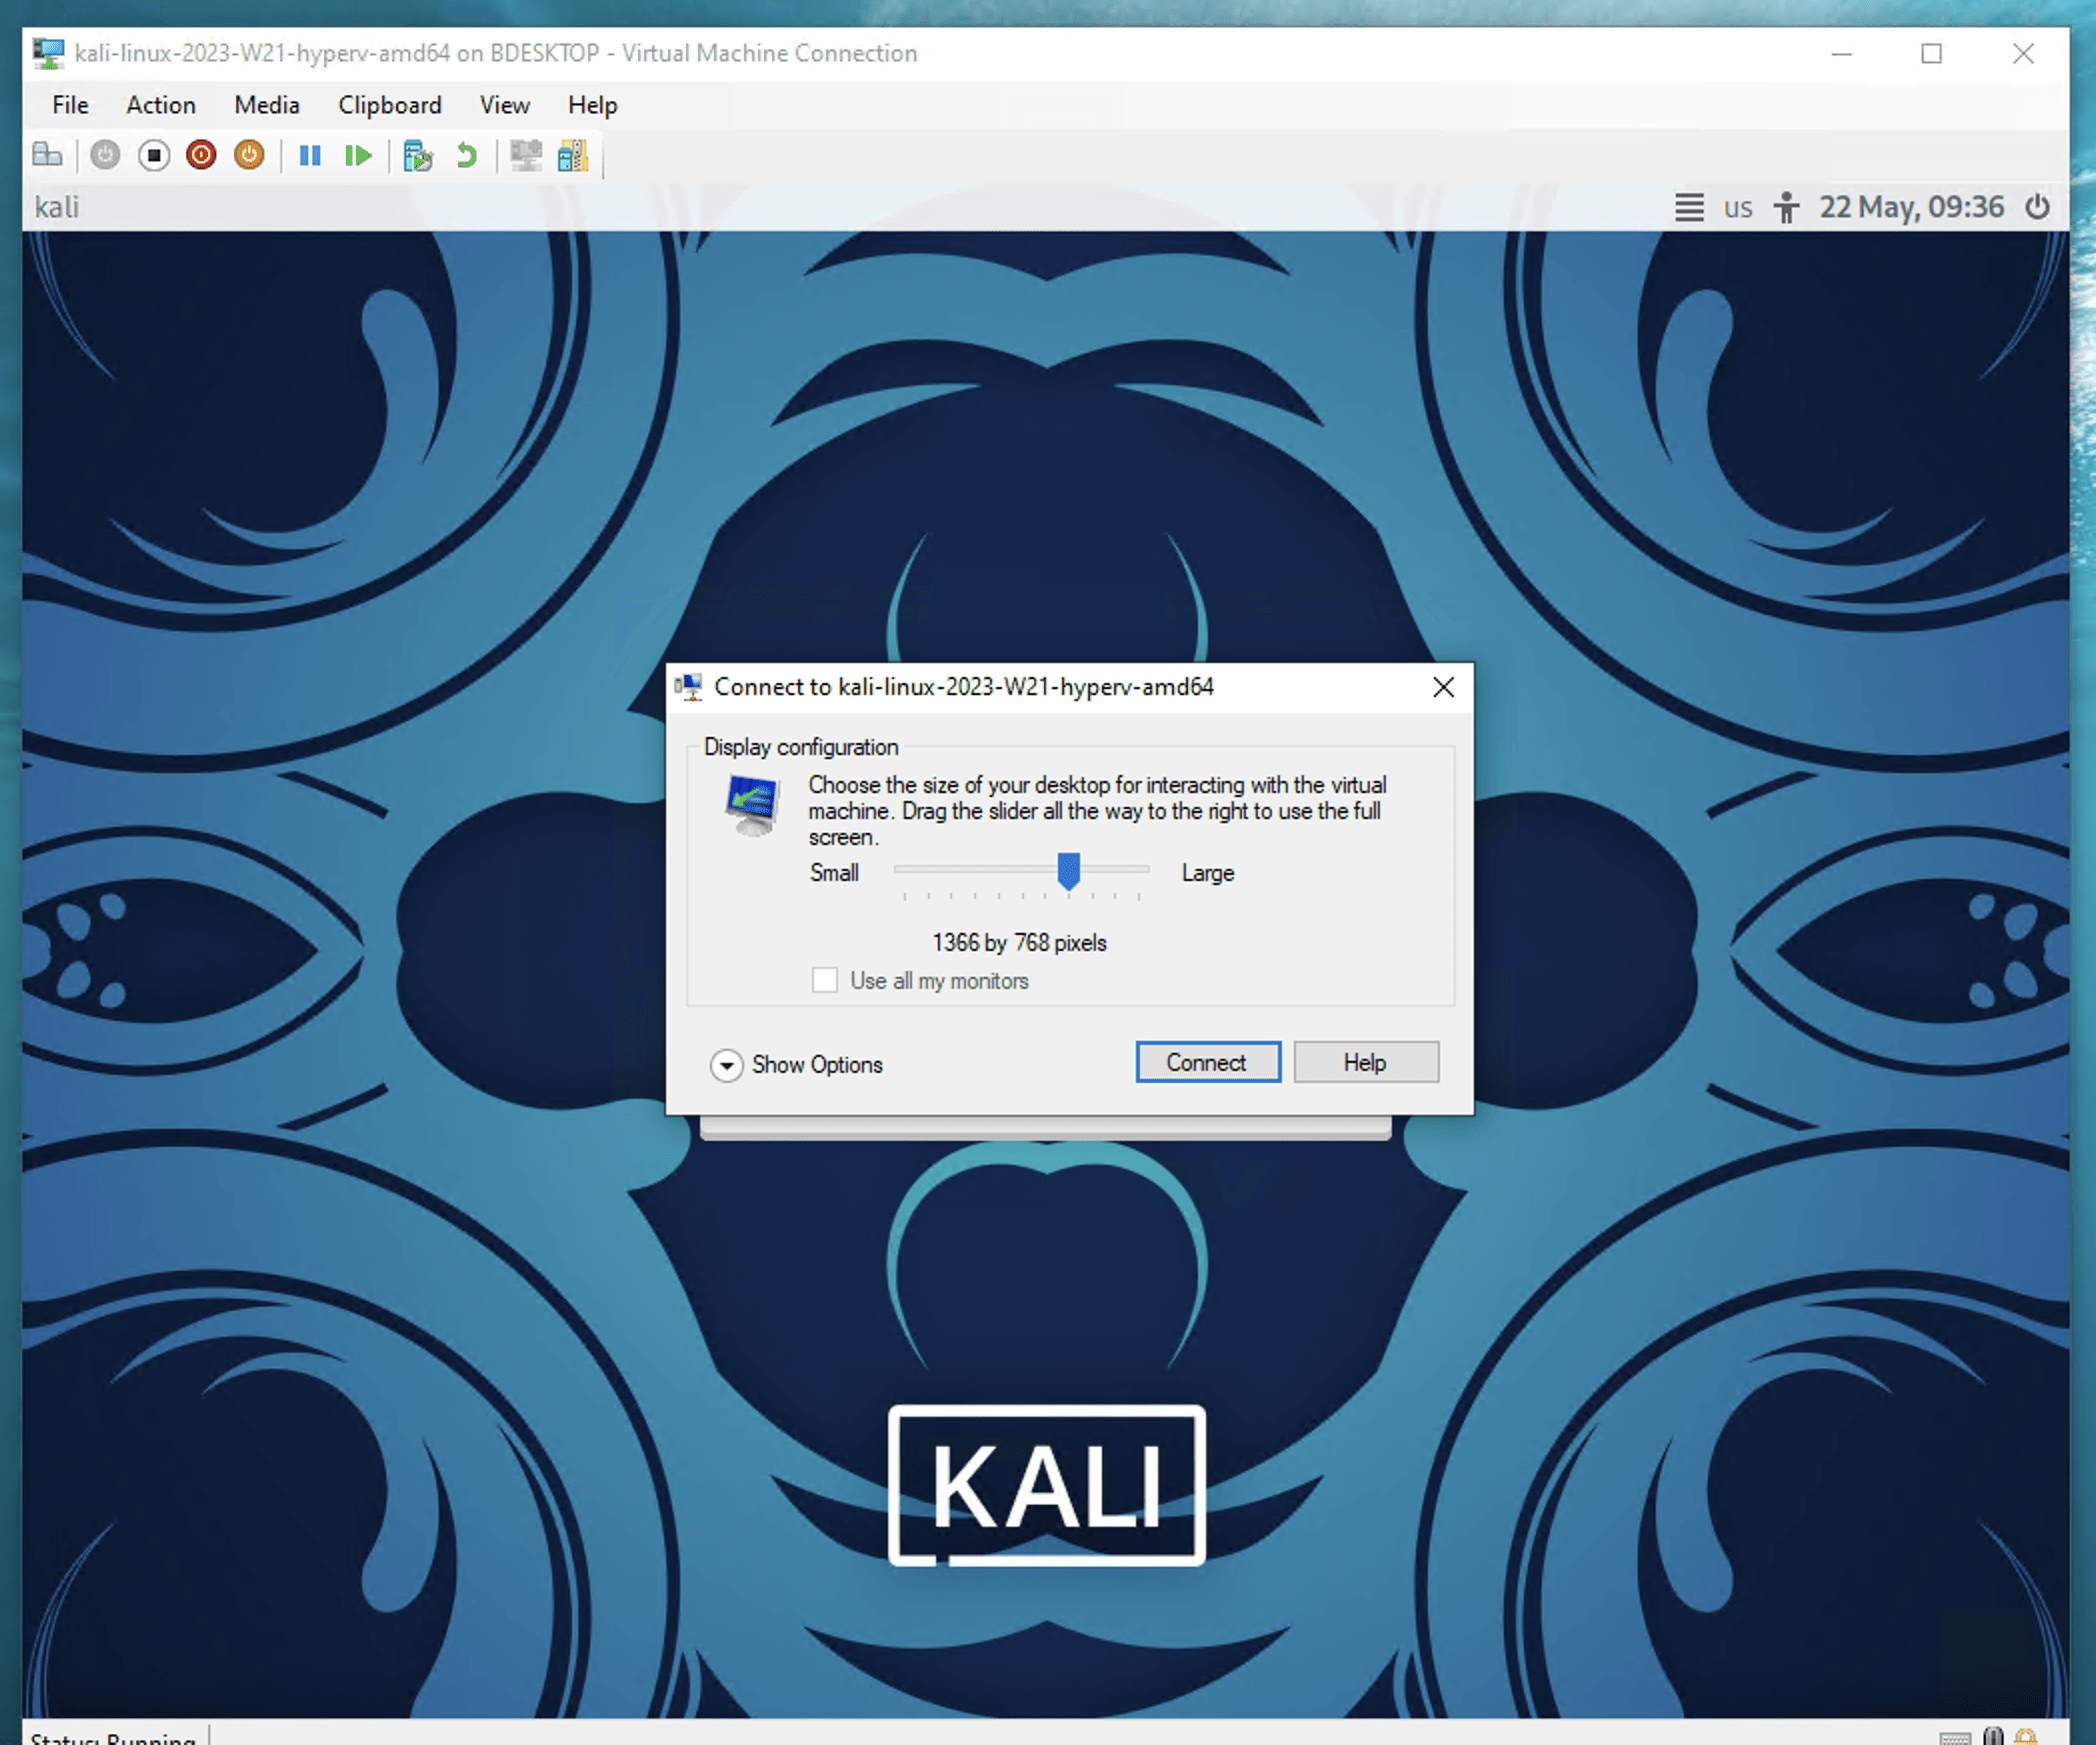
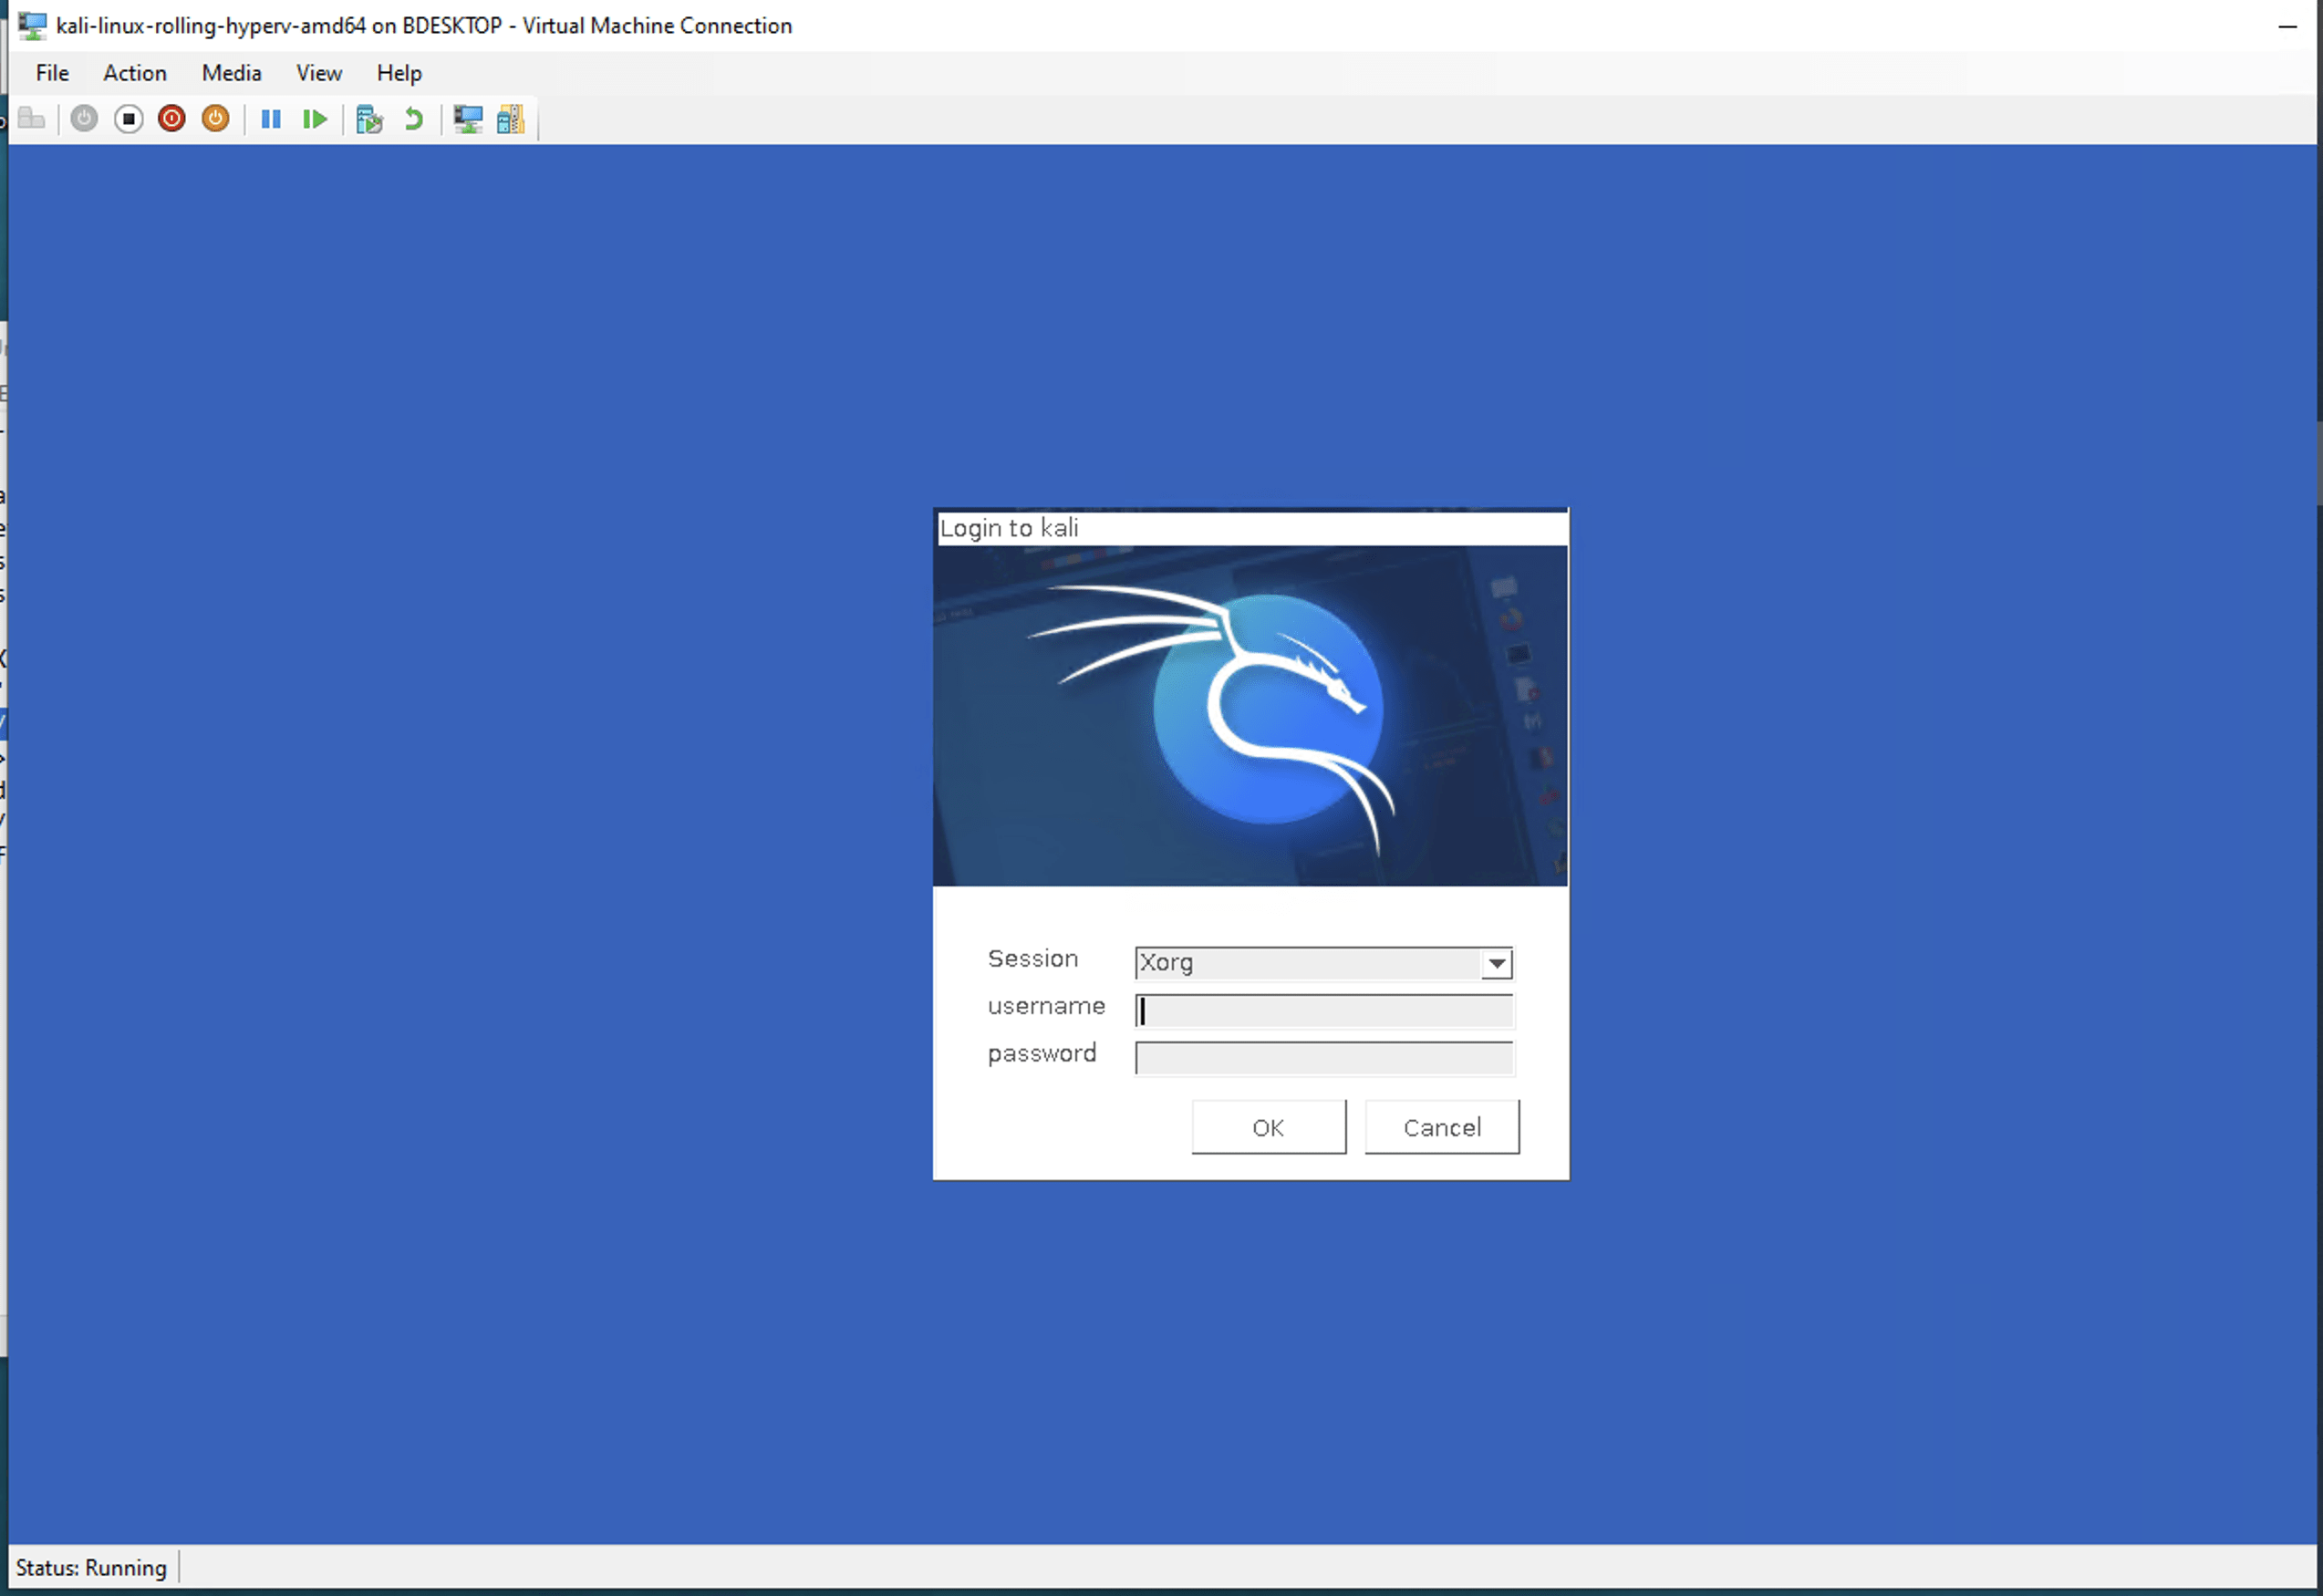
We then launch the Hyper-V Manager, right-click on the Kali VM, click Start, then right-click again and click Connect. We should see the usual Kali login screen, or rather, just have a glimpse of it, before a popup window appear in the foreground:
We click Connect, and a new login screen appears. The default credentials are kali and kali as usual:
That’s it! We are now logged in our Kali VM!
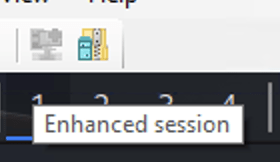
A brief technical note: we are connected over XRDP. This is the so-called Enhanced Session Mode, we can see that by hovering over some buttons on top:
Copying and pasting from host to guest, and the other way round, should work out of the box. File sharing as well. However drag and drop doesn’t work, as well as screen resizing. See the section below for more details.
Troubleshooting and extra tips
Moving the Virtual Hard Disk
At this point, we have a Kali Linux VM up and running. However, we can’t move the Virtual Hard Disk (ie. the file named kali-linux-<VERSION>-hyperv-amd64.vhdx) anymore, as it’s linked to the Virtual Machine. Or, at least, I strongly suppose that we can’t do that…
It seems that Hyper-V usually stores its Virtual Hard Disks at C:\ProgramData\Microsoft\Windows\Virtual Hard Disks\. So if we like to keep our computer neat and tidy, we can restart the procedure above, except that we should move the unzipped files to this location before running the script install-vm.bat.
Changing the screen resolution
At this point it seems that the screen resolution must be set at boot time, hence it needs to be configured in the kernel cmdine. To do so, we open a terminal, and run:
kali@kali:~$ sudoedit /etc/default/grub
In this file, we update the value of the GRUB_CMDLINE_LINUX_DEFAULT variable as below:
GRUB_CMDLINE_LINUX_DEFAULT="quiet video=hyperv_fb:1920x1080"
Here 1920x1080 is the screen resolution of the host machine. You need to change this value as per your host machine resolution.
Finally, we rebuild the GRUB config files:
kali@kali:~$ sudo update-grub
Then reboot the VM to test.
Updated on: 2025-Jun-18
Authors:
arnaudr
,
gamb1t
