Kali inside UTM (Guest VM)
To install and set up a UTM VM it is pretty straightforward. We first download UTM and then launch the app. After this we can click create VM and start the short process:

We will select Virtualize, as we will be using a Kali Apple M1 installer iso which will bring us to the next page:
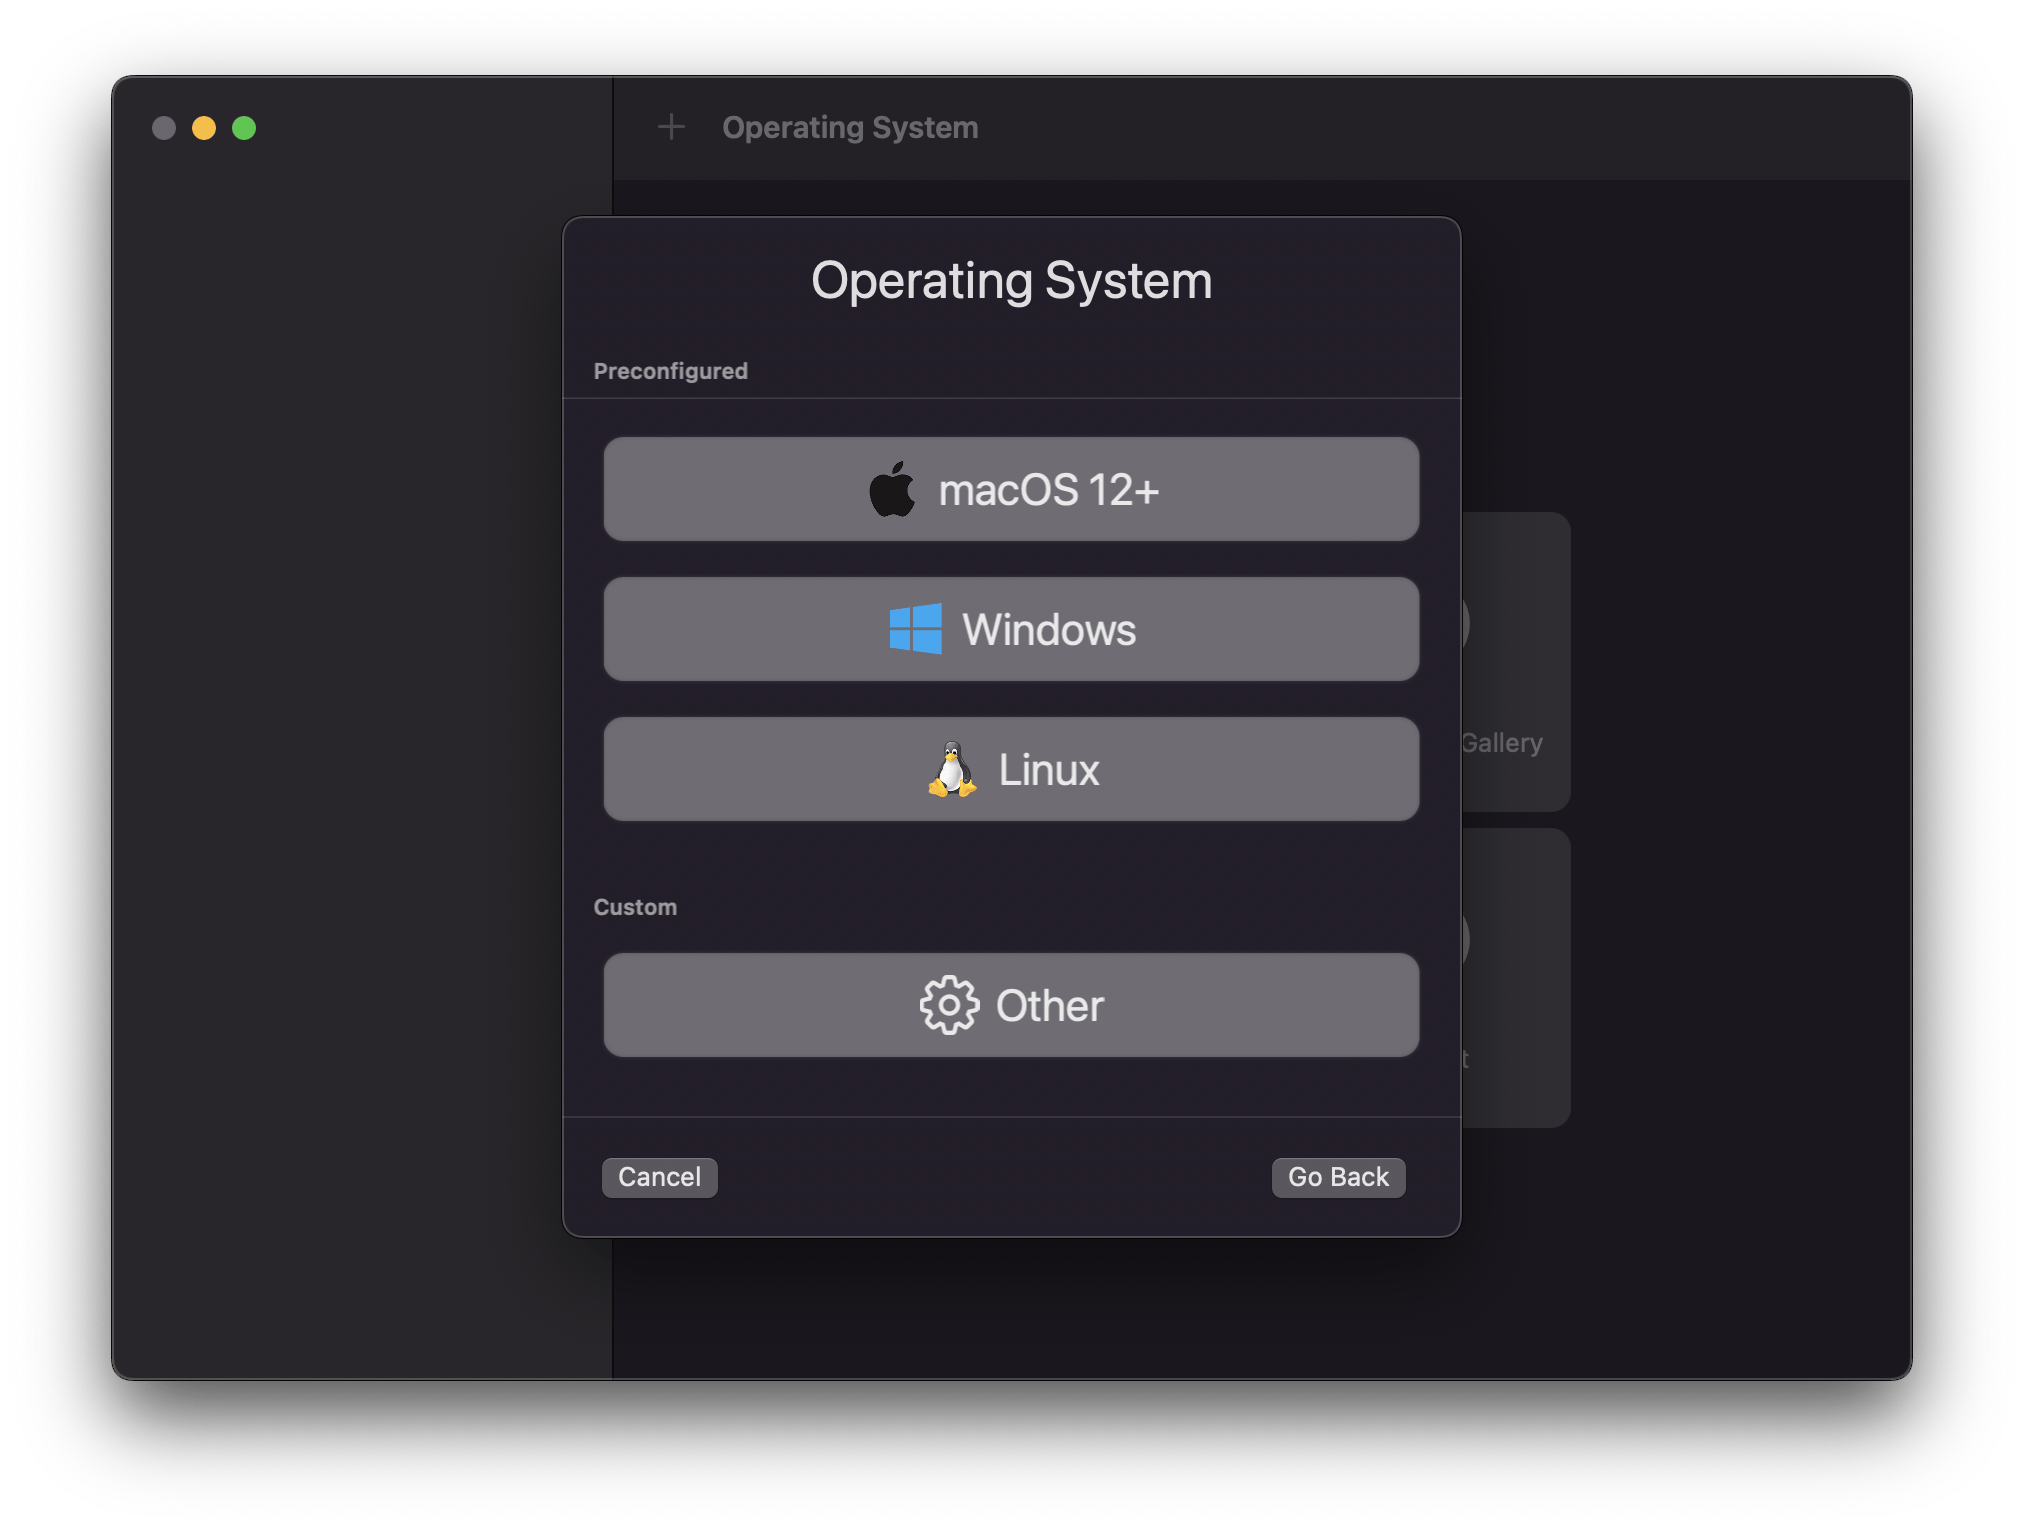
From here, we will select “Other” which will again bring us to the next page:
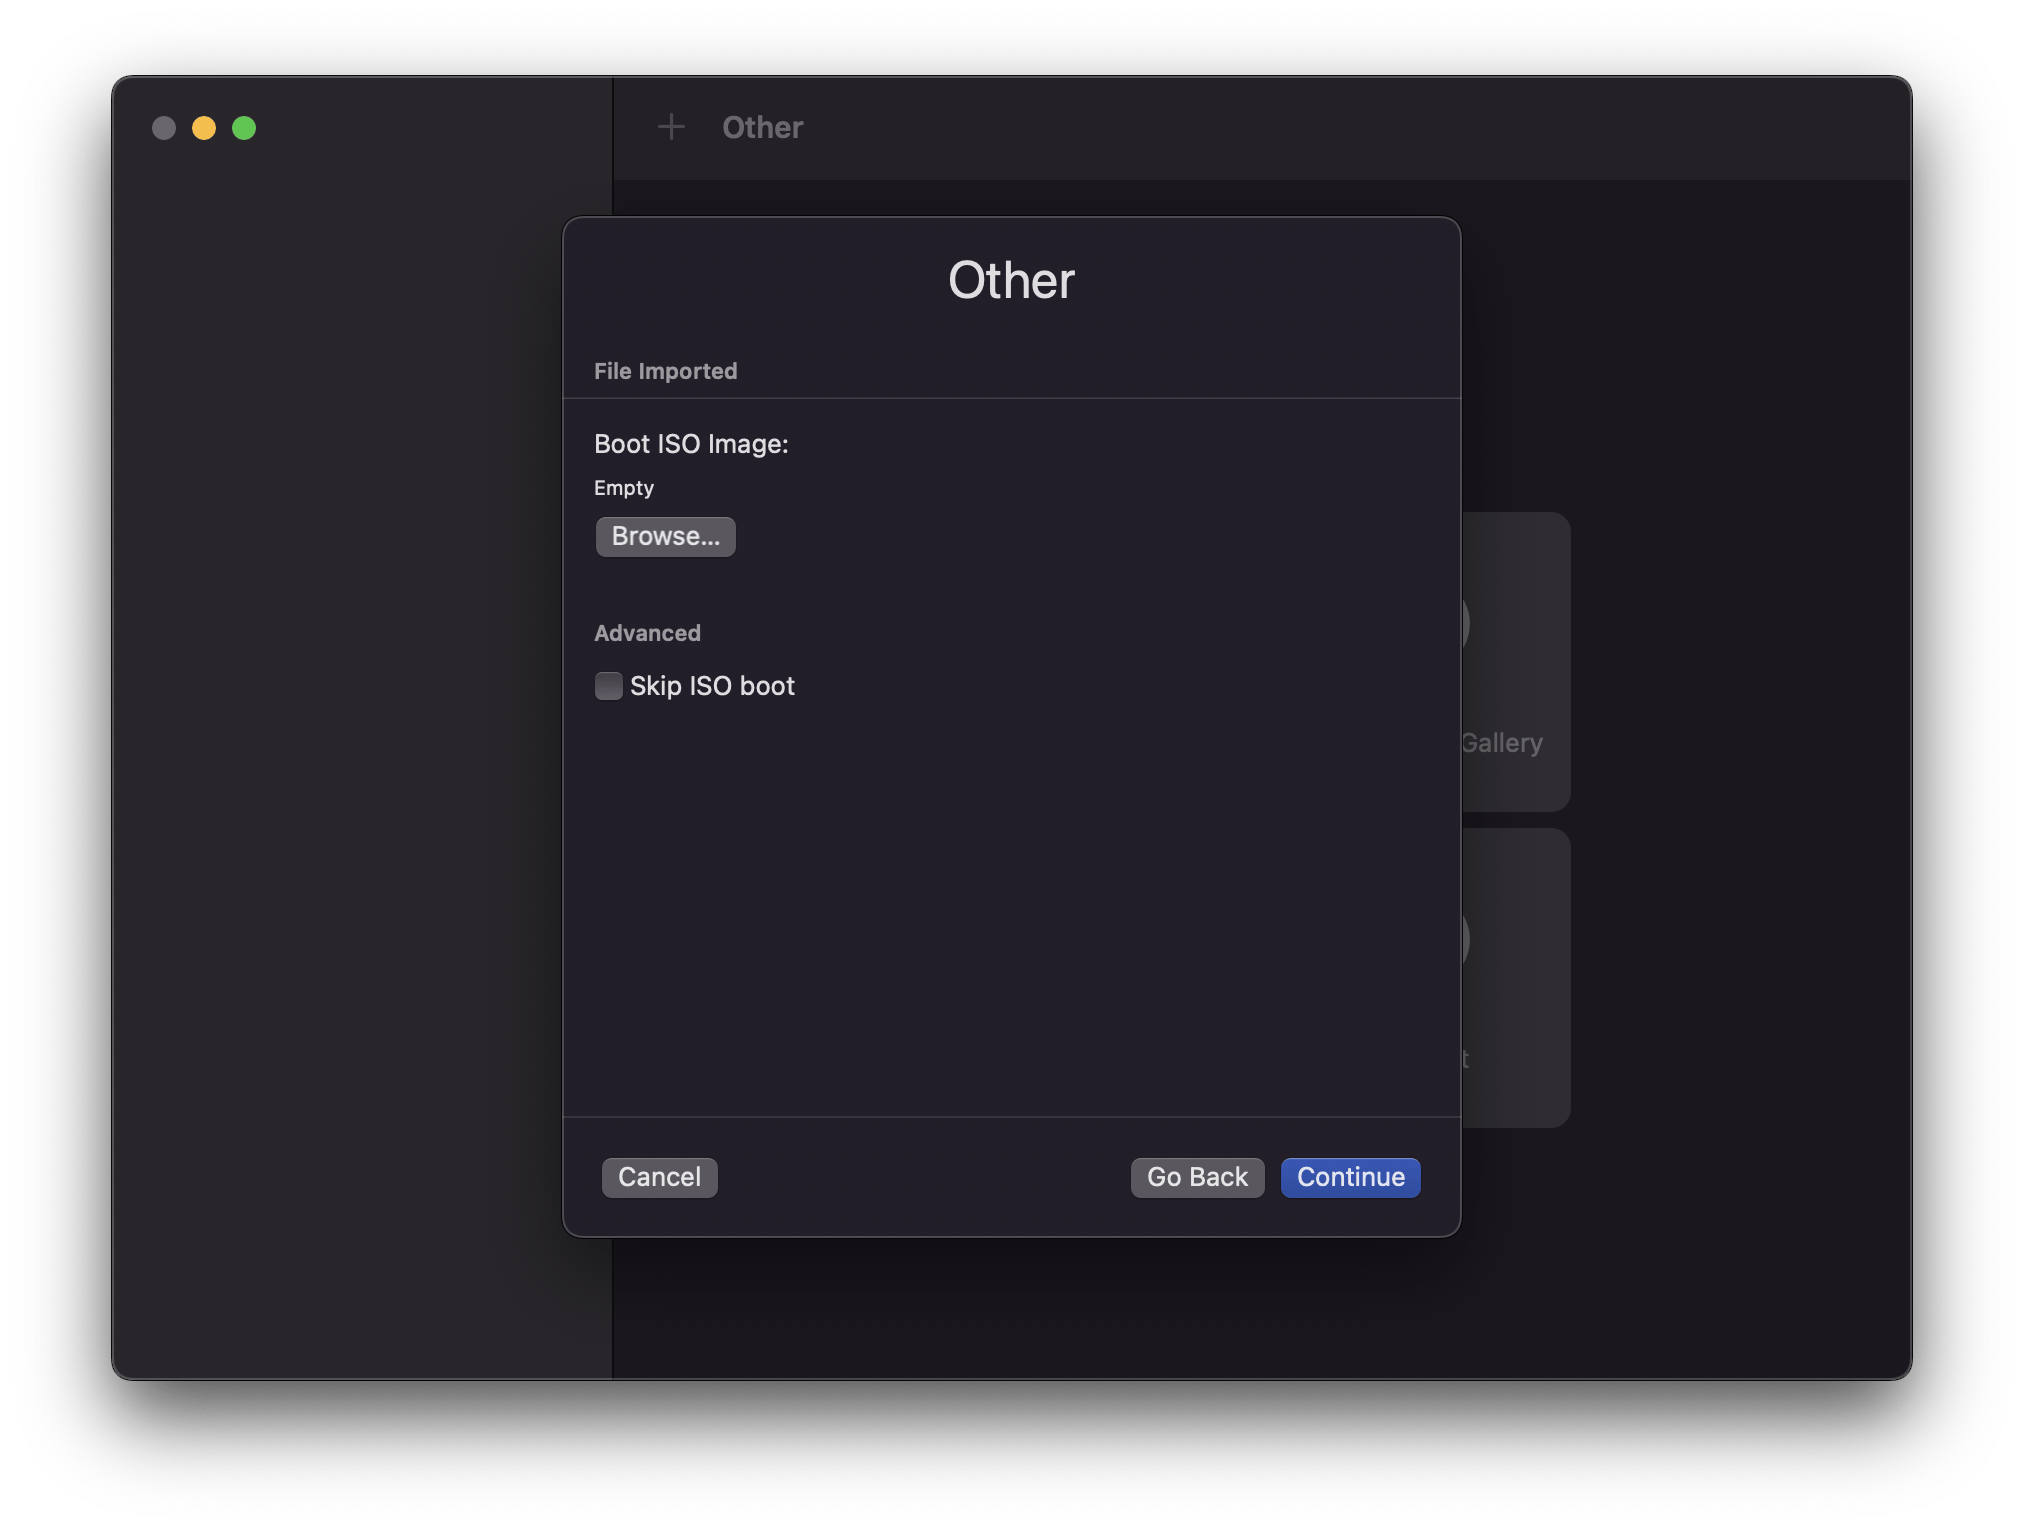
Now we are only going to change one item, which is selecting our “Boot ISO Image” and choosing the ISO we downloaded previously. Once that is done we can hit continue:
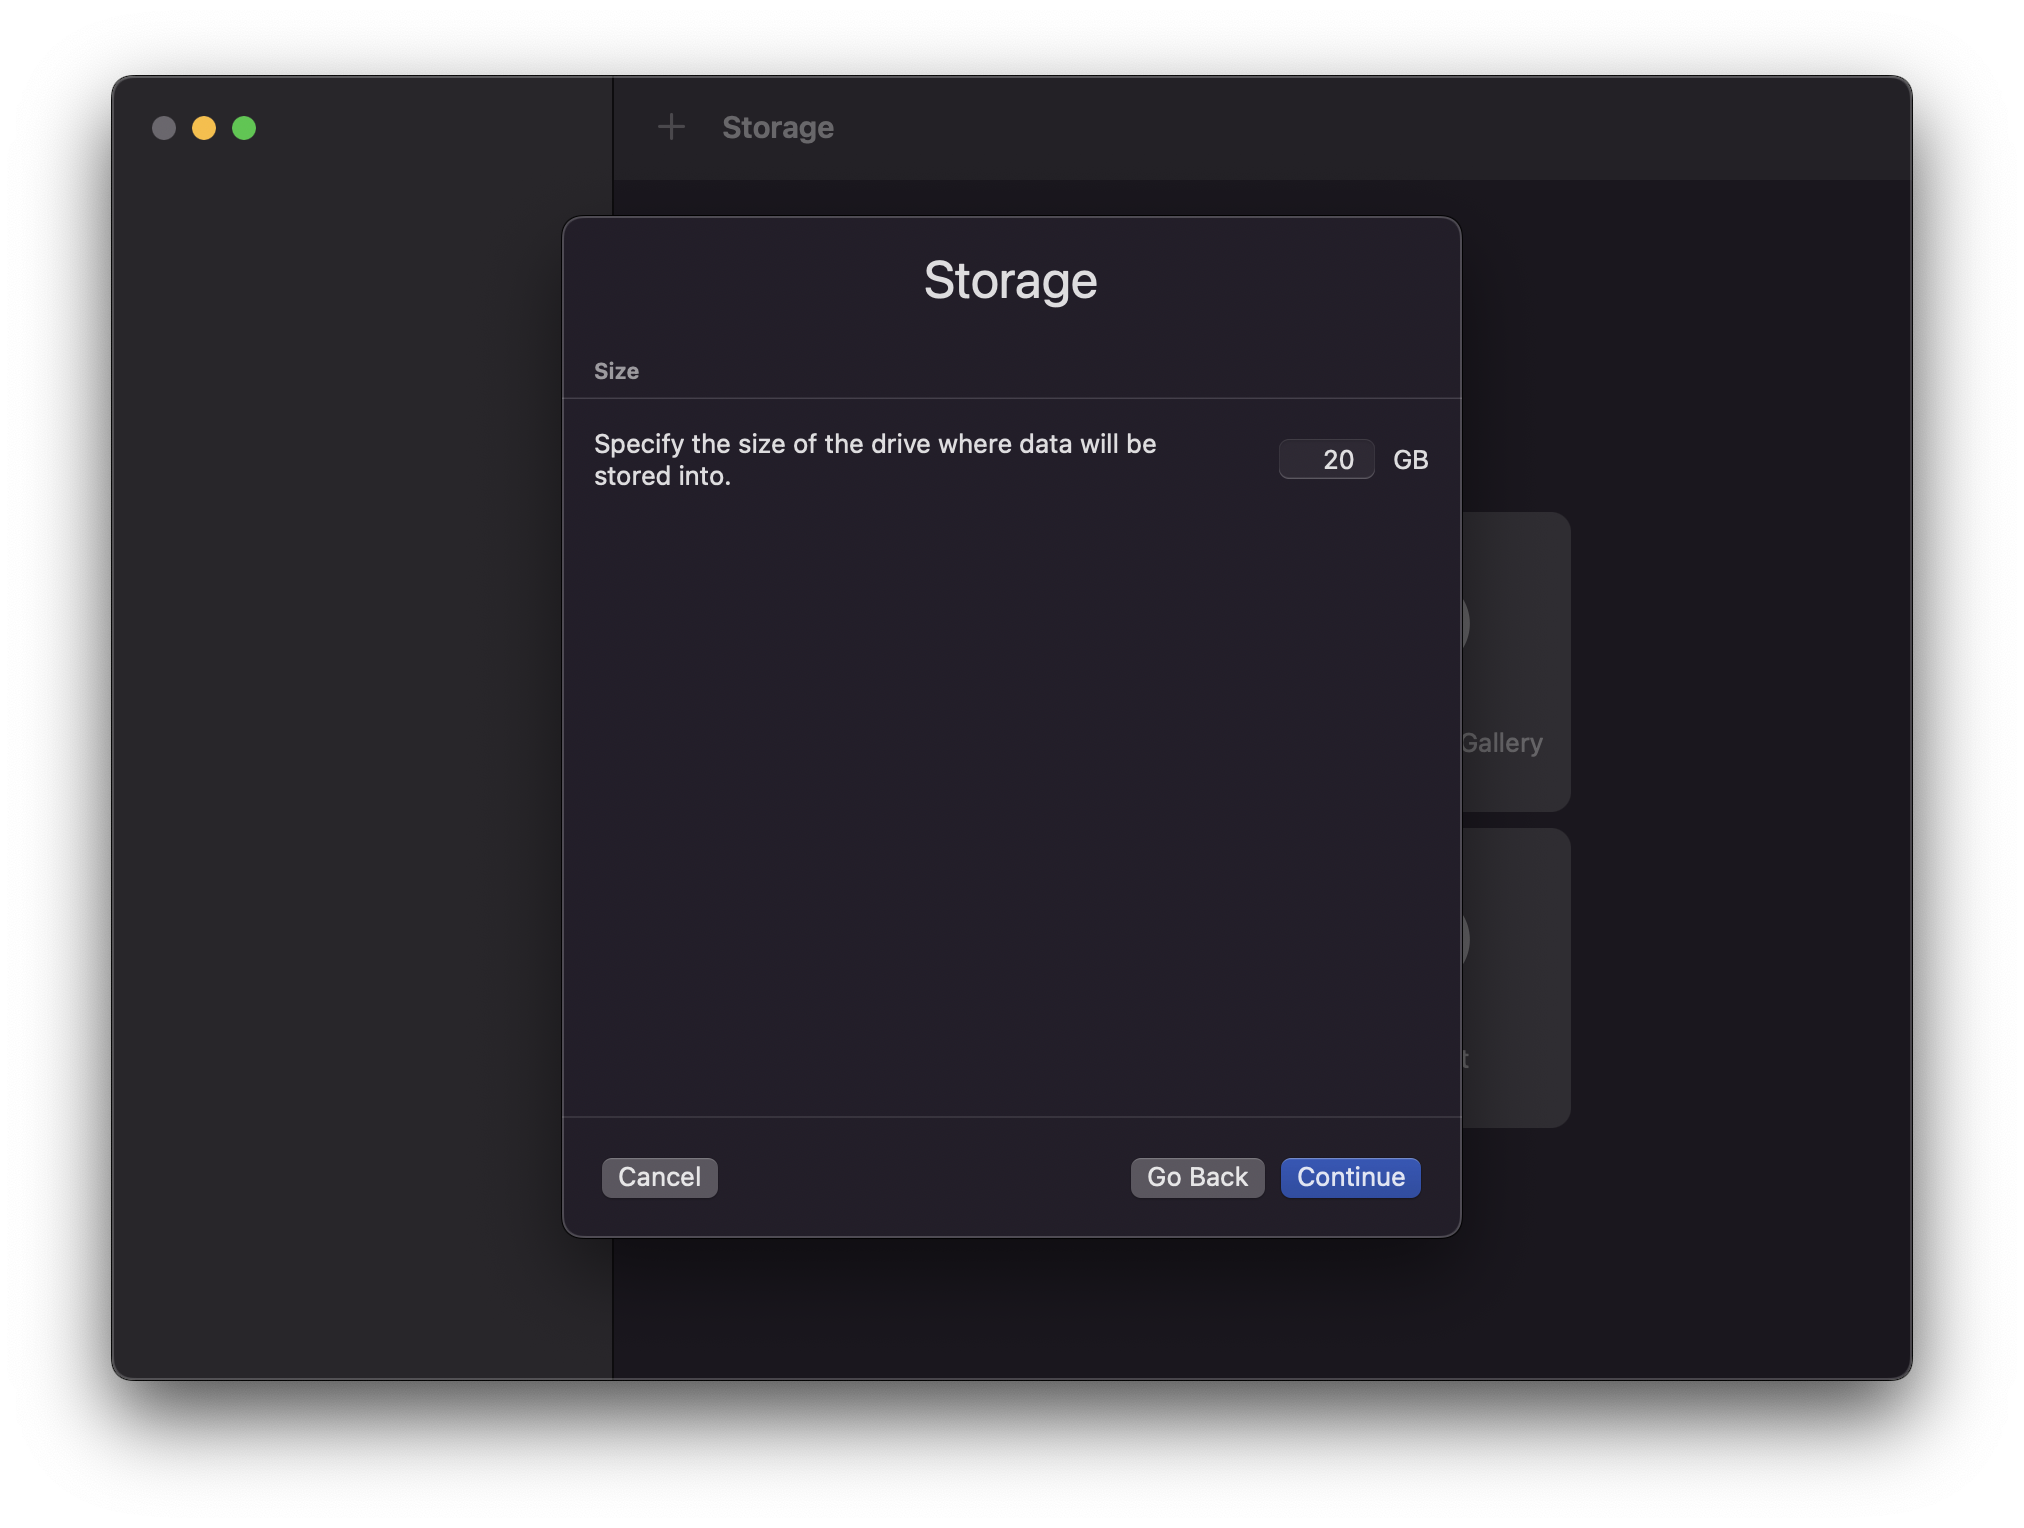
We won’t the default size here, and will just continue forward but you can increase or decrease it for your needs and installation sizes:
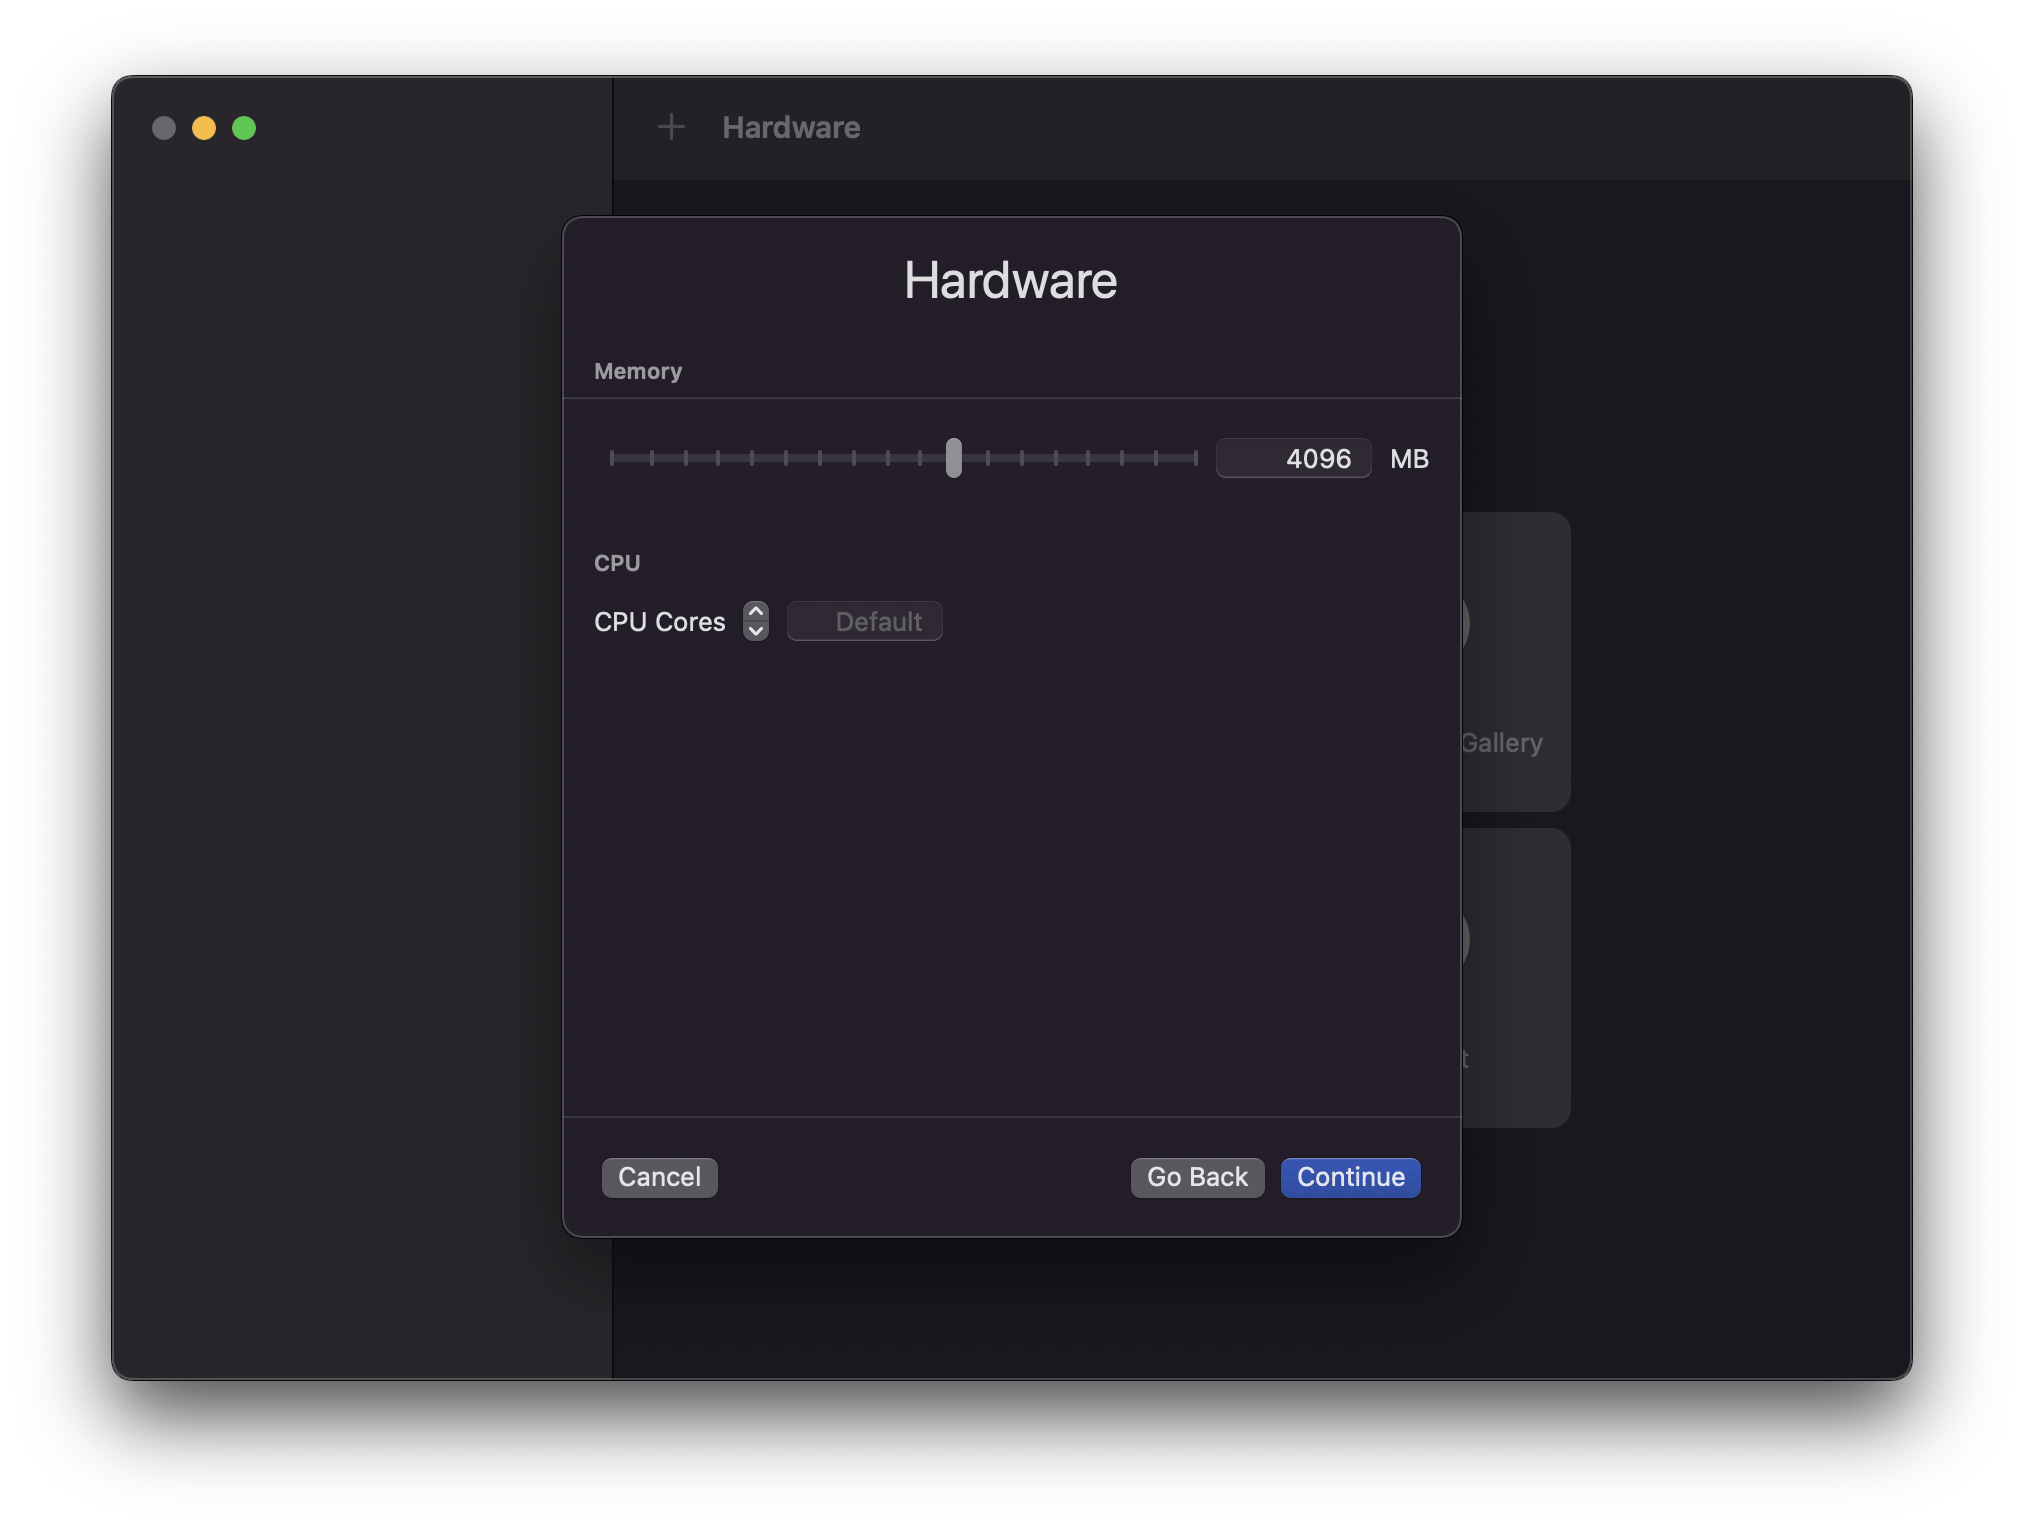
We again will skip changing anything on this page, however if you want a shared directory feel free to add it:
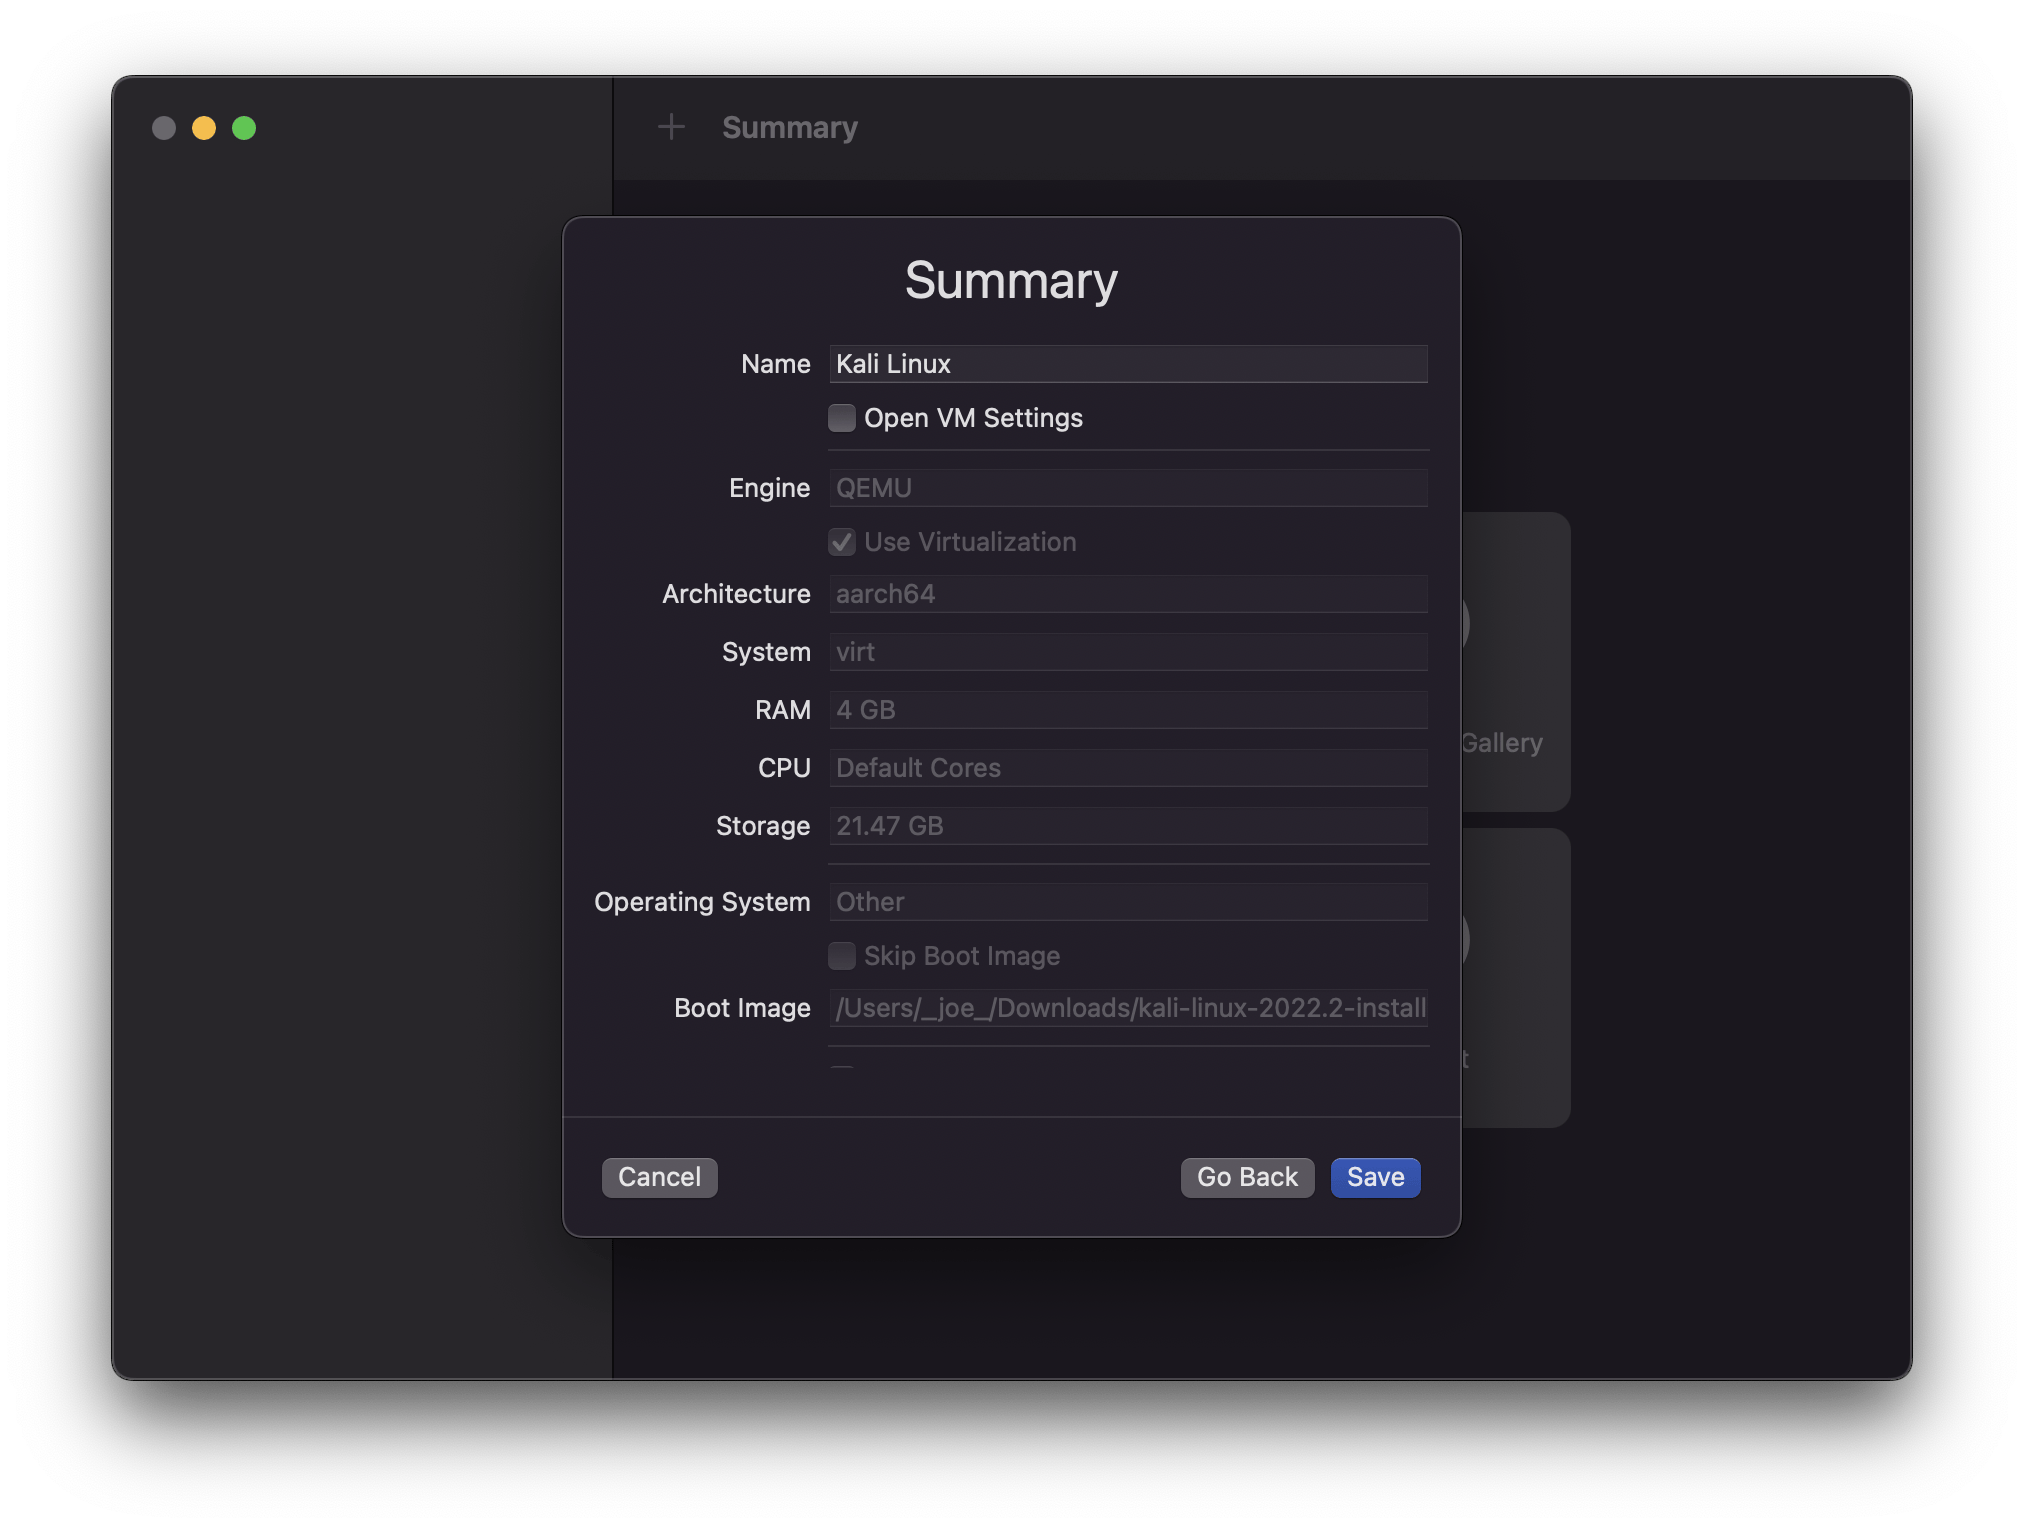
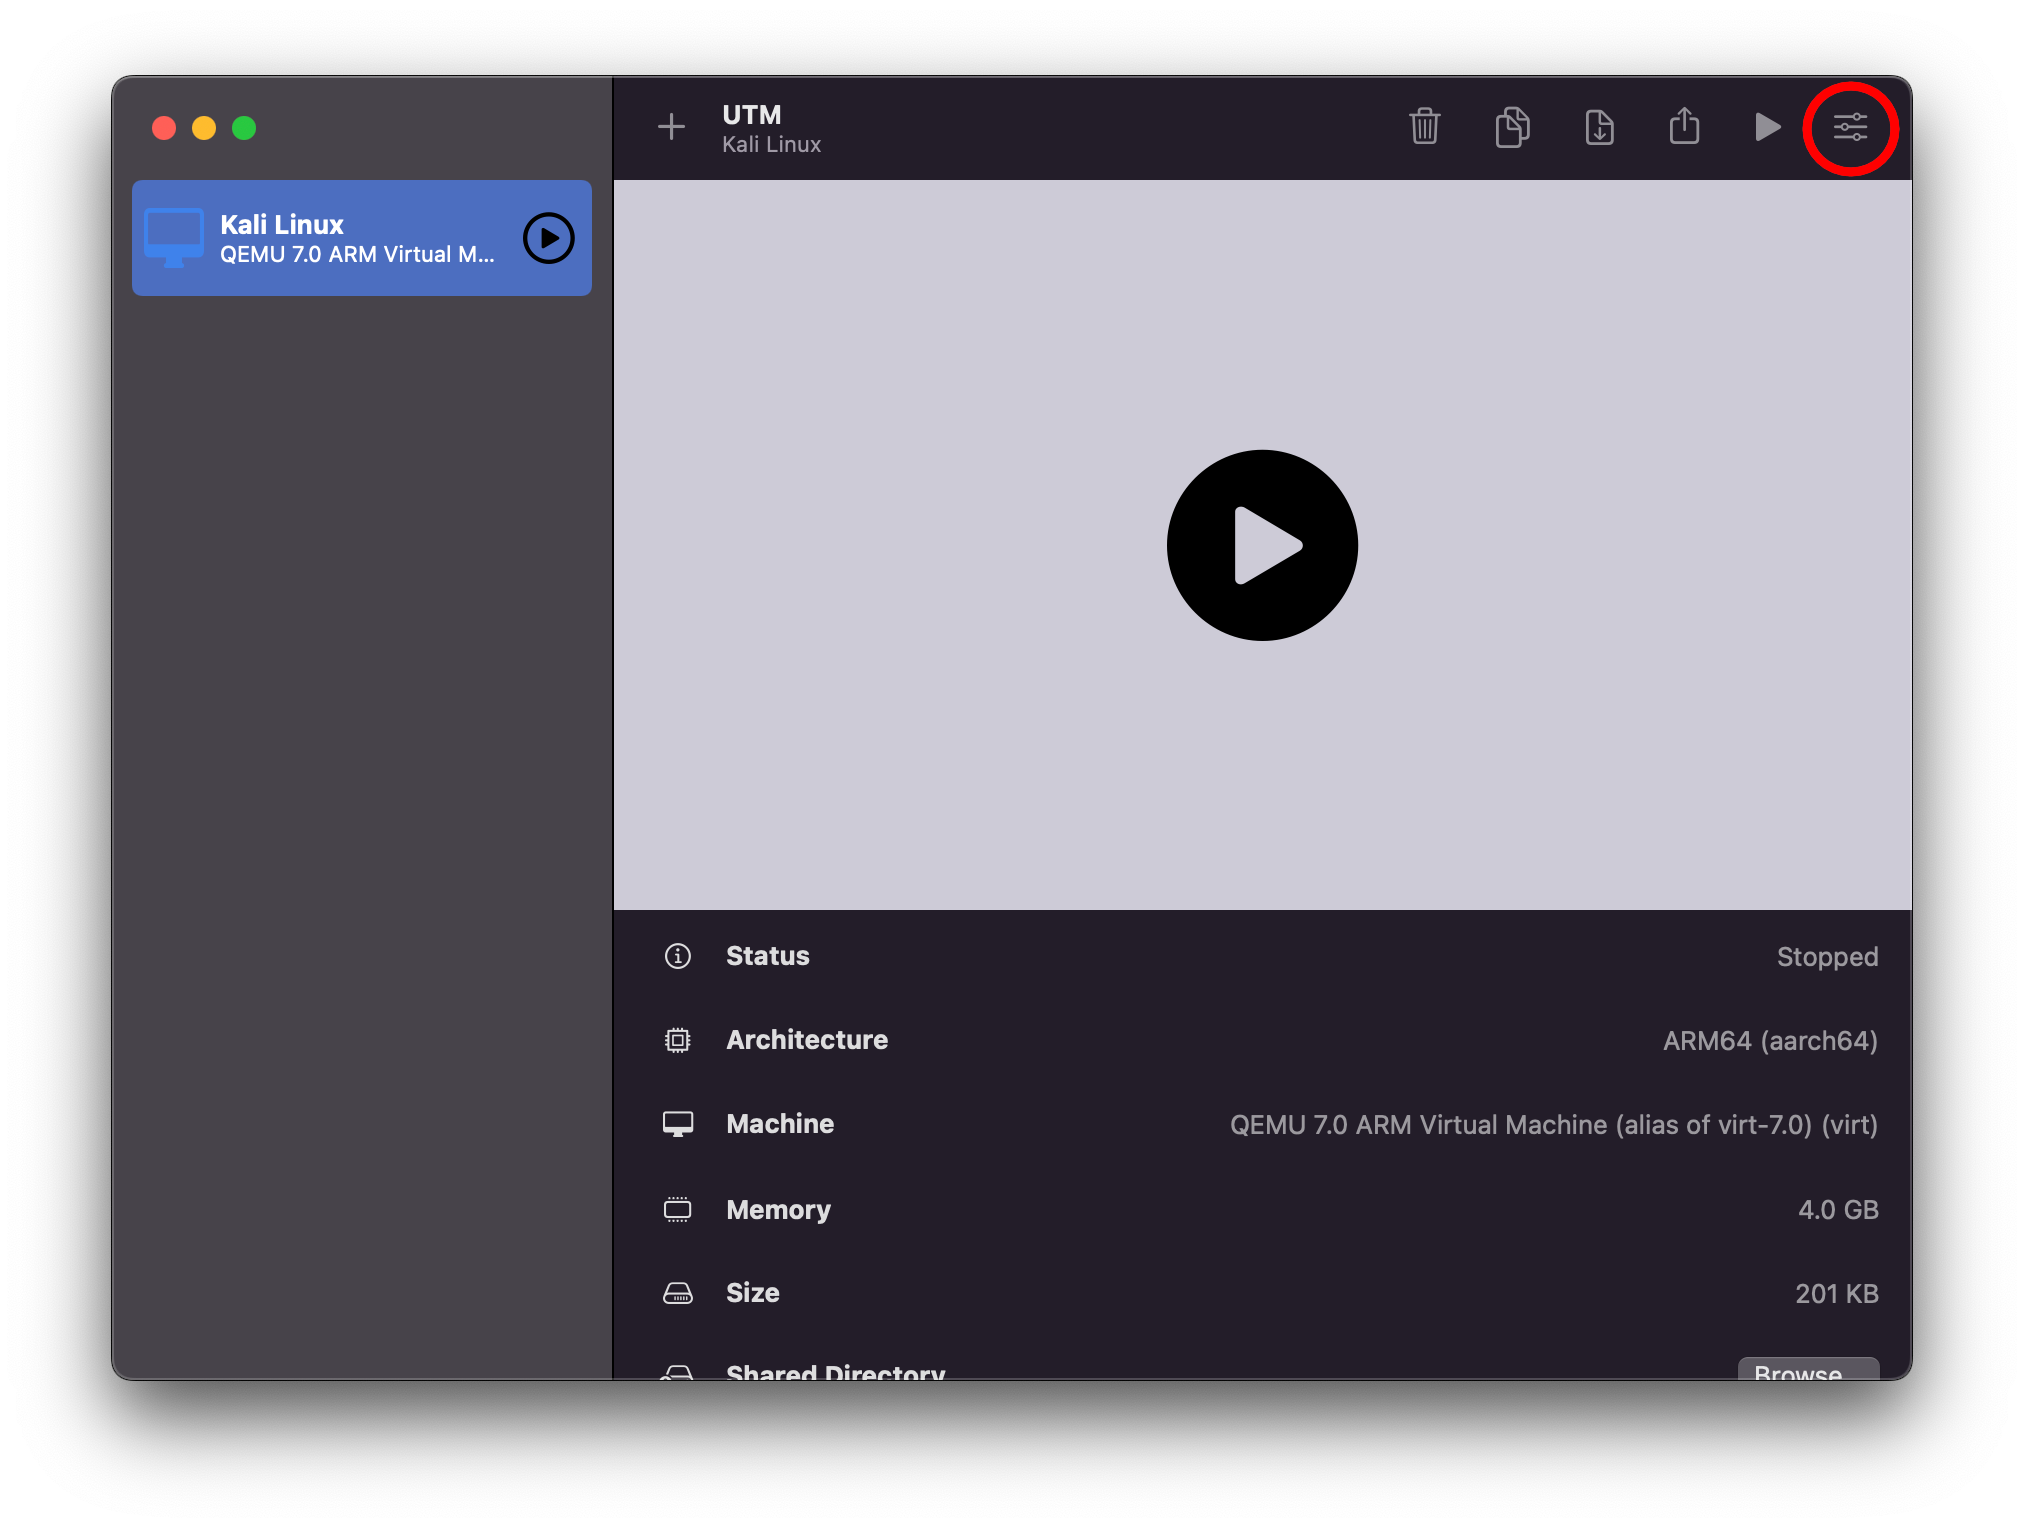
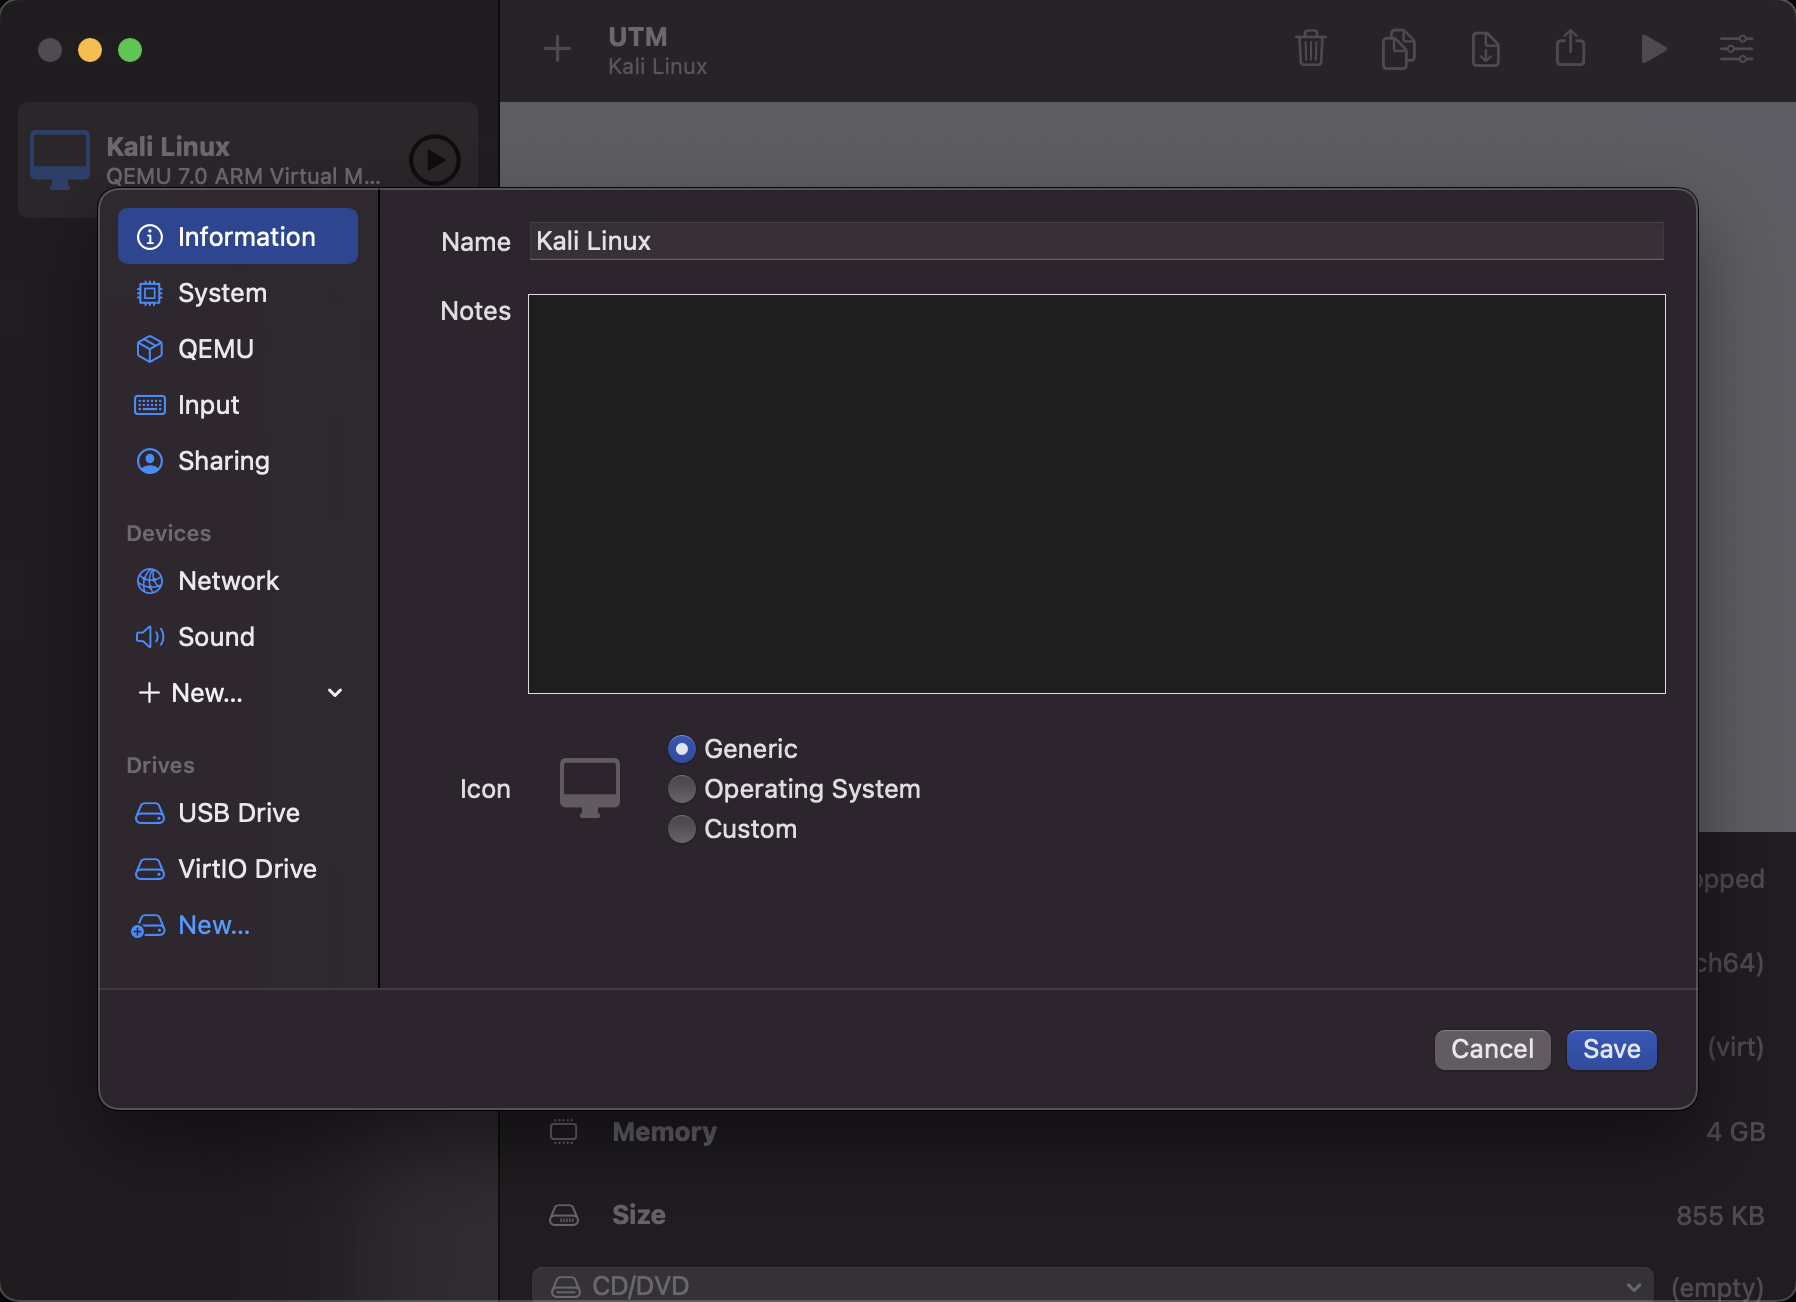
Now we are at the summary and we can re-name our VM to be “Kali Linux”. Once complete, we will hit save and then press the settings button. Due to a bug in the current UTM version, we will have to install Kali in console only mode.
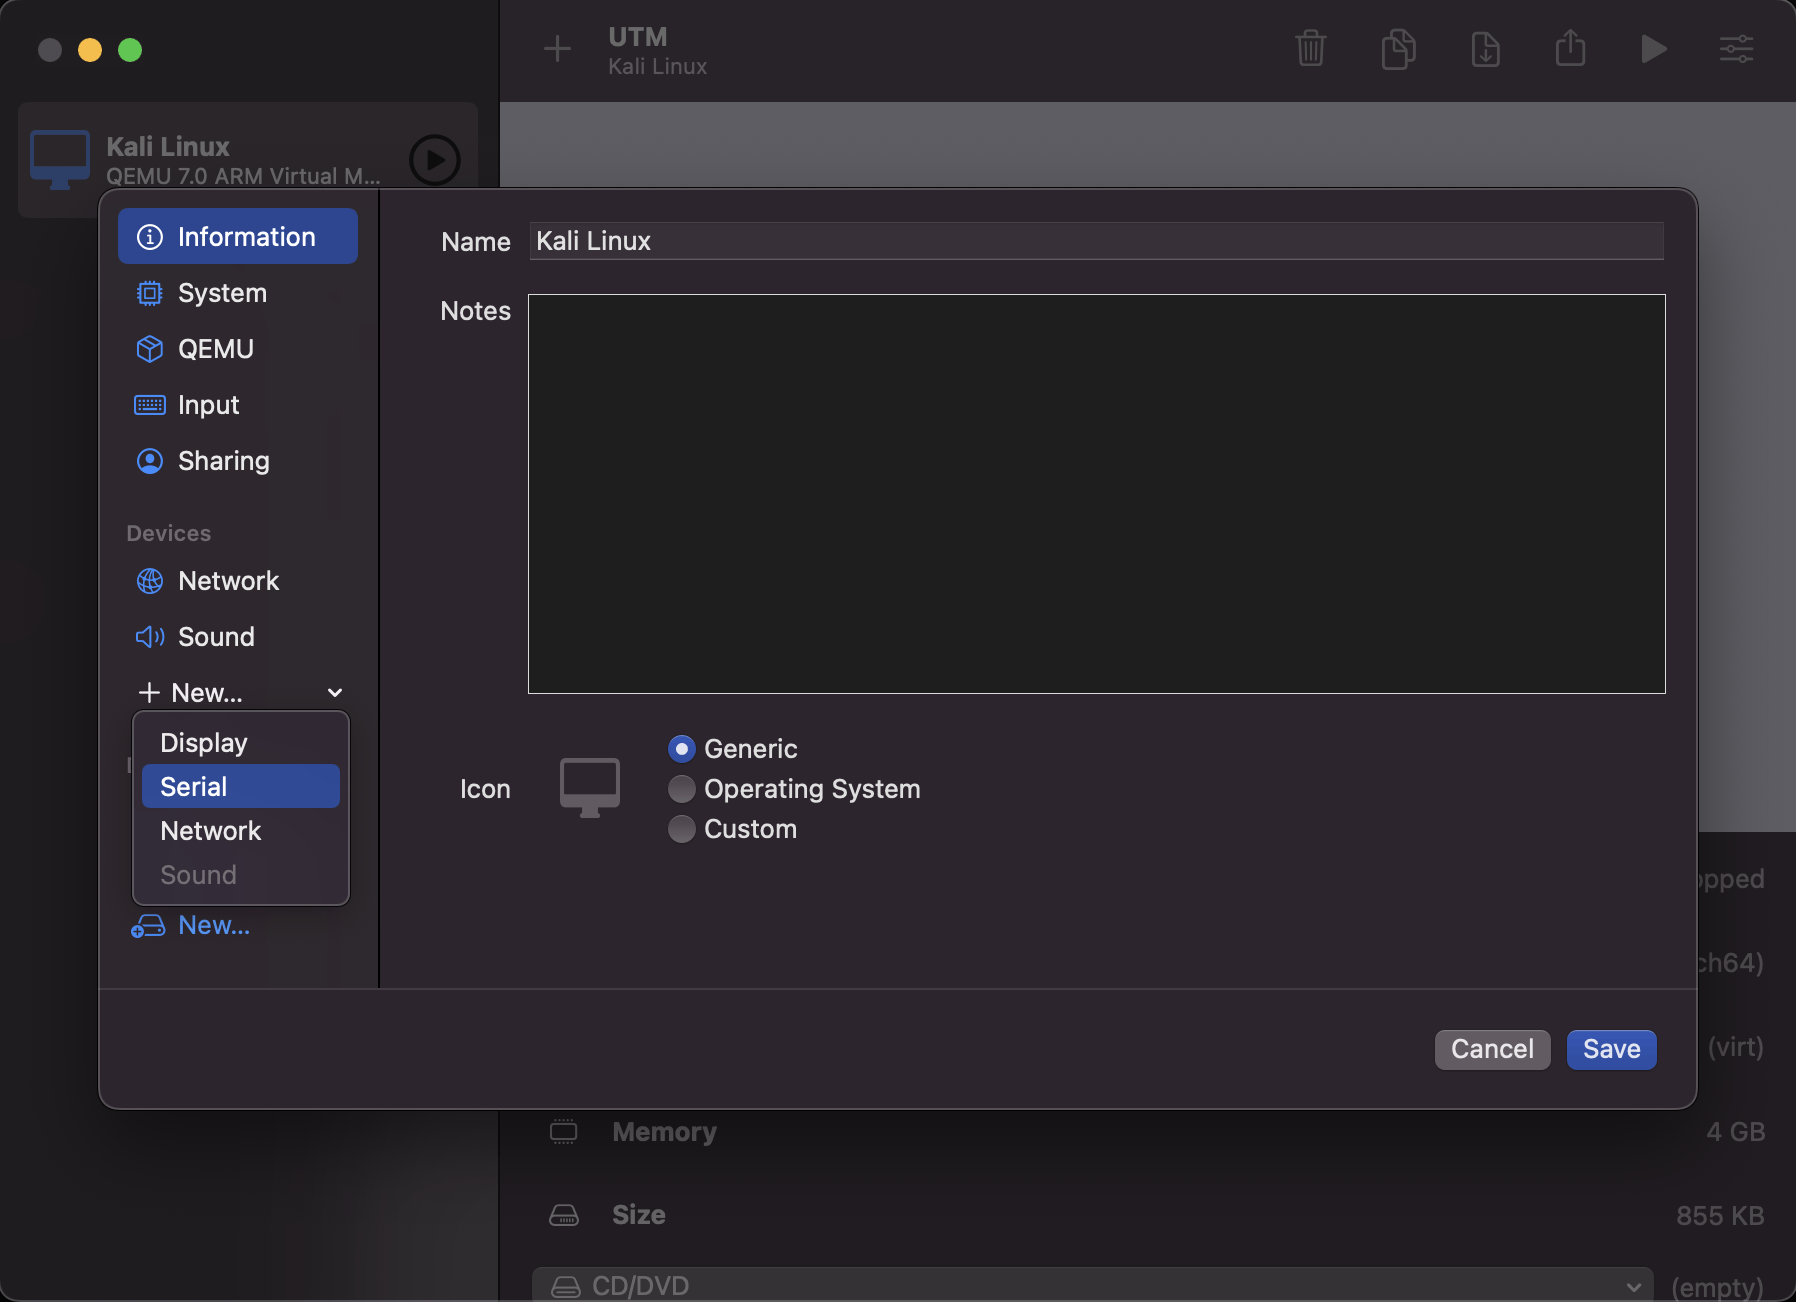
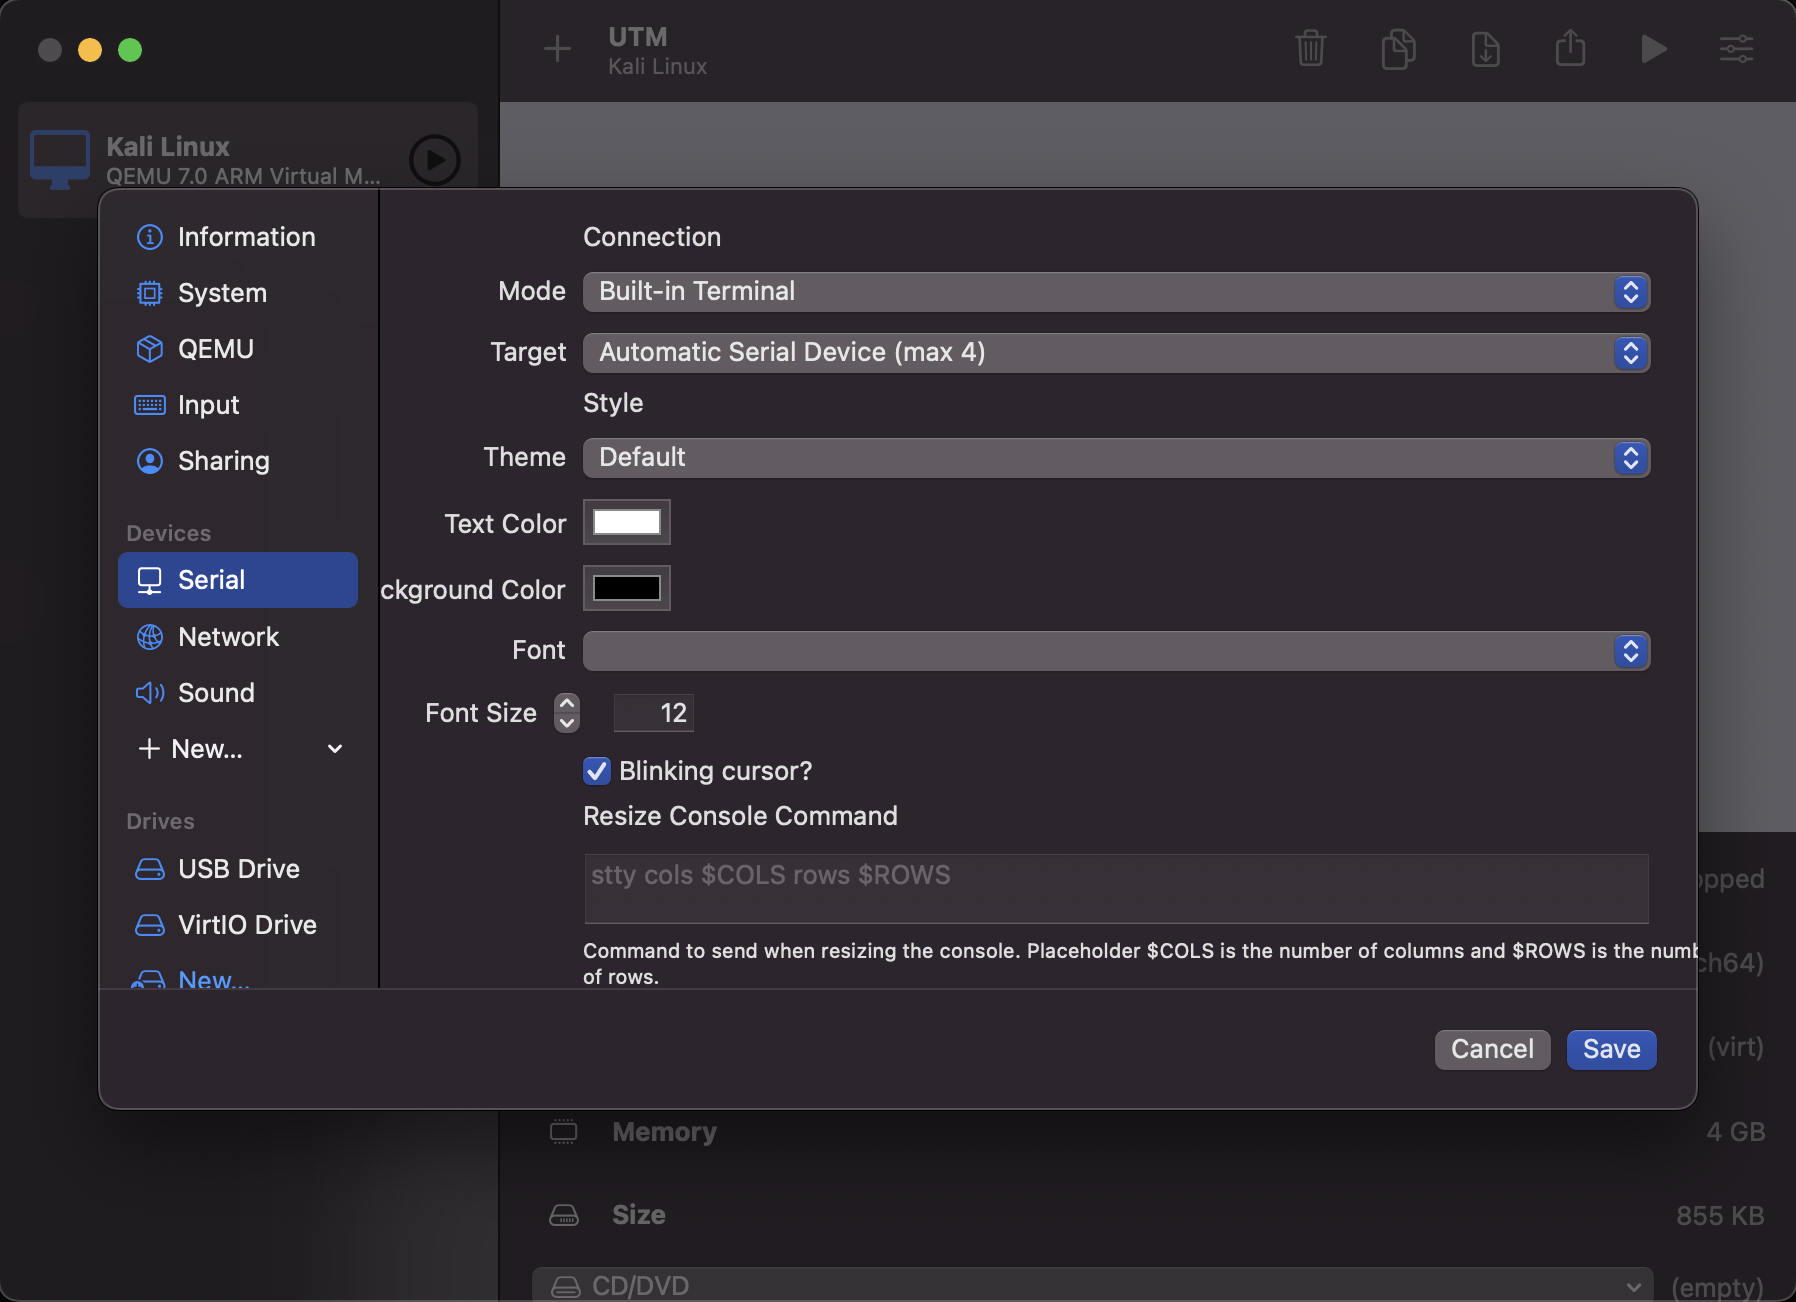
From here we can add the device “Serial” under “Devices”:
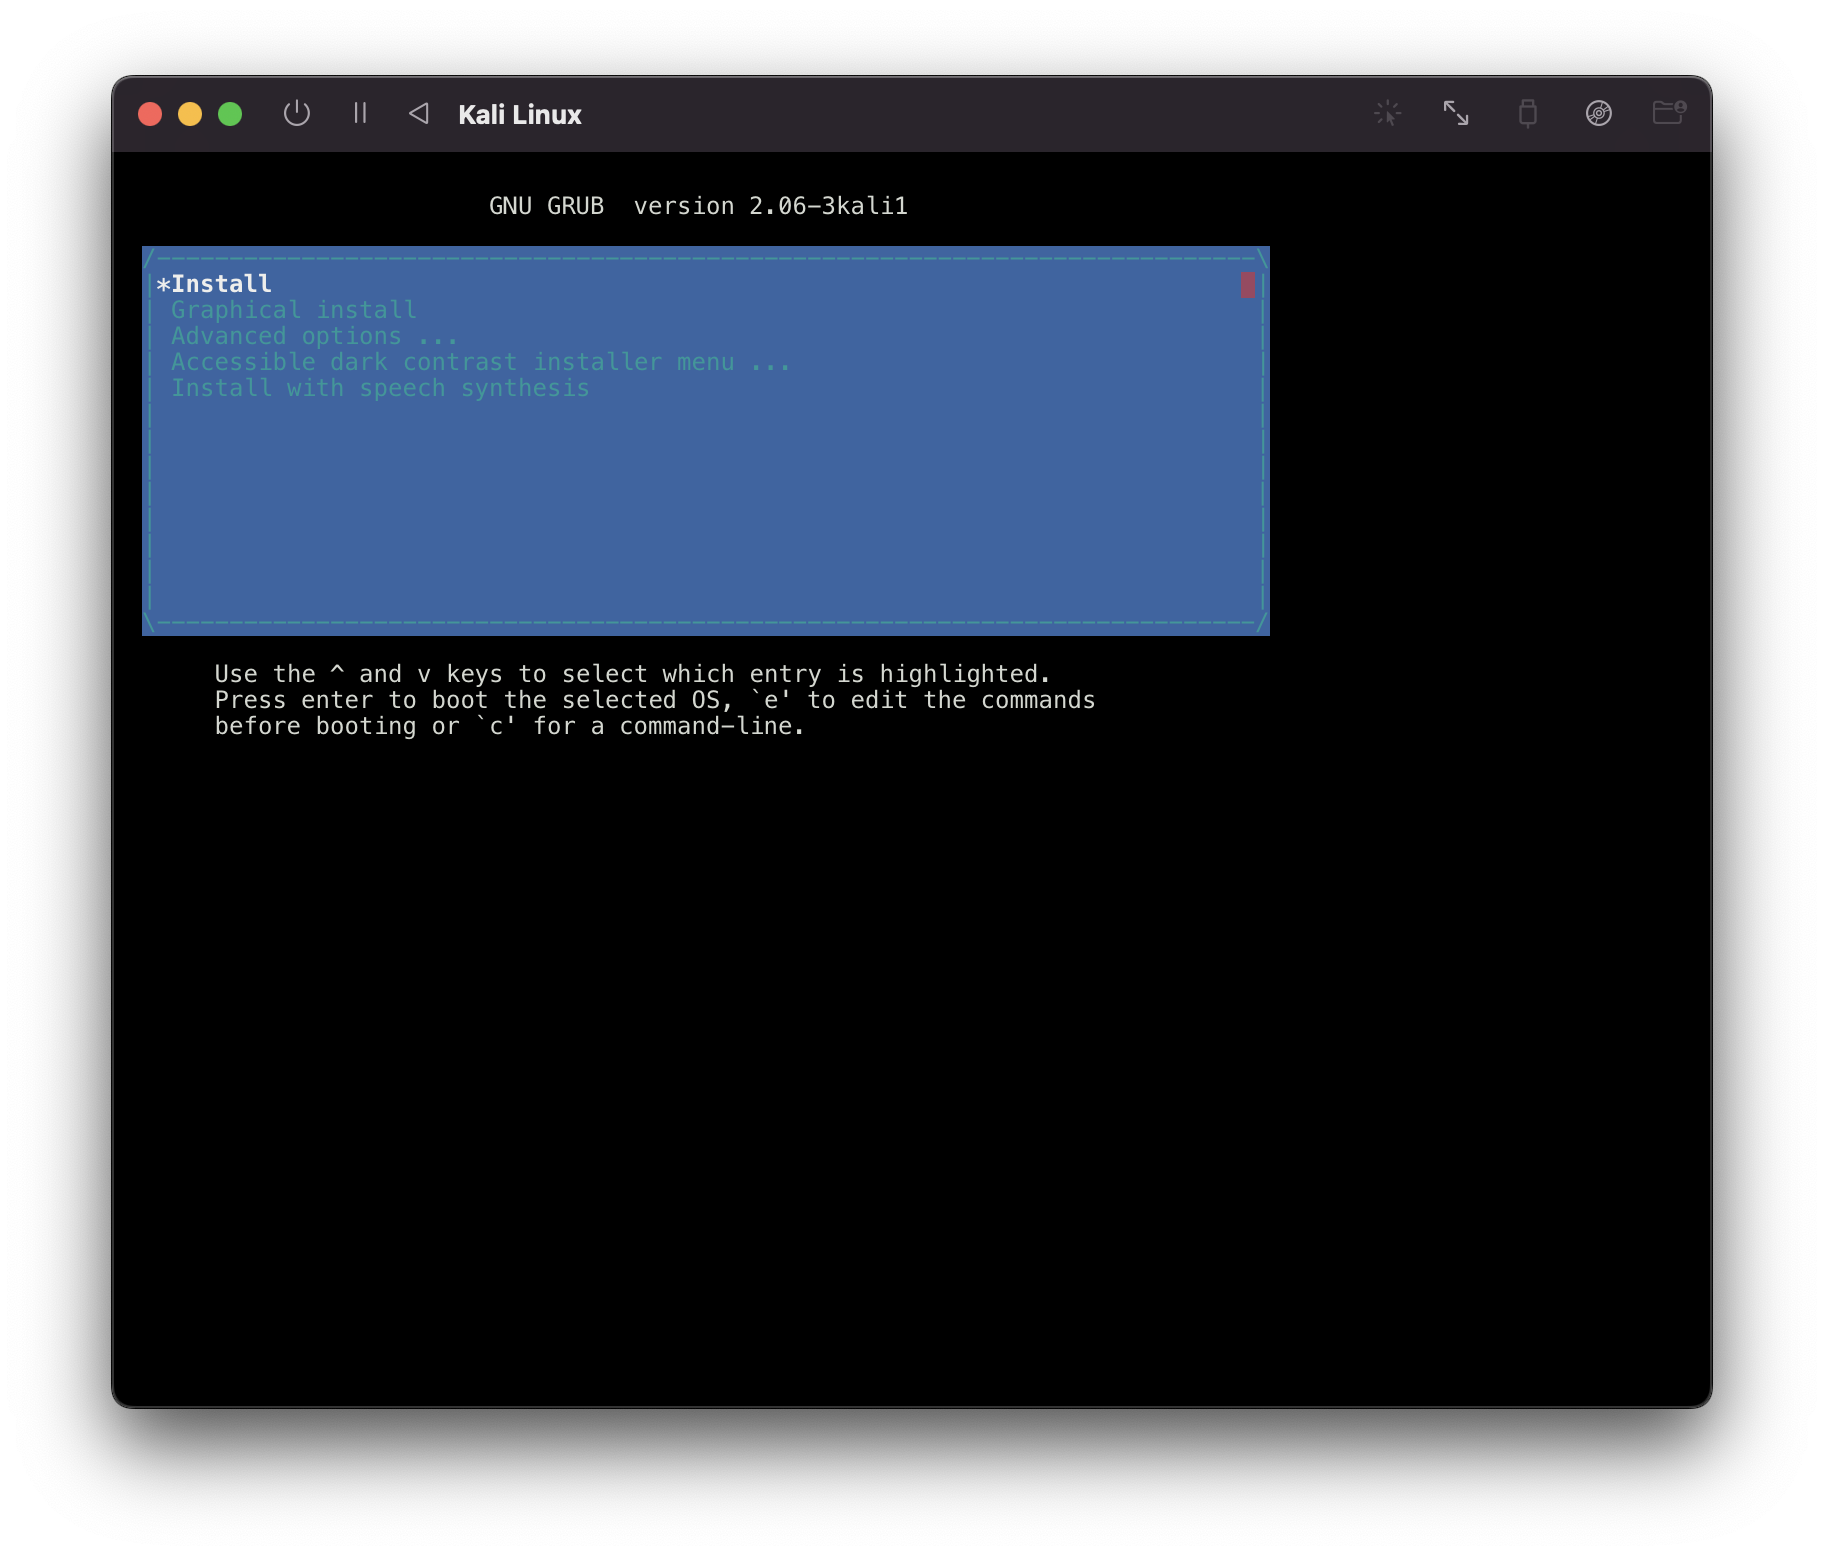
Now we can save and press play on the VM. Once prompted, we select “Install”:
Once the install is finished, clear the ISO from the VM’s CD/DVD drive.
Then, go to the VM’s settings and remove the “Serial” device by right-clicking and selecting “Remove”:
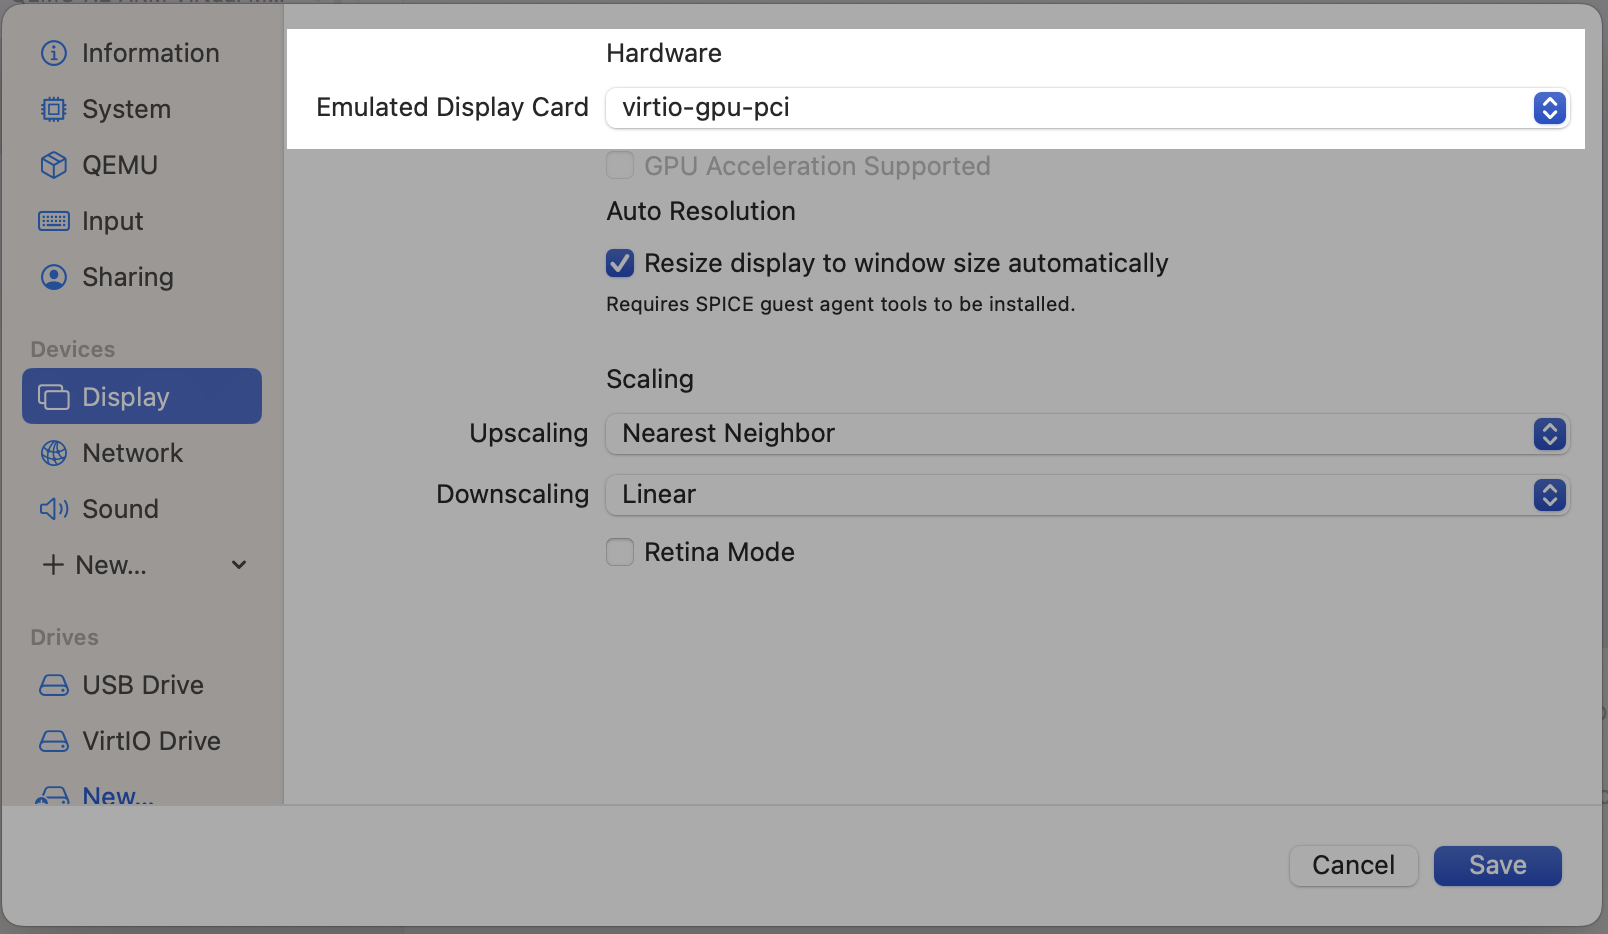
We should also update the Display Card emulation. Select the virtio-gpu-pci
option:
We should scroll down under “Shared Directory” and select the installer iso image and remove it, now we can now use our VM like normal.
Updated on: 2025-Jul-30
Author:
gamb1t